Halloween treats should be fun, simple, and a little bit magical, and these Easy Halloween Homemade Rock Candy Sticks are all three. I love this recipe because it feels like pure old-fashioned comfort, yet it still makes a big splash on a party tray. The crystals look special, and the bright Halloween colors make each stick feel like a tiny edible decoration.
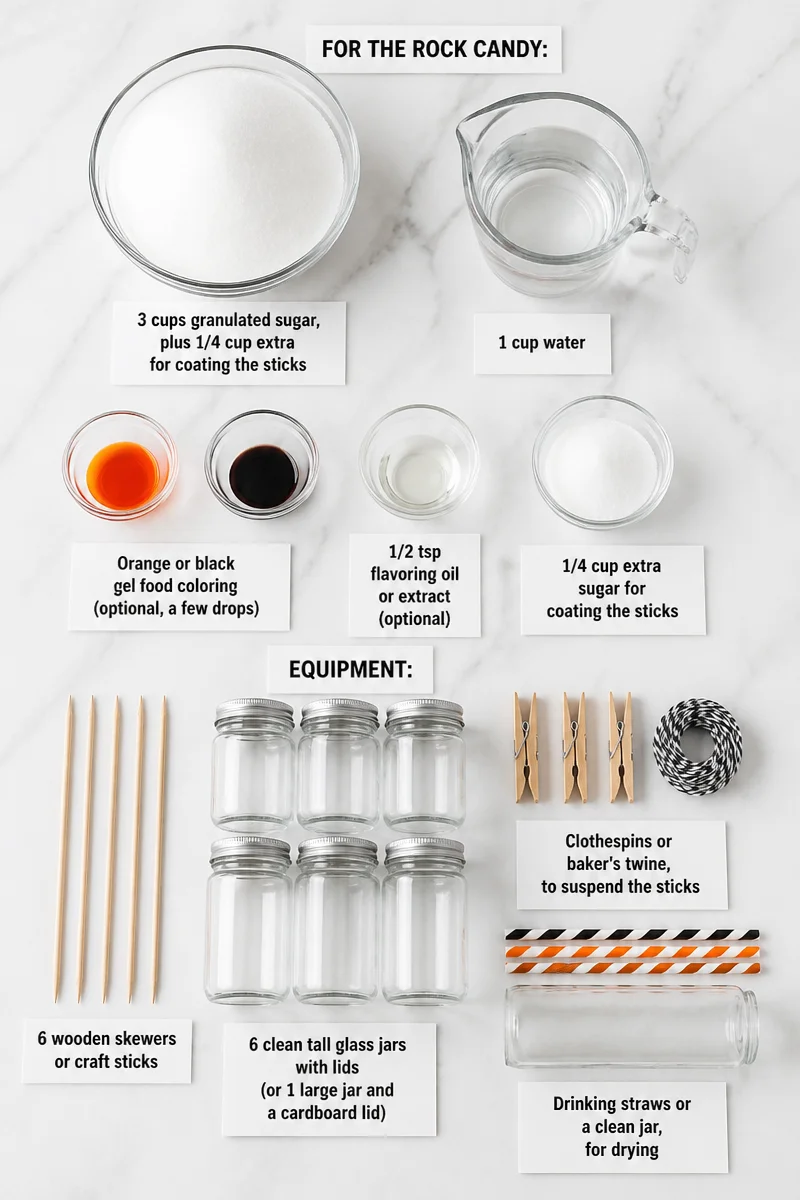
This recipe uses just a few basic items: 3 cups granulated sugar, plus 1/4 cup extra for coating the sticks, 1 cup water, a few drops of orange or black gel food coloring if you want that spooky look, and 1/2 tsp flavoring oil or extract if you want a little taste. You will also need 6 wooden skewers or craft sticks, 6 clean tall glass jars with lids or one large jar with a cardboard lid, clothespins or baker’s twine to hold the sticks in place, and drinking straws or a clean jar for drying. The flavor is sweet, clean, and classic, with an optional hint of fruit or candy flavor if you choose to add it.
The method is easier than it looks. First, you prep the jars, then you make a simple sugar syrup, dissolve it fully, and let it cool. After that, you coat the sticks with sugar crystals, color and flavor the syrup if you want, and suspend the sticks so the crystals can grow. Then comes the patient part: you wait, undisturbed, for the rock candy to form. Finally, you harvest, dry, and store your candy sticks for later.
These Halloween rock candy sticks are perfect for party favors, classroom treats, candy tables, or a cozy afternoon project with grandkids. They also make a fun hands-on recipe for home cooks who enjoy a little kitchen science. Since the crystals grow over several days, they are a great make-ahead treat for busy holiday weeks.
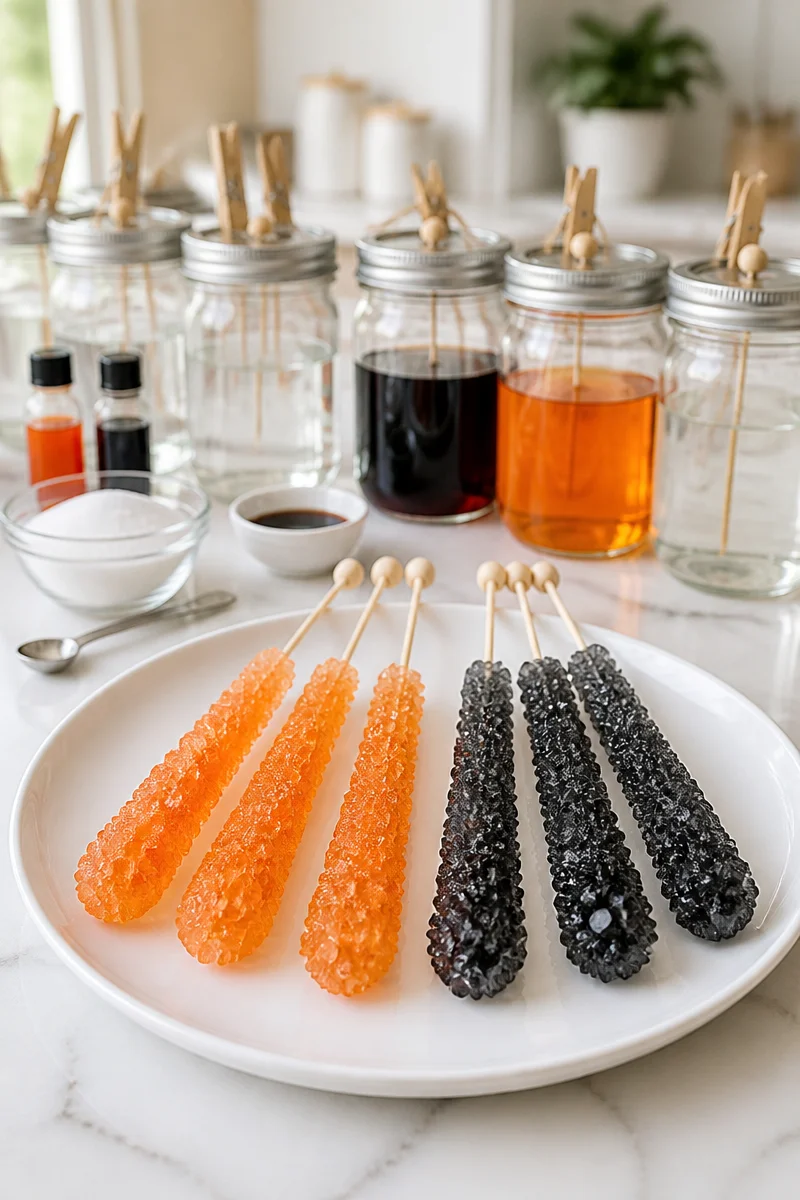
Why You’ll Love This Easy Halloween Homemade Rock Candy Sticks
- Simple ingredients make this recipe easy to start with items you likely already have in the pantry.
- Fun Halloween colors like orange and black turn plain sugar into a festive treat.
- Great for kids and adults, since the process is easy to follow and fun to watch.
- Make-ahead friendly, because the candy grows while you do other things.
- Budget-friendly and charming, which makes it ideal for parties, gifts, and school events.
Granulated Sugar Tips
Granulated sugar is the star of this recipe, so it helps to use fresh, dry sugar for the best crystal growth. In rock candy, the sugar needs to dissolve fully in hot water, then slowly form crystals again on the coated sticks. Because of that, you want clean jars, dry tools, and a steady setup. Also, use plain white granulated sugar rather than powdered sugar or brown sugar, since those can change the way the crystals form. If your kitchen is humid, keep the sugar tightly sealed until you are ready to use it.
Options for Substitutions
- Use white cane sugar instead of standard granulated sugar if that is what you keep on hand.
- Swap orange gel food coloring for black, purple, or green if you want a different Halloween look.
- Use vanilla extract instead of flavoring oil if you prefer a mild, familiar taste.
- Choose peppermint extract for a cool, festive flavor that works well in fall.
- Replace wooden skewers with craft sticks if they fit your jars better.
- Use a large glass jar with a cardboard top instead of several small jars if you want to make one larger batch.
Watch Out for These Mistakes
One common mistake is boiling the sugar syrup too long. If you cook it too hard or for too long, the syrup can start turning into candy in the pan before it even reaches the jars. So, keep the boil brief and stir well until the sugar is dissolved.
Another issue is using wet jars or wet sticks. Moisture can interfere with crystal growth and may also cause the sugar to clump in odd ways. For the best results, make sure the jars are completely dry, and let the sugar-coated sticks dry before you place them in the syrup.
It is also important not to move the jars once the sticks are hanging inside. Rock candy grows best when it stays still. If you bump the jars or stir them, the crystals may break apart or grow unevenly. Therefore, place the jars in a safe spot where they will not be touched.
Finally, do not let the sticks touch the bottom or sides of the jar. If they do, the rock candy may stick in the wrong places and come out uneven. Instead, suspend each stick in the center so the crystals have room to grow all around it.
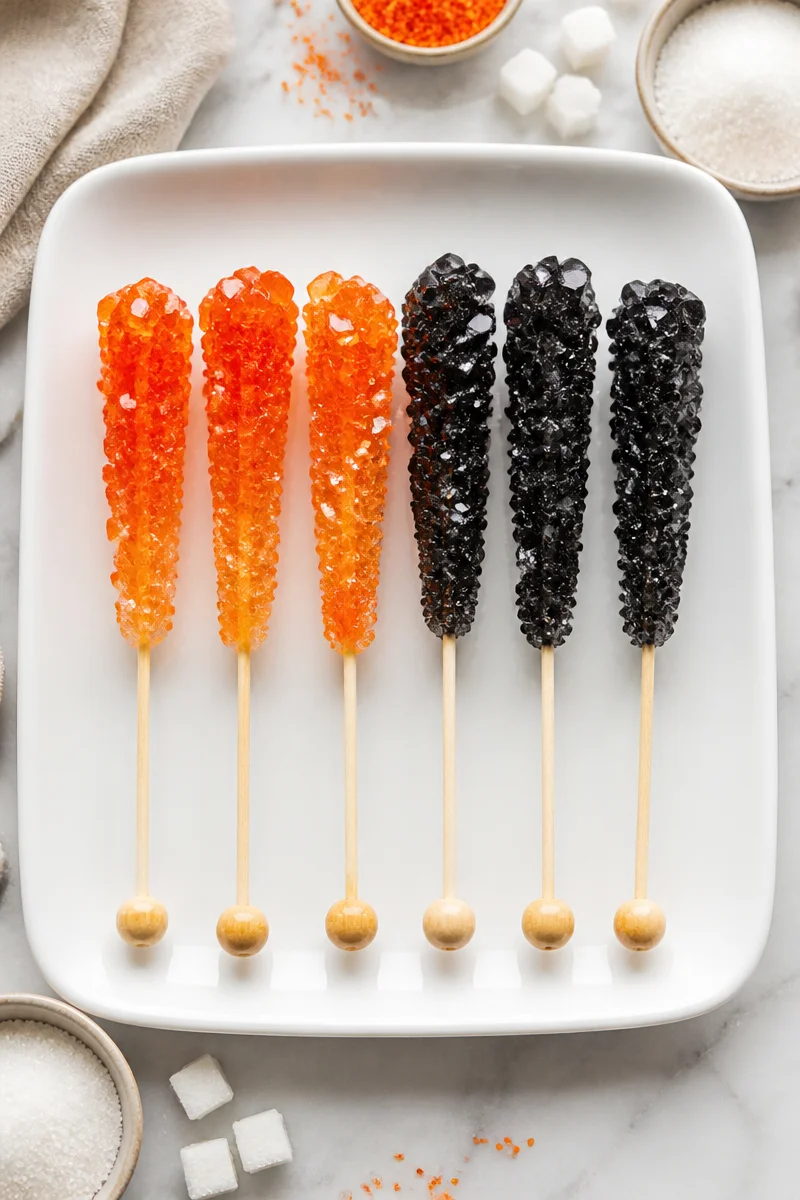
What to Serve With Easy Halloween Homemade Rock Candy Sticks?
These rock candy sticks pair nicely with a Halloween snack table full of easy bites. Try serving them with popcorn mix, sugar cookies, caramel apples, or a warm mug of apple cider. Since the candy is sweet and colorful, it works best with simple foods that balance the table and let the sticks stand out. You can also tuck them into treat bags with mini pretzels or soft fudge squares for a nice mix of sweet and salty.
Storage Instructions
Store: Once the rock candy is fully dry, wrap each stick individually in cellophane. Keep it at room temperature in a dry place for up to 2 months. Do not store it in a humid room, because moisture can make the crystals soften.
Freeze: Freezing is not the best choice for rock candy, but if you must, wrap it very well and freeze for up to 2 months. Still, the texture may change after thawing.
Reheat: Rock candy does not need reheating. If the syrup hardens in the pan before you finish, warm it gently on the stovetop over low heat. In the microwave, heat short bursts only if you need to loosen leftover syrup, then stir carefully.
Recipe Info
Preparation Time: 5 minutes
Cooling Time: 45 minutes
Crystallizing Time: 72 hours
Cooking Time: 15 minutes
Total Time: 73 hours 5 minutes
Level of Difficulty: Easy
Servings: 6
Kcal: 387 kcal
Estimated Nutrition
Estimated nutrition for the whole recipe (without optional ingredients):
- Calories: 2,150 to 2,350
- Protein: 0 g to 1 g
- Fat: 0 g
- Carbohydrates: 540 g to 590 g
Ingredients
- 3 cups granulated sugar, plus 1/4 cup extra for coating the sticks
- 1 cup water
- Orange or black gel food coloring (optional, a few drops)
- 1/2 tsp flavoring oil or extract (optional)
- 6 wooden skewers or craft sticks
- 6 clean tall glass jars with lids (or 1 large jar and a cardboard lid)
- Clothespins or baker’s twine, to suspend the sticks
- Drinking straws or a clean jar, for drying
Step-by-Step Instructions
Step 1: Prep the Jars
Wash the jars well and dry them completely. Then cut a hole in each lid, or use a piece of cardboard, so a stick can hang in the middle. This setup helps the crystals grow in a neat shape, and it keeps the sticks from touching the sides.
Step 2: Make the Sugar Syrup
In a medium saucepan, combine the 3 cups sugar and 1 cup water. Bring it to a rolling boil over high heat while stirring constantly. Keep a close eye on it, because you do not want it to boil too long or start turning to candy in the pan.
Step 3: Dissolve and Clear the Syrup
Remove the pan from the heat and stir until every bit of sugar has dissolved. The liquid should look clear when you are done. If you still see sugar crystals, keep stirring gently until the syrup smooths out.
Step 4: Cool the Syrup
Pour the syrup into the prepared jars and let it cool at room temperature, or in the refrigerator if needed, for about 45 minutes. You want it near room temperature, but not cold. That way, the crystals can grow well once the sticks go in.
Step 5: Coat the Sticks
While the syrup cools, dampen the skewers with water and roll them in the extra sugar. Let them dry before using them. These tiny sugar crystals act like a seed, which gives the rock candy a place to grow.
Step 6: Add Color and Flavor
If you want Halloween color, stir a few drops of orange or black gel food coloring into each jar. If you want extra flavor, add the flavoring oil or extract now as well. Stir gently so the syrup stays smooth.
Step 7: Suspend the Sticks
Hang each stick in a jar using a lid with a hole, a clothespin laid across the top, or twine. Make sure the stick does not touch the bottom or sides. Cover the jars loosely, then place them in a cool spot where they will not be bumped.
Step 8: Let the Crystals Grow
Leave the jars undisturbed for 3 to 10 days. The longer you wait, the bigger the crystals will get, so patience really pays off here. For the best Halloween rock candy, try not to check on them too often.
Step 9: Harvest and Dry
Lift each stick out carefully. First, break up any crust of sugar on top of the syrup so it does not tear the candy. Then hang the sticks over a clean jar or lean them on straws tied in an X to dry for a few hours.
Step 10: Store the Finished Candy
Once the rock candy is fully dry, wrap each stick individually in cellophane. Store it in a dry place at room temperature for up to 2 months. If you are giving it away, this also makes the candy look neat and gift-ready.
Conclusion
Easy Halloween Homemade Rock Candy Sticks are a fun mix of sugar, color, and kitchen magic. With just a few simple ingredients and a little waiting time, you can make a festive treat that looks beautiful and tastes sweet. Plus, the process is easy enough for most home cooks, including beginners.
If you try this recipe, I would love to hear how your crystals turned out. Share your results, leave a comment, or pass this post along to a friend who enjoys easy Halloween treats. And if you want more simple seasonal ideas, keep browsing for more family-friendly recipes made for real kitchens.
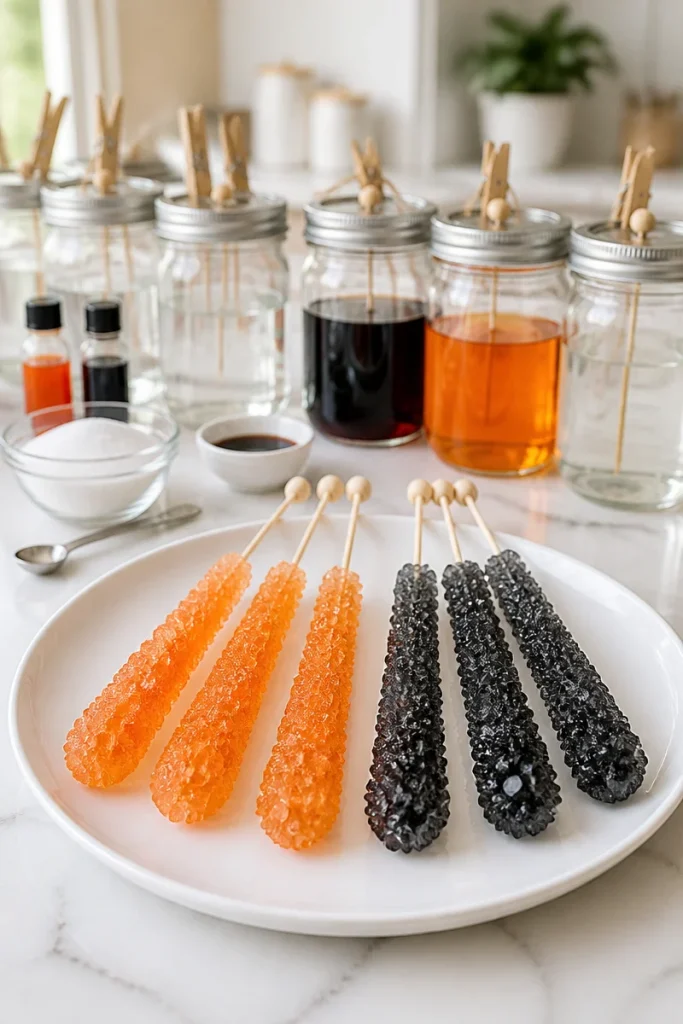
Easy Halloween Homemade Rock Candy Sticks
Ingredients
Method
- Wash the jars well and dry them completely. Cut a hole in each lid, or use cardboard to suspend the sticks.
- In a medium saucepan, combine the sugar and water. Bring it to a rolling boil while stirring constantly.
- Remove the pan from heat and stir until all sugar has dissolved.
- Pour the syrup into prepared jars and let it cool for about 45 minutes.
- Wet the skewers with water and roll them in the extra sugar, letting them dry.
- If desired, add food coloring and flavoring to the cooled syrup.
- Suspend the coated sticks in the jars, ensuring they don't touch the bottom or sides.
- Leave the jars undisturbed for 3 to 10 days for the crystals to grow.
- Carefully lift each stick out and hang over a clean jar to dry for a few hours.
- Wrap each dried stick in cellophane and store at room temperature for up to 2 months.
