This Classic Church Window Christmas Candy is pure holiday comfort. It looks festive, tastes rich, and feels like the kind of sweet that belongs on every Christmas tray. I love how it brings back that old-fashioned church basement charm, because one bite feels both nostalgic and cheerful.
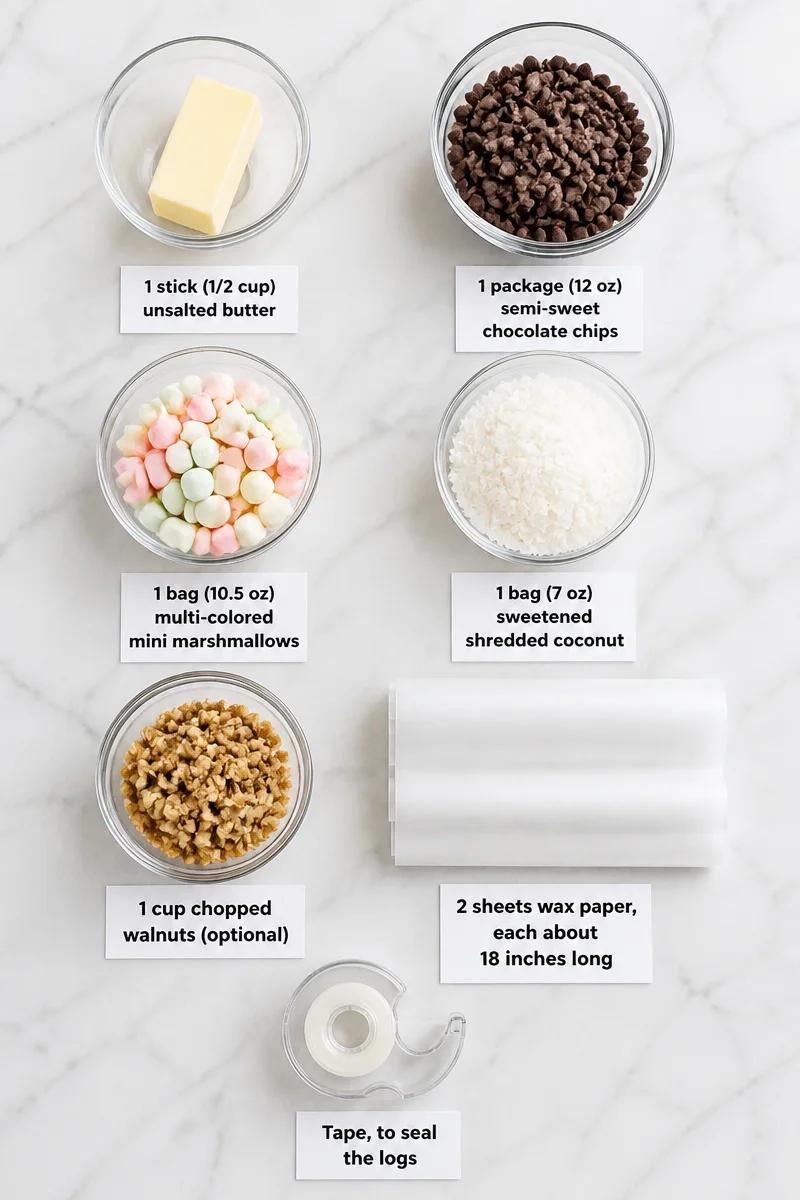
What makes this candy so good is the mix of simple, colorful ingredients. You get 1 stick (1/2 cup) unsalted butter, 1 package (12 oz) semi-sweet chocolate chips, 1 bag (10.5 oz) multi-colored mini marshmallows, 1 bag (7 oz) sweetened shredded coconut, and 1 cup chopped walnuts if you want a little crunch. Then there is the wax paper for rolling, plus tape to seal the logs. As a result, the candy has a rich chocolate base, soft chewy centers, and a snowy coconut coating that tastes sweet, creamy, and just a little nutty.
The method is easy, too. First, you melt the butter and chocolate together, then let it cool slightly so the marshmallows stay whole. After that, you stir in the marshmallows, shape the mixture on coconut-covered wax paper, roll it into logs, and chill it overnight. Finally, you slice it into pretty rounds that look like stained glass. In other words, it is a simple no-bake holiday candy with big payoff for very little effort.
This is a wonderful recipe for Christmas parties, cookie swaps, church gatherings, and family gifts. Also, because it makes a lot, it works well when you need a sweet treat that can be made ahead of time and stored in the fridge until serving day.
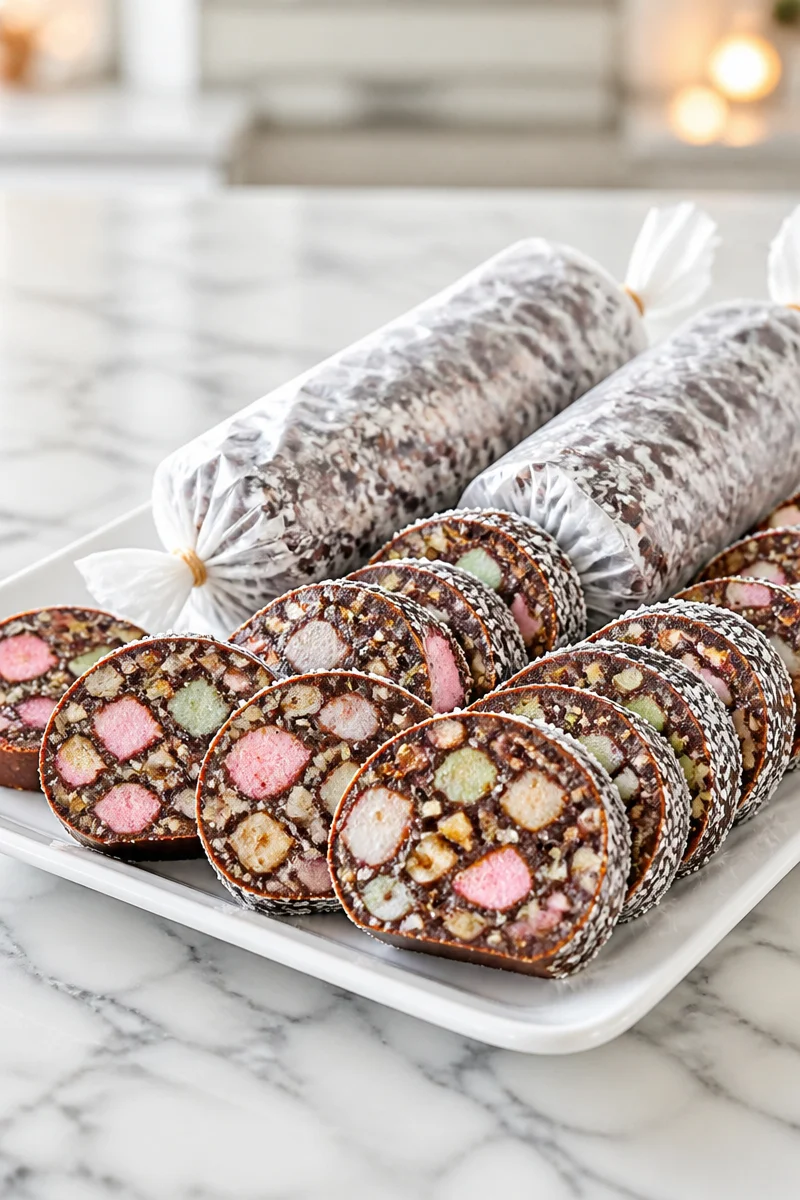
Why You’ll Love This Classic Church Window Christmas Candy
- It is easy to make and does not require baking.
- It uses simple holiday ingredients that are easy to find.
- It has a pretty stained-glass look that makes it perfect for Christmas trays.
- It is a make-ahead candy, so you can prepare it well before guests arrive.
- It is sweet, chewy, and rich, which makes it a true comfort treat.
Butter Tips
Butter is the base that helps the chocolate melt smoothly, so choose good-quality unsalted butter for the best flavor. Since the recipe already has plenty of sweetness from the chocolate chips, marshmallows, and coconut, unsalted butter gives you better control. Also, let it melt slowly with the chocolate over medium heat. That way, the mixture stays silky and does not scorch.
Options for Substitutions
- Use dark chocolate chips instead of semi-sweet chocolate chips for a deeper flavor.
- Swap almond bark or melting wafers for the chocolate chips if you want a smoother candy finish.
- Replace mini marshmallows with chopped large marshmallows, although the color effect may be less even.
- Use unsweetened shredded coconut if you want the candy a little less sweet.
- Leave out the walnuts or replace them with chopped pecans for a different nut flavor.
- Use parchment paper if wax paper is unavailable, but be sure it is strong enough for rolling and chilling.
Watch Out for These Mistakes
One of the biggest mistakes is overheating the chocolate and butter. If the mixture gets too hot, it can become thick or grainy, and it may also start to melt the marshmallows when you stir them in. So, melt it gently, then let it cool for about 5 minutes before adding the marshmallows.
Another common problem is skipping the cooling step. The chocolate should feel warm, not hot. Otherwise, the mini marshmallows can soften too much and lose their bright colors. Since the stained-glass look is part of the charm, that little cooling time really matters.
Also, do not skimp on the chilling time. The logs need at least 8 hours overnight to become firm enough to slice cleanly. If you cut them too soon, the candy can flatten or crumble. For the best look, use a sharp knife and wipe it clean between slices.
Finally, do not roll the logs too loosely. Press them gently but firmly as you shape them. This helps the slices hold together and keeps the coconut coating in place. If you want neat, even rounds, a tight roll makes all the difference.
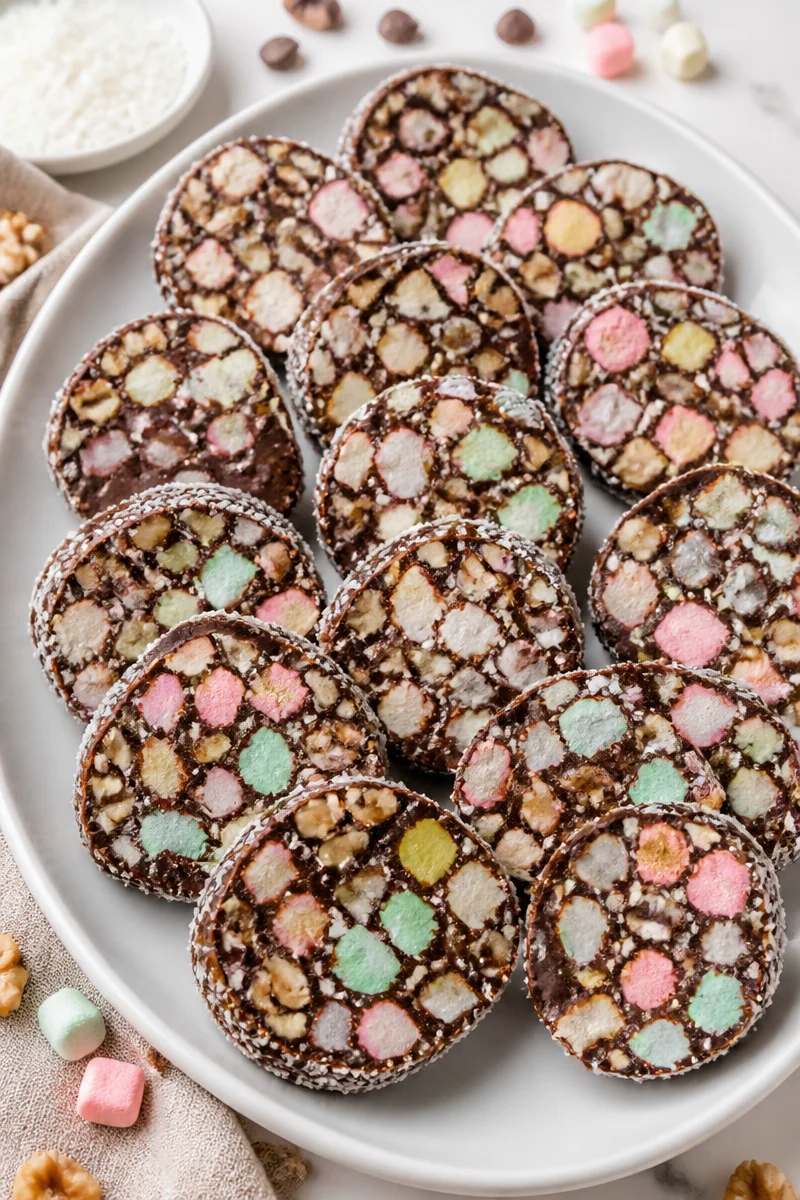
What to Serve With Classic Church Window Christmas Candy?
Classic Church Window Christmas Candy pairs well with other holiday sweets that offer different textures and flavors. For example, serve it with sugar cookies, peppermint bark, shortbread, or a bowl of hot cocoa. Since the candy is rich and sweet, lighter cookies and warm drinks help balance the plate. Also, it looks lovely on a dessert tray beside fudge, nut clusters, or festive fruit.
Storage Instructions
Store: Keep the candy covered in the refrigerator for up to 2 weeks. Place parchment paper between layers if you stack the slices, so they do not stick together.
Freeze: Freeze the sliced candy or whole logs for up to 2 months. Wrap it tightly in plastic wrap, then place it in an airtight freezer bag or container.
Reheat: This candy does not need traditional reheating. However, if it is too firm from the fridge, let it sit at room temperature for 10 to 15 minutes before serving. If you want to soften a slice very slightly, use the microwave on low power for just a few seconds, but be careful not to melt it.
Recipe Info
Preparation Time: 20 minutes
Cooking Time: 5 minutes
Cooling Time: 5 minutes
Chilling Time: 8 hours overnight
Total Time: 8 hours 30 minutes
Difficulty Level: Easy
Servings: 40 servings
Estimated Nutrition
Estimated nutrition for the whole recipe (without optional ingredients):
- Calories: about 4,700 to 5,100 kcal
- Protein: about 35 to 45 g
- Fat: about 260 to 300 g
- Carbohydrates: about 550 to 620 g
Ingredients
- 1 stick (1/2 cup) unsalted butter
- 1 package (12 oz) semi-sweet chocolate chips
- 1 bag (10.5 oz) multi-colored mini marshmallows
- 1 bag (7 oz) sweetened shredded coconut
- 1 cup chopped walnuts (optional)
- 2 sheets wax paper, each about 18 inches long
- Tape, to seal the logs
Step-by-Step Instructions
Step 1: Melt the Chocolate and Butter
Place the butter and chocolate chips in a medium saucepan over medium heat. Stir constantly for 3 to 5 minutes, until the mixture is smooth and glossy. Then remove it from the heat and let it cool for about 5 minutes. It should be warm, but not hot, because hot chocolate will melt the marshmallows too quickly.
Step 2: Prepare the Coconut Base
Spread about half of the coconut onto two sheets of wax paper. Make a long strip down the center of each sheet, about 12 inches long. This coconut layer helps keep the candy from sticking and gives the outside a pretty snowy finish.
Step 3: Coat the Marshmallows
Add the colored mini marshmallows to a large bowl. If you are using walnuts, add them now too. Next, gently stir in the cooled chocolate mixture until everything is coated. Take your time here, because the marshmallows should stay whole and colorful.
Step 4: Shape the Candy Logs
Divide the mixture into two equal parts. Then pour one portion onto each coconut strip on the wax paper. Sprinkle more coconut over the top of each portion. After that, get ready to roll.
Step 5: Roll and Chill
Using the wax paper, roll each portion into a log about 2 inches thick. Press gently as you roll so the logs stay tight and compact. Twist or tape the ends closed, then refrigerate the logs overnight, or at least 8 hours, until firm.
Step 6: Slice and Serve
Unwrap the chilled logs and cut them into 1/2-inch slices with a sharp knife. The colored marshmallows will show through like little pieces of stained glass. If you prefer, you can also use the bar variation by pressing the mixture into a greased 9 x 9-inch pan, topping it with coconut, chilling it, and cutting it into squares.
Conclusion
Classic Church Window Christmas Candy is a simple, old-fashioned treat that brings holiday cheer with very little work. It combines smooth chocolate, soft marshmallows, and sweet coconut into a festive candy that is easy to make ahead, easy to slice, and easy to share. Plus, the stained-glass look makes it a lovely addition to any Christmas dessert table.
If you try this recipe, I would love to hear how it turned out for you. Share your thoughts, leave a comment, or save it for your next holiday gathering. And if you enjoy easy Christmas sweets like this one, be sure to explore more cozy holiday recipes next.
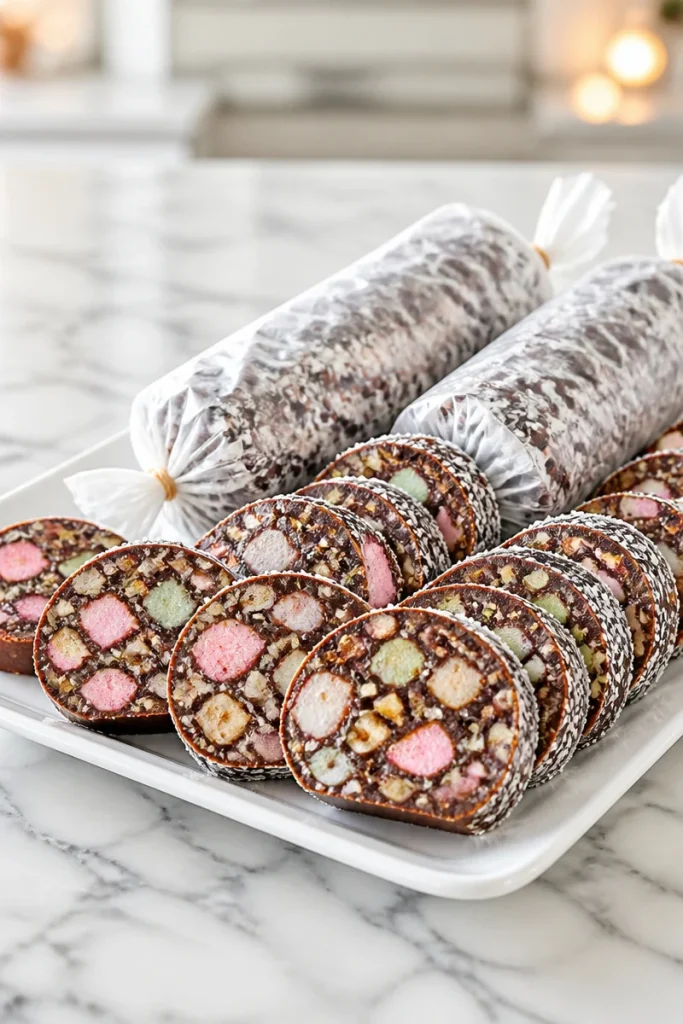
Classic Church Window Christmas Candy
Ingredients
Method
- Place the butter and chocolate chips in a medium saucepan over medium heat. Stir constantly for 3 to 5 minutes until the mixture is smooth and glossy.
- Remove from heat and let it cool for about 5 minutes, ensuring it is warm but not hot.
- Spread about half of the coconut onto two sheets of wax paper, making a long strip down the center of each sheet, about 12 inches long.
- Add the colored mini marshmallows to a large bowl. If using walnuts, add them now too, then gently stir in the cooled chocolate mixture until everything is coated.
- Divide the mixture into two equal parts. Pour one portion onto each coconut strip on the wax paper and sprinkle more coconut over the top.
- Roll each portion into a log about 2 inches thick, twisting or taping the ends closed.
- Refrigerate the logs overnight, or at least 8 hours, until firm.
- Unwrap the chilled logs and cut them into 1/2-inch slices with a sharp knife to showcase the colorful marshmallows.
- For variation, press the mixture into a greased 9 x 9-inch pan, top with coconut, chill, and cut into squares.
