Hawaiian Coconut Butter Mochi Squares

Affiliate disclosure: This post may contain affiliate links. I may earn a small commission at no extra cost to you. See our Privacy Policy for details HERE.
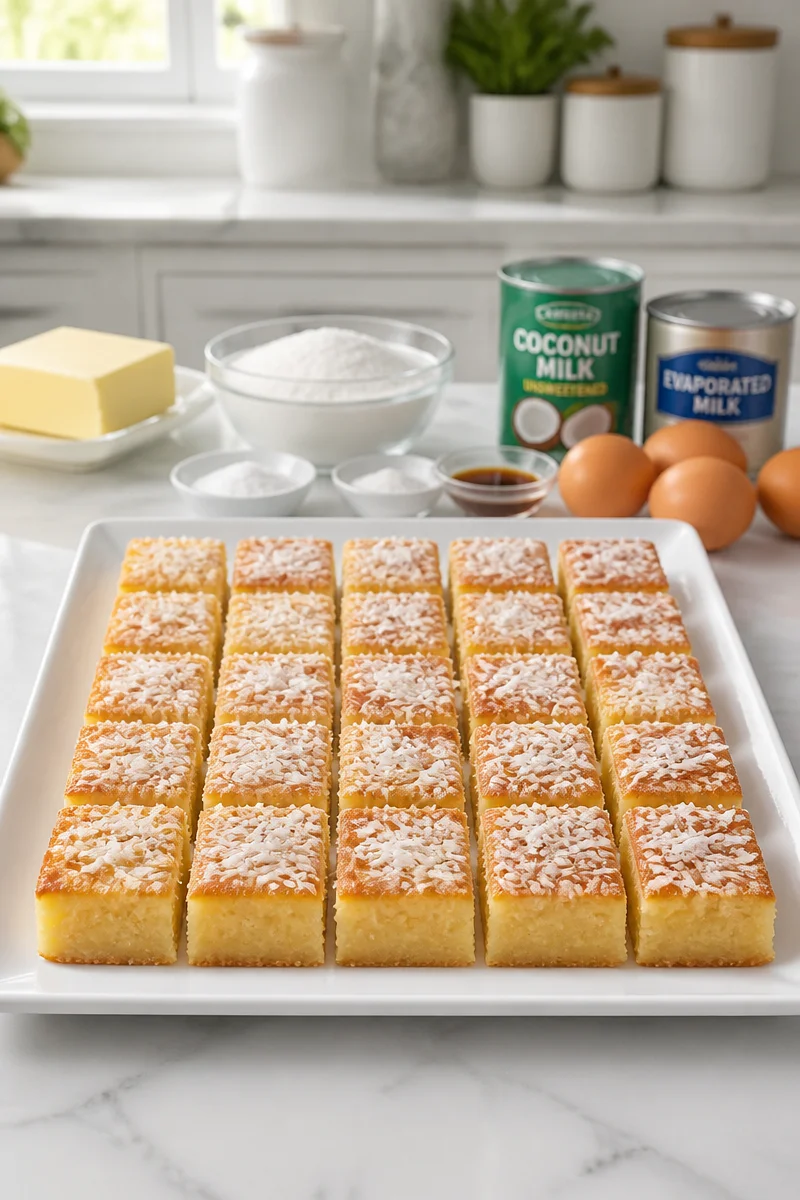
These Hawaiian Coconut Butter Mochi Squares are pure comfort in dessert form. They are soft, chewy, rich, and just sweet enough, so every bite feels cozy and satisfying. I love how they bring together the best parts of a cake and a mochi treat in one easy pan dessert. For family gatherings, holiday trays, or a quiet treat with coffee, this is the kind of recipe that always feels welcome.
What makes this recipe special is the simple mix of butter, mochiko, baking powder, kosher salt, eggs, granulated sugar, coconut milk, evaporated milk, vanilla extract, and optional coconut flakes on top. The mochiko gives the squares their signature chewy texture, while the coconut milk and evaporated milk add a creamy, tropical flavor. Then the butter and vanilla round everything out, so the taste is rich, smooth, and deeply comforting.
The method is easy, too. You melt the butter, whisk the dry ingredients, stir the wet ingredients, and then combine everything in one pan. After that, the oven does most of the work. Because the batter is simple and the steps are clear, this Hawaiian coconut butter mochi recipe is very friendly for home cooks of all skill levels. In other words, you do not need any special equipment or fancy baking tricks.
This dessert is perfect for potlucks, bake sales, church gatherings, and family get-togethers. It also works well for afternoon snacks, dessert platters, and make-ahead treats. So if you want something that travels well, slices neatly, and tastes even better the next day, these Hawaiian Coconut Butter Mochi Squares are a great choice.
Why You’ll Love This Hawaiian Coconut Butter Mochi Squares
- It uses simple pantry ingredients, so it is easy to shop for and easy to make.
- The texture is chewy, tender, and rich, which makes every bite feel special.
- It is a true crowd-pleaser, so it works well for parties, holidays, and potlucks.
- The recipe is beginner-friendly, and the steps are straightforward from start to finish.
- It stores well, so you can make it ahead and enjoy it over several days.
Mochiko Tips
Mochiko, also called sweet rice flour, is the key ingredient in Hawaiian coconut butter mochi squares, so choosing the right kind matters. Look for a fine, white sweet rice flour labeled mochiko, not regular rice flour and not glutinous rice flour from a different style of packaging unless the label clearly says sweet rice flour. Because mochiko gives this dessert its chewy structure, you want it fresh, lump-free, and measured carefully. For the best texture, whisk it well with the baking powder and salt before adding it to the wet mixture. That way, the batter blends smoothly and the finished squares bake up soft, chewy, and even.
Options for Substitutions
- Use salted butter instead of unsalted butter, but reduce the added salt slightly.
- Swap light coconut milk for full-fat coconut milk if you want a lighter result, though the squares may be less rich.
- Replace evaporated milk with half-and-half or whole milk in a pinch, but expect a milder flavor.
- Use vanilla bean paste instead of pure vanilla extract for a deeper vanilla taste.
- Reduce the sugar to 1 3/4 cups if you prefer a less sweet dessert, although the texture may change a little.
- Top with toasted coconut flakes instead of plain coconut flakes for extra flavor and a little crunch.
Watch Out for These Mistakes
One common mistake is overmixing the eggs and sugar too much at the start. You want to stir, not whip, because too much air can change the texture and make the squares less dense and chewy. Since Hawaiian coconut butter mochi is meant to be rich and tender, keep the mixing gentle and steady.
Another issue is using the wrong type of flour. Regular flour will not work here, and neither will a random rice flour substitute. Mochiko gives these Hawaiian coconut butter mochi squares their classic texture, so stick with sweet rice flour for the best results. Also, make sure to whisk the dry ingredients well so the baking powder and salt are evenly spread through the batter.
Be careful not to overbake the dessert. The top should look set and golden brown, and a skewer should come out clean, but the center should still stay soft. If you bake it too long, the squares can turn dry and lose that pleasant chew. So start checking near the 50-minute mark, especially if your oven runs hot.
Finally, do not slice the mochi too soon. It needs time to cool so it can set properly. If you cut it while it is very hot, the pieces may fall apart or stick to the knife. For cleaner squares, let it cool well, then wipe the knife between cuts for neat edges.
What to Serve With Hawaiian Coconut Butter Mochi Squares?
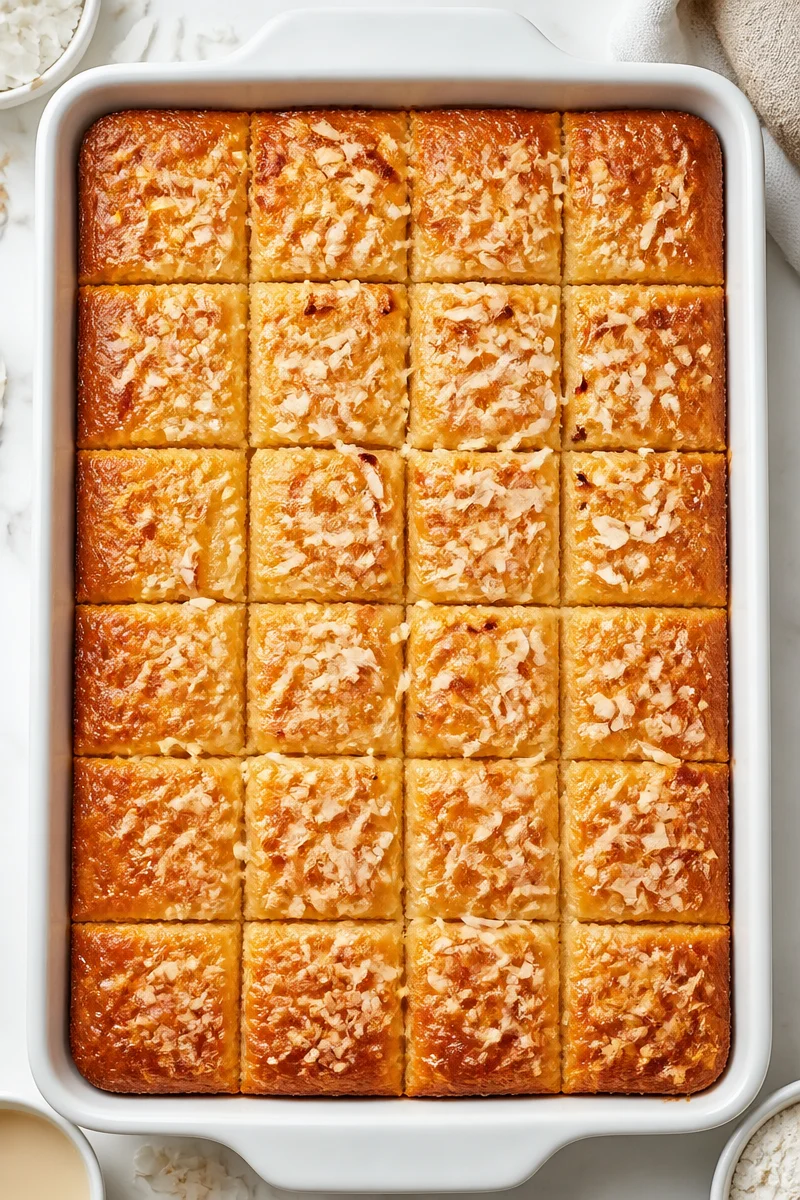
Hawaiian coconut butter mochi squares pair nicely with simple, light sides that balance their rich sweetness. A cup of hot coffee or black tea works well, and so does unsweetened green tea. If you want a fuller dessert spread, serve them with fresh pineapple, sliced mango, or berries for a bright contrast. For a more homey plate, you can also add a scoop of vanilla ice cream or a small dish of whipped cream. That way, the chewy squares stay the star, while the sides keep the overall plate fresh and balanced.
Storage Instructions
Store: Keep Hawaiian coconut butter mochi squares in an airtight container at room temperature for up to 3 days. If your kitchen is warm, you can refrigerate them for a few extra days, but let them come back to room temperature before serving for the best texture.
Freeze: Wrap each piece well and freeze for up to 1 month. For the best taste, place the wrapped pieces in a freezer bag or airtight container so they do not pick up freezer odors.
Reheat: To reheat a single square in the microwave, warm it for 5 to 10 seconds. If you want to warm several pieces at once, place them on a baking sheet and heat gently in a low oven until just warmed through. Since this dessert is soft, you only need a little heat.
Recipe Info
Preparation Time: 15 minutes
Cooking Time: 1 hour
Cooling Time: 1 hour
Total Time: 2 hours 15 minutes
Level of Difficulty: Easy
Servings: 24 servings
Estimated Nutrition
Estimated nutrition for the whole recipe (without optional ingredients):
Calories: about 5,200 to 5,700 total
Protein: about 65 to 80 g total
Fat: about 180 to 220 g total
Carbohydrates: about 820 to 900 g total
Per serving, this works out to roughly 215 to 240 calories, depending on the exact brands used and how large the squares are cut.
Ingredients
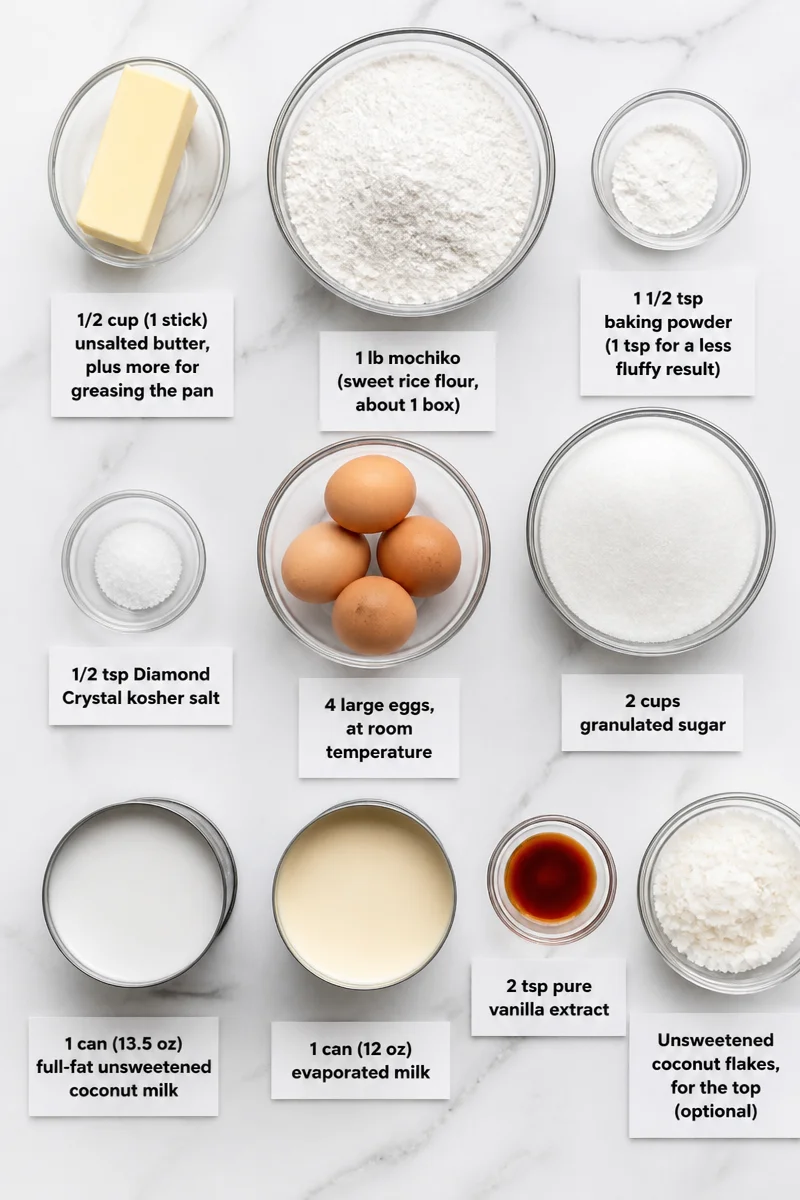
- 1/2 cup (1 stick) unsalted butter, plus more for greasing the pan
- 1 lb mochiko (sweet rice flour, about 1 box)
- 1 1/2 tsp baking powder (1 tsp for a less fluffy result)
- 1/2 tsp Diamond Crystal kosher salt
- 4 large eggs, at room temperature
- 2 cups granulated sugar
- 1 can (13.5 oz) full-fat unsweetened coconut milk
- 1 can (12 oz) evaporated milk
- 2 tsp pure vanilla extract
- Unsweetened coconut flakes, for the top (optional)
Step-by-Step Instructions
Step 1: Preheat the Oven and Prepare the Pan
Start by setting a rack in the middle of the oven and preheating it to 350°F. If you are using a convection oven, reduce the temperature by 25°F. Meanwhile, melt the butter in the microwave for about 60 to 70 seconds, or warm it on the stovetop. Keep the wrapper, because you will use it to grease the pan.
Step 2: Mix the Dry Ingredients
In a medium bowl, whisk together the mochiko, baking powder, and salt. This step helps break up lumps and spreads the leavening evenly through the flour, which is important for a smooth batter.
Step 3: Mix the Wet Ingredients
In a stand mixer bowl or a large mixing bowl, stir the eggs and sugar on low speed, or whisk gently by hand. Do not whip in too much air. Next, stir in the coconut milk, then the evaporated milk. Add the vanilla extract, and slowly pour in the melted butter while mixing.
Step 4: Combine and Fill the Pan
Add the dry mixture to the wet mixture and stir until everything is fully combined. Scrape the sides and bottom of the bowl so no lumps remain. Then pour the batter into the greased 9 x 13-inch pan, or divide it between two 8 x 8-inch pans. Use a spatula to zigzag through the batter and smooth the top, then tap the pan gently on the counter to release air bubbles. If you want, sprinkle coconut flakes over the top.
Step 5: Bake, Cool, and Cut
Bake for 50 to 60 minutes, until the top is set, golden brown, and a skewer inserted in the center comes out clean. After baking, cool the pan on a wire rack for about 1 hour if you want to serve it from the pan. For cleaner slices, cool it for about 30 minutes, run a knife around the edges, and invert it onto parchment while still warm. Then flip it right side up. Cut into 24 squares, about 2 x 2 inches each, rinsing and drying the knife partway through for neat edges. Serve at room temperature, or microwave a piece for 5 to 10 seconds if you want it warm.
Conclusion
Hawaiian coconut butter mochi squares are one of those desserts that feels simple, but tastes special. With mochiko, coconut milk, evaporated milk, butter, and vanilla, you get a soft, chewy treat with a rich tropical flavor. Since the recipe is easy to follow and stores well, it is a smart choice for family events, potlucks, or make-ahead sweets.
If you try this recipe, I hope it becomes a favorite in your home too. Leave a comment with your results, share it with a friend, or explore more cozy dessert recipes if you are looking for your next sweet bake.
Hawaiian Coconut Butter Mochi Squares
Ingredients
Method
- Preheat the oven to 350°F. If using a convection oven, reduce the temperature by 25°F. Melt the butter in the microwave or on the stovetop. Use the wrapper to grease the pan.
- In a medium bowl, whisk together the mochiko, baking powder, and salt.
- In a mixing bowl, stir the eggs and sugar on low speed or whisk gently by hand, avoiding too much air. Stir in the coconut milk, then the evaporated milk. Add vanilla extract and melted butter while mixing.
- Pour the dry mixture into the wet mixture and stir until fully combined. Pour the batter into a greased 9 x 13-inch pan or divide between two 8 x 8-inch pans. Smooth the top and sprinkle coconut flakes if desired.
- Bake for 50 to 60 minutes until the top is set and golden brown. A skewer inserted in the center should come out clean.
- Allow the pan to cool on a wire rack for about 1 hour. For cleaner slices, cool for about 30 minutes, run a knife around the edges, invert onto parchment, and then flip right side up.
- Cut into 24 squares, about 2 x 2 inches each.
