These Homemade Tim Tam Chocolate Sandwich Cookies are pure comfort. They have that lovely mix of crisp biscuit, soft chocolate cream, and a smooth chocolate shell that makes every bite feel special. If you enjoy classic chocolate treats, this recipe brings that same cozy feeling right into your own kitchen.
What makes these cookies shine is the balance of simple ingredients. The chocolate biscuits use unsalted butter, powdered sugar, egg yolk, vanilla extract, all-purpose flour, Dutch-process cocoa powder, fine sea salt, and a little instant espresso powder to deepen the chocolate flavor. Then the filling adds dark chocolate, milk chocolate, heavy cream, unsalted butter, and vanilla bean paste for a rich, smooth center. Finally, the coating uses high-quality dark chocolate and coconut oil for that glossy finish and firm snap.
The method is easy to follow, too. First, you cream the butter and sugar, then mix in the yolk and vanilla. After that, you add the dry ingredients, chill the dough, roll and cut the biscuits, and bake until just set. Meanwhile, you make the filling, sandwich the cookies together, and dip them in melted chocolate. In short, the steps are simple, but the result feels bakery-worthy.
These Homemade Tim Tam Chocolate Sandwich Cookies are perfect for afternoon tea, holiday cookie trays, or a quiet treat with coffee after dinner. They are also a wonderful recipe to make ahead for potlucks, gift boxes, or family gatherings, since they store well and travel nicely.
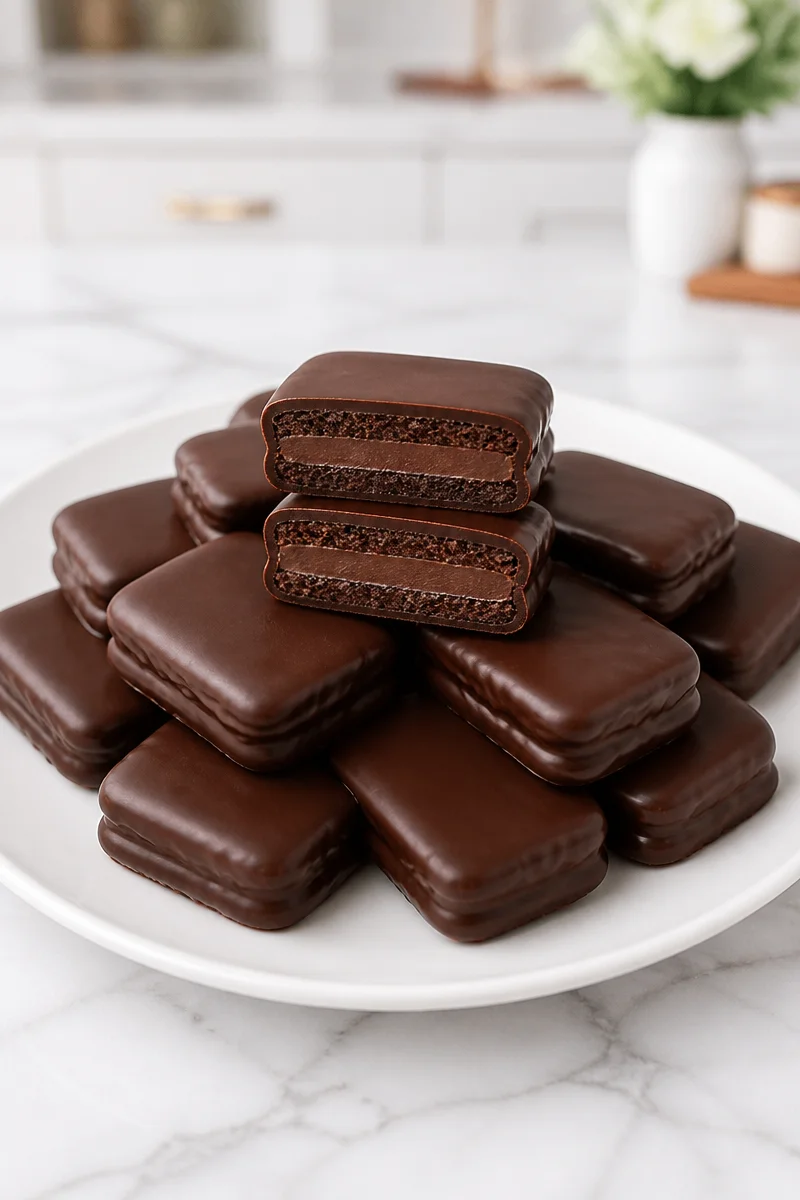
Why You’ll Love This Homemade Tim Tam Chocolate Sandwich Cookies
- Rich chocolate flavor: The cocoa biscuit, chocolate filling, and dark coating all work together for a deep, full taste.
- Simple pantry ingredients: Most of the items are easy to find in a regular grocery store.
- Great make-ahead cookie: You can bake the biscuits, chill the filling, and finish the coating later.
- Perfect for sharing: These cookies look impressive, so they are a nice choice for gifts, parties, and holidays.
- Comforting and familiar: They taste like a classic chocolate sandwich cookie, but homemade feels extra special.
Butter Tips
Butter is the key ingredient in the chocolate biscuits, so start with softened unsalted butter that is cool but easy to press. If the butter is too warm, the dough can spread too much in the oven. If it is too cold, it will not cream well with the sugar. For the best Homemade Tim Tam Chocolate Sandwich Cookies, let the butter sit at room temperature until it gives slightly when you press it. Also, use unsalted butter so you can control the salt level in both the biscuits and the filling.
Options for Substitutions
- Powdered sugar: You can use superfine sugar in the biscuit dough, but the texture may be a little less tender.
- Vanilla extract: Vanilla bean paste works well in the biscuits if you want a richer vanilla taste.
- All-purpose flour: A 1:1 gluten-free baking flour can work, although the cookies may be a bit more delicate.
- Dutch-process cocoa powder: Natural cocoa powder can be used, but the flavor will be slightly sharper and less smooth.
- Heavy cream: For the filling, full-fat coconut cream can replace heavy cream if you want a dairy-free version.
- Dark chocolate coating: Semi-sweet chocolate can replace the 60 to 70 percent dark chocolate if you prefer a milder finish.
Watch Out for These Mistakes
One common mistake is overmixing the dough. Once you add the dry ingredients, mix only until the dough comes together. If you beat it too long, the biscuits can turn tough instead of tender. Since Homemade Tim Tam Chocolate Sandwich Cookies should have a crisp but delicate bite, a light hand matters here.
Another issue is skipping the chill time. The dough needs at least 1 hour in the refrigerator so it rolls cleanly and holds its shape in the oven. If you rush this step, the dough may stick, tear, or spread too much while baking. So, give it time to firm up before you roll and cut.
Also, watch the baking time closely. These biscuits should be set, but not hard. If you bake them too long, they can become dry, and then the sandwich cookies will lose that softer center contrast. Instead, pull them as soon as they look firm at the edges and slightly softer in the middle.
Finally, let the filling cool to a spreadable texture before assembling. If it is too warm, it will squish out the sides. Likewise, if the coating is too hot when you dip the cookies, it can melt the filling a bit. So, patience helps keep each layer neat.
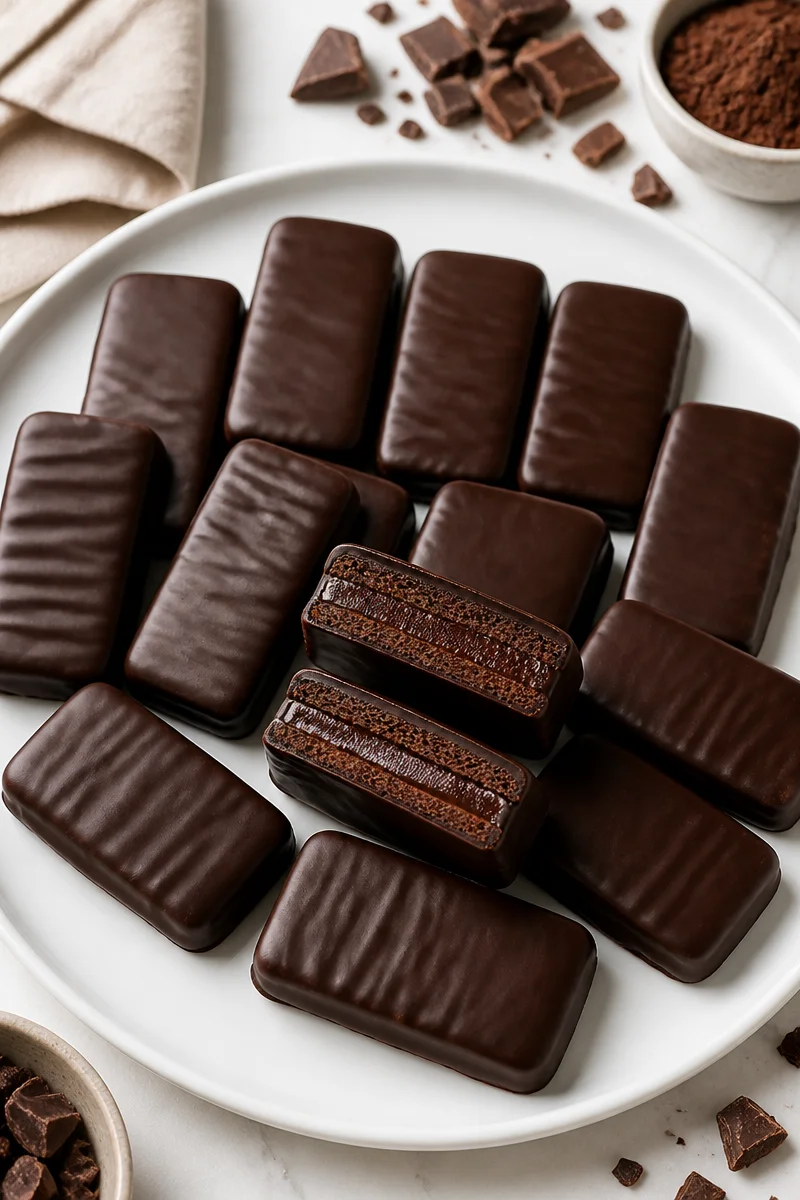
What to Serve With Homemade Tim Tam Chocolate Sandwich Cookies?
These chocolate sandwich cookies pair well with a hot cup of coffee, black tea, or a glass of cold milk. For a fuller dessert spread, serve them with fresh berries, a scoop of vanilla ice cream, or a simple fruit salad to balance the rich chocolate. They also go nicely on a holiday cookie platter with shortbread, butter cookies, or chocolate bark, since their deep cocoa flavor stands out without being too sweet.
Storage Instructions
Store: Keep the Homemade Tim Tam Chocolate Sandwich Cookies in an airtight container in the refrigerator for up to 1 week. Because the coating is not tempered, a cool fridge helps keep the chocolate shell firm.
Freeze: Freeze the cookies in a single layer first, then transfer them to a freezer-safe container with parchment between layers. They will keep well for up to 2 months.
Reheat: These cookies are best served at room temperature, so there is no real need to reheat them. If you want to soften them slightly, let them sit out for 10 to 15 minutes. You can also warm them very briefly in the microwave, about 5 seconds at a time, but be careful because the filling can melt quickly. On the stovetop, you do not need any reheating step for serving.
Recipe Info
Preparation Time: 40 minutes, plus 1 hour chilling, plus 30 minutes coating set
Cooking Time: 25 minutes
Total Time: 2 hours 35 minutes
Level of Difficulty: Easy
Servings: 20
Kcal: 215 kcal per serving
Estimated nutrition
Estimated nutrition for the whole recipe (without optional ingredients):
- Calories: about 4,200 to 4,400
- Protein: about 45 to 55 grams
- Fat: about 280 to 320 grams
- Carbohydrates: about 360 to 420 grams
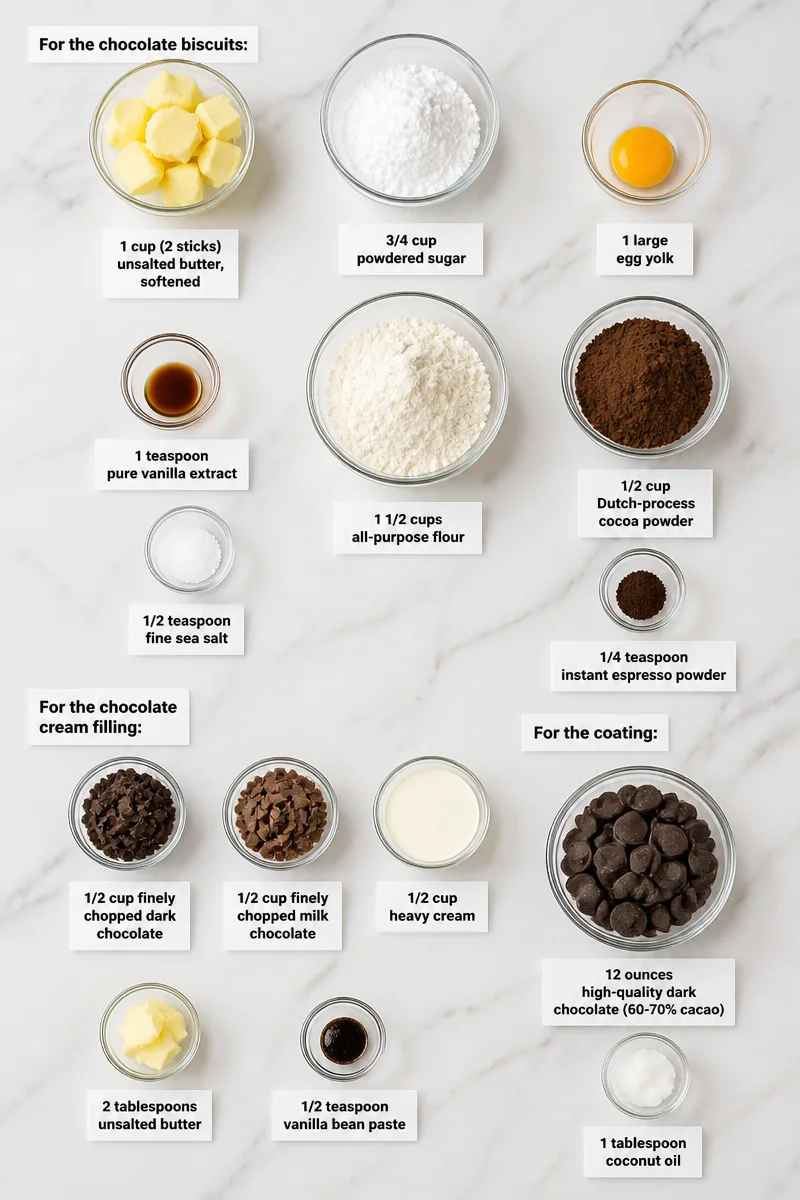
Ingredients
- 1 cup (2 sticks) unsalted butter, softened
- 3/4 cup powdered sugar
- 1 large egg yolk
- 1 teaspoon pure vanilla extract
- 1 1/2 cups all-purpose flour
- 1/2 cup Dutch-process cocoa powder
- 1/2 teaspoon fine sea salt
- 1/4 teaspoon instant espresso powder
- 1/2 cup finely chopped dark chocolate
- 1/2 cup finely chopped milk chocolate
- 1/2 cup heavy cream
- 2 tablespoons unsalted butter
- 1/2 teaspoon vanilla bean paste
- 12 ounces high-quality dark chocolate (60-70% cacao)
- 1 tablespoon coconut oil
Step-by-Step Instructions
Step 1: Make the Biscuit Dough
Beat the softened butter and powdered sugar for 2 to 3 minutes, until the mixture looks light and fluffy. Then beat in the egg yolk and vanilla extract until smooth. In a separate bowl, sift together the flour, cocoa powder, salt, and espresso powder. Add the dry mixture to the butter mixture on low speed and mix just until a soft dough forms. Do not overmix.
Step 2: Chill and Cut the Dough
Split the dough in half and shape each piece into a rectangle. Wrap both pieces in plastic and refrigerate for at least 1 hour. After chilling, heat the oven to 350°F and line two baking sheets with parchment. Roll one portion of dough on a lightly floured surface to about 1/4 inch thick, then cut rectangles about 2.5 x 1 inches. Place them about 1 inch apart on the prepared sheets, then repeat with the second portion.
Step 3: Bake the Biscuits
Bake the biscuits for 10 to 12 minutes per tray, or until they are set but not hard. Let them cool on the baking sheets for 5 minutes first, then move them to a wire rack so they can cool completely. This helps them stay sturdy enough for filling without drying out.
Step 4: Make the Chocolate Filling
Put the chopped dark chocolate and milk chocolate in a heatproof bowl. Warm the cream and butter in a small saucepan over medium heat until just simmering, then pour it over the chocolate. Let it stand for 2 minutes so the chocolate softens. Stir in the vanilla bean paste until the filling is smooth and glossy. Set it aside until it cools to a spreadable texture.
Step 5: Assemble and Coat the Cookies
Match the cooled biscuits by size. Spread filling on the flat side of one biscuit, top with a second biscuit, and press gently. Repeat with the rest. Then melt the dark chocolate and coconut oil in a heatproof bowl over simmering water, stirring until smooth. Dip each sandwich cookie with a fork, let the extra chocolate drip off, and place it on a parchment-lined tray. Let the coating set at room temperature, or chill the cookies for 20 to 30 minutes until firm.
Conclusion
These Homemade Tim Tam Chocolate Sandwich Cookies bring together crisp cocoa biscuits, a silky chocolate filling, and a rich dark chocolate coating in one lovely bite. The recipe takes a little time, but each step is simple, and the end result is worth it. Because the cookies store well, they are a smart choice for sharing, gifting, or enjoying with coffee at home.
If you make this recipe, I would love to hear how it turned out. Try a batch, leave a comment with your results, and share the recipe with a friend who loves chocolate cookies. You can also explore more homemade cookie recipes for your next baking day.
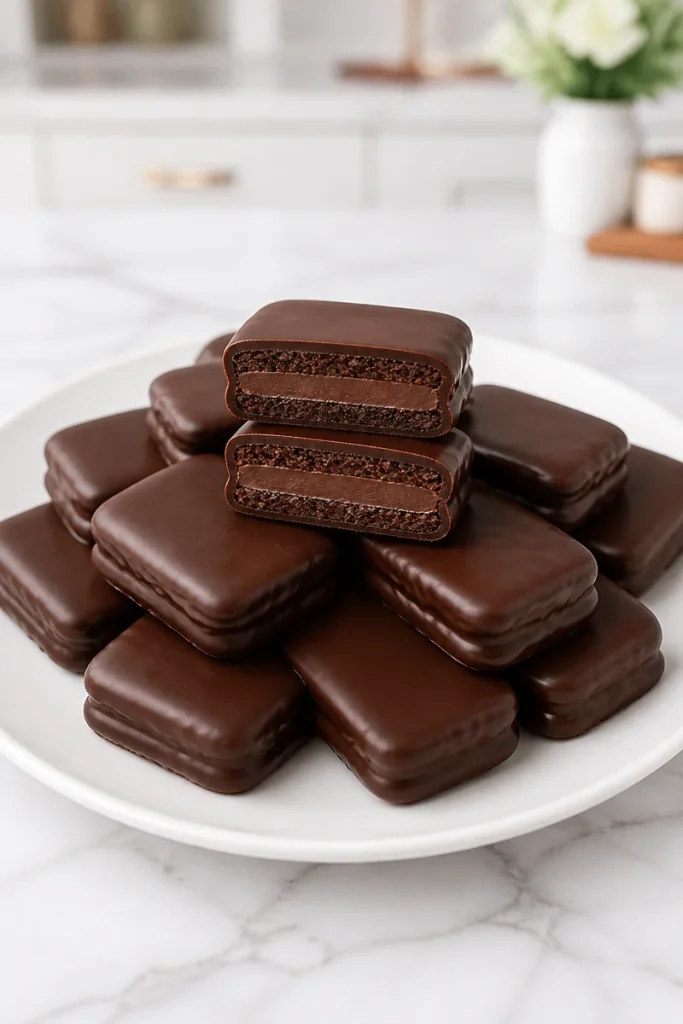
Tim Tam Chocolate Sandwich Cookies
Ingredients
Method
- Beat the softened butter and powdered sugar for 2 to 3 minutes until light and fluffy. Mix in the egg yolk and vanilla extract until smooth.
- Sift together the flour, cocoa powder, salt, and espresso powder in a separate bowl. Add the dry mixture to the butter mixture on low speed and mix just until a soft dough forms.
- Split the dough in half, shape each piece into a rectangle, wrap in plastic, and refrigerate for at least 1 hour.
- Preheat the oven to 350°F and line two baking sheets with parchment paper. Roll one portion of dough to about 1/4 inch thick, cut rectangles about 2.5 x 1 inches, and place on the sheets.
- Bake for 10 to 12 minutes per tray until set but not hard. Let cool on baking sheets for 5 minutes, then transfer to a wire rack to cool completely.
- Warm the cream and butter in a saucepan until just simmering, pour it over the chopped chocolates in a heatproof bowl, and let stand for 2 minutes.
- Stir in the vanilla bean paste until the filling is smooth and glossy, then cool to a spreadable texture.
- Spread filling on the flat side of one biscuit, top with a second biscuit, and press gently.
- Melt the dark chocolate and coconut oil together in a heatproof bowl over simmering water, dip each sandwich cookie, let the excess chocolate drip off, and place on a parchment-lined tray. Let set at room temperature or chill until firm.
