Few things evoke the warmth of home cooking quite like the aroma of fresh-baked cookies. When those cookies also take the form of playful little spiders, you have a dessert that is not just delicious but also fun! My favorite cookie creation, the Chocolate Peanut Butter Spider Cookie, is pure comfort. It’s a delightful way to bring family together and add a twist to a classic treat. Imagine friends and grandchildren smiling as they bite into a sweet cookie topped with a peanut butter cup and whimsical pretzel “legs.” It’s hard not to fall in love with this easy recipe.
The beauty of this recipe lies in its simplicity and the delightful flavors it brings together. With just one package of peanut butter cookie dough as your base, each cookie is enhanced by the creamy goodness of mini Reese’s peanut butter cups. The warm cookies, fresh from the oven, are drizzled in rich melted chocolate, forming a perfect pairing with the delicate crunch of broken pretzel sticks and the vibrant surprise of candy eyes. Together, they create an unmistakable flavor profile that’s both rich and playful—an irresistible combination for all ages.
Making these spider cookies is a breeze. First, you’ll preheat your oven according to the cookie dough package directions. Then, scoop the dough into balls, placing them on a lined baking sheet. After baking until the edges are set, you’ll press a peanut butter cup into the center of each cookie. A bit of cooling time, followed by the fun of decorating with pretzels and candy eyes, wraps it all up. It’s a straightforward, enjoyable process that even novice bakers can tackle with confidence.
These cookies are perfect for many occasions. Whether you are cozying up for a movie night, planning a Halloween party, or looking for a unique dessert to take to a gathering, Chocolate Peanut Butter Spider Cookies are a great choice. They are not only easy to make but will also bring smiles to everyone who shares them!
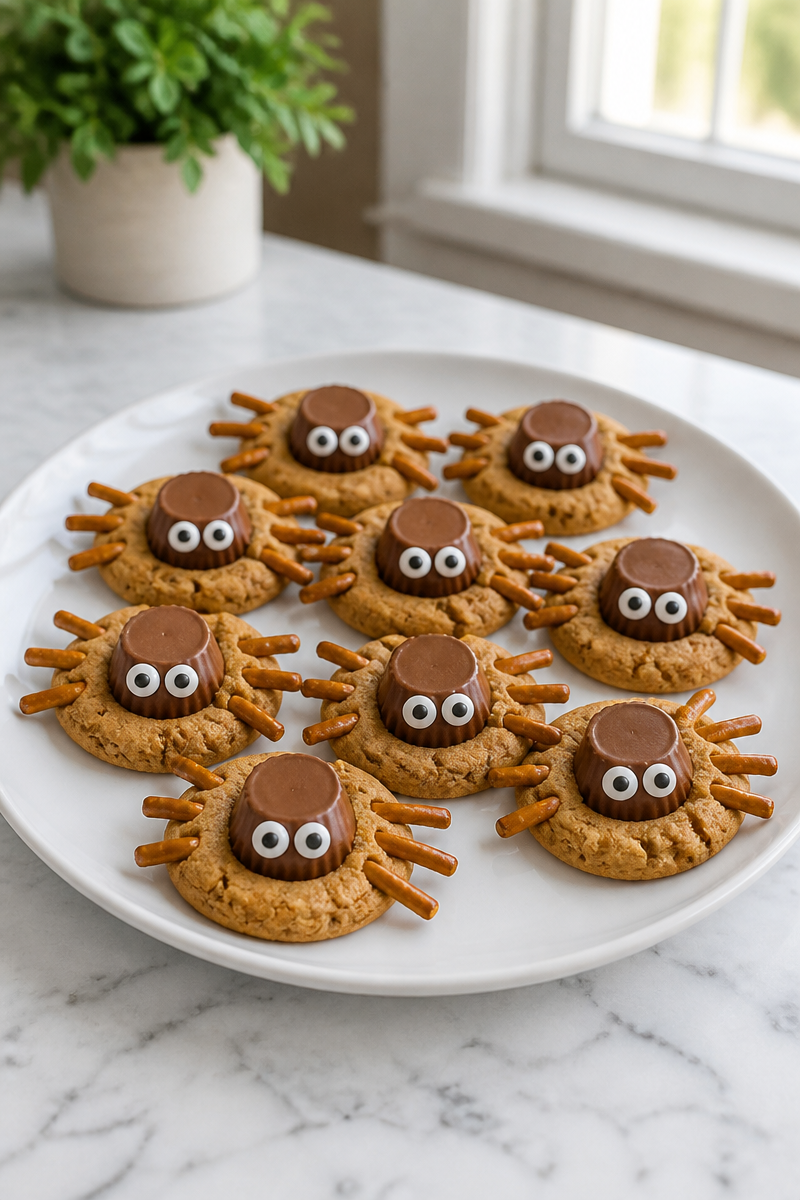
Why You’ll Love This Chocolate Peanut Butter Spider Cookie
- Quick to Make: The recipe is straightforward and quick, perfect for home cooks of all skill levels.
- Simple Ingredients: With just five main ingredients, you probably already have everything you need.
- Comfort Food: Peanut butter and chocolate remind us of childhood joys and family gatherings.
- Fun for All Ages: This cookie doubles as a fun project for kids, making it an engaging cooking experience.
- Perfect for Any Occasion: Whether it’s a holiday or a casual get-together, these cookies will be a hit!
Peanut Butter Tips
When it comes to choosing peanut butter for your cookies, go for the creamy variety for a smooth texture. Look for natural peanut butter without added sugar or hydrogenated oils for the best flavor. If you prefer extra crunch, opt for chunky peanut butter for a delightful bite in each cookie. Always check the expiration date to ensure freshness, and remember to store opened jars in the refrigerator to maintain their quality.
Options for Substitutions
- Cookie Dough: Use homemade peanut butter cookie dough if you prefer baking from scratch.
- Peanut Butter Cups: Milk chocolate or dark chocolate cups can replace the mini Reese’s for different flavors.
- Chocolate Chips: Substitute melted white chocolate for a different taste and visual effect.
- Pretzel Sticks: Use thin breadsticks or crunchy snack sticks if pretzels aren’t available.
- Candy Eyes: Mini chocolate chips or colorful sprinkles can add a fun touch if candy eyes are hard to find.
- Dairy-Free Alternatives: For a dairy-free version, choose dairy-free chocolate chips and a dairy-free peanut butter option.
Watch Out for These Mistakes
One common pitfall when making cookies is overbaking. Always keep an eye on the cookies as they bake to ensure the edges are set but the centers remain soft; this will make for a chewy cookie. Another mistake is pressing the peanut butter cups into the cookies too late. Be sure to do this as soon as the cookies come out of the oven while they are still warm for better melting and adherence. Additionally, allowing the cookies to cool completely before adding the pretzel legs might lead them to be too firm to attach. Finally, take care when melting chocolate; if it gets too hot, it can seize up and become unusable.
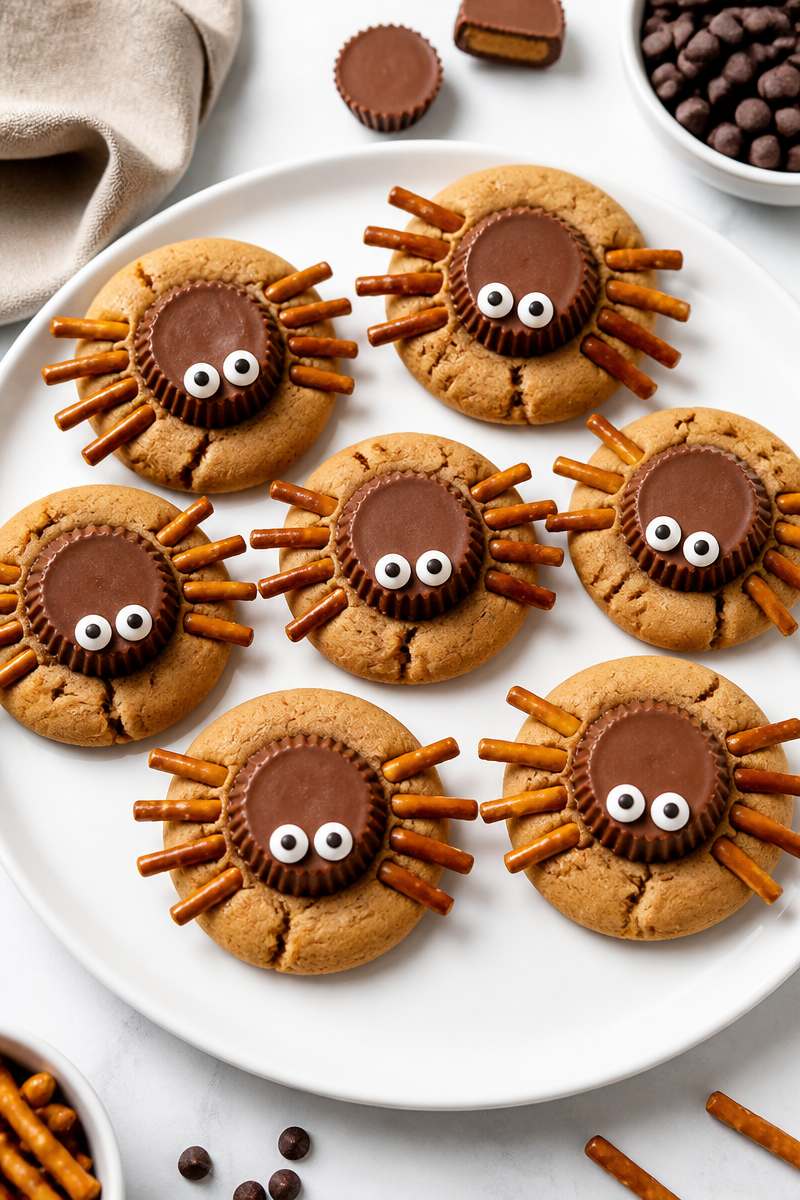
What to Serve With Chocolate Peanut Butter Spider Cookie?
To create a lovely dessert spread, consider serving these spider cookies alongside a scoop of vanilla ice cream or a glass of cold milk for the perfect combination. Alternatively, you can serve them with a warm cup of coffee or hot cocoa for a cozy setting. They also pair perfectly with fresh fruit, like sliced apples or banana for a balanced treat.
Storage Instructions
Store: These cookies can be kept in an airtight container in the fridge for about 5 days.
Freeze: For long-term storage, freeze the baked cookies in a freezer-safe container for up to 3 months.
Reheat: To enjoy warm cookies again, reheat in the microwave for 10-15 seconds or in the oven at 350°F for about 5 minutes.
Recipe Info
- Preparation Time: Approximately 15 minutes
- Cooking Time: 10-12 minutes
- Total Time: About 30 minutes
- Level of Difficulty: Easy
- Servings: Approximately 24 cookies
Estimated Nutrition
Estimated nutrition for the whole recipe (without optional ingredients):
- Calories: 2,400 – 2,800
- Protein: 40 – 50 grams
- Fat: 120 – 140 grams
- Carbohydrates: 300 – 350 grams
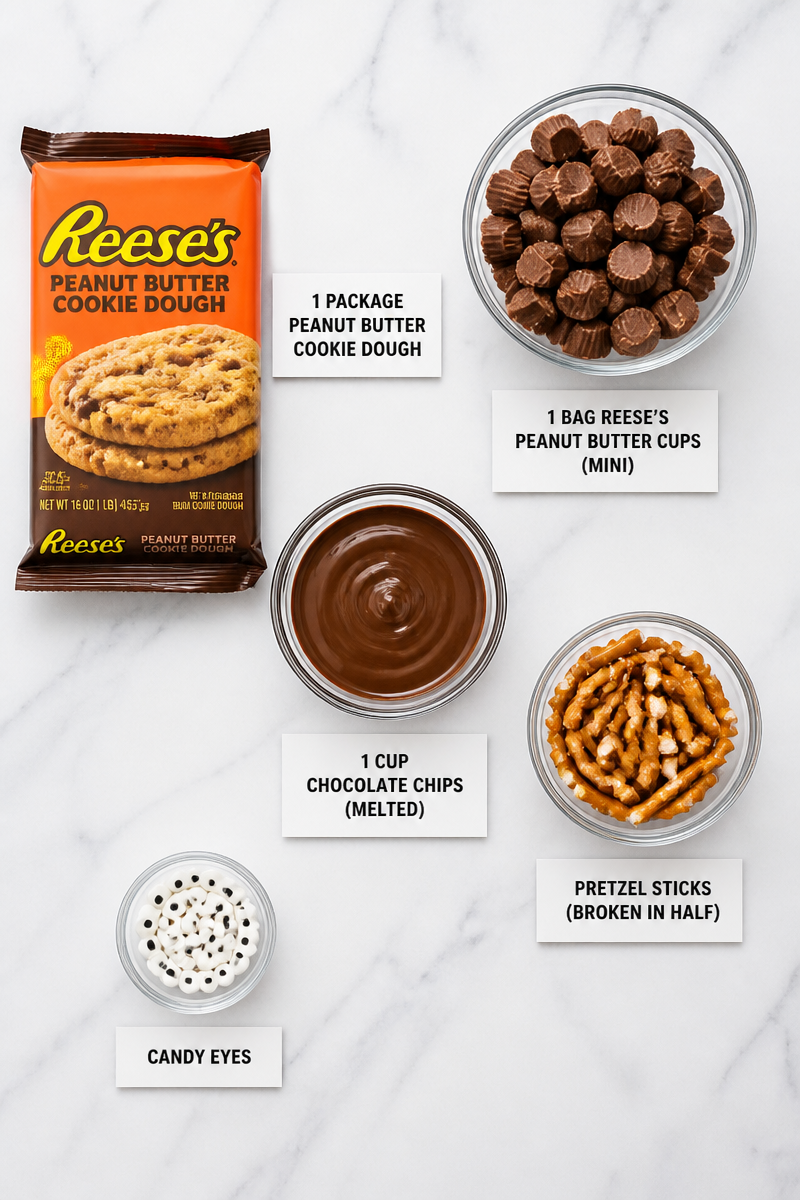
Ingredients
- 1 package peanut butter cookie dough
- 1 bag Reese’s peanut butter cups (mini)
- 1 cup chocolate chips (melted)
- Pretzel sticks (broken in half)
- Candy eyes
Step-by-Step Instructions
Step 1: Preheat Oven and Prep Pan
Start by preheating your oven according to the instructions on the peanut butter cookie dough package. Line a baking sheet with parchment paper to ensure easy cleanup.
Step 2: Scoop and Shape Dough
Using a cookie scoop or spoon, scoop the dough into balls and place them on the lined baking sheet. Make sure to leave space between each cookie, as they will spread while baking.
Step 3: Bake Cookies
Bake the cookies according to the package instructions or until the edges are set, usually around 10-12 minutes. They should still look slightly soft in the center.
Step 4: Press Peanut Butter Cups
As soon as the cookies come out of the oven, gently press a mini Reese’s peanut butter cup into the center of each warm cookie. The heat from the cookie will help melt the chocolate slightly.
Step 5: Cool and Prepare Legs
Allow the cookies to cool completely on the baking sheet. Once cooled, take the broken pretzel stick halves and insert four into each side of the cookie to create spider legs.
Step 6: Add Candy Eyes
For the finishing touch, dip a toothpick in melted chocolate and use it to attach candy eyes onto the peanut butter cup on each cookie to make them look like cute little spiders.
Step 7: Set and Serve
Let the cookies set for a while until the chocolate fully hardens. Then they are ready to be served and enjoyed!
In summary, these Chocolate Peanut Butter Spider Cookies are not only delicious but also bring a playful aspect to any gathering. I encourage you to try making them, share your experiences, and perhaps explore more delightful recipes to enjoy with friends and family. Get ready to bake some sweet memories!
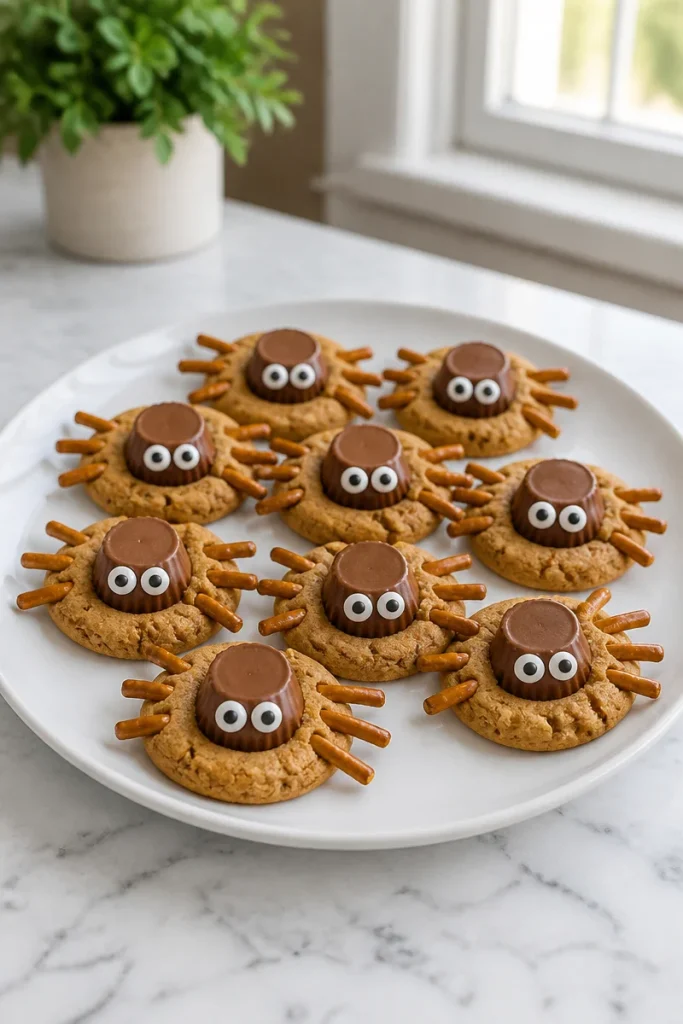
Chocolate Peanut Butter Spider Cookies
Ingredients
Method
- Preheat your oven according to the instructions on the peanut butter cookie dough package. Line a baking sheet with parchment paper.
- Using a cookie scoop or spoon, scoop the dough into balls and place them on the lined baking sheet with enough space between each.
- Bake the cookies until the edges are set, usually around 10-12 minutes. They should look slightly soft in the center.
- As soon as the cookies come out of the oven, gently press a mini Reese's peanut butter cup into the center of each warm cookie.
- Allow the cookies to cool completely on the baking sheet.
- Once cooled, take the broken pretzel stick halves and insert four into each side of the cookie to create spider legs.
- Dip a toothpick in melted chocolate and use it to attach candy eyes onto the peanut butter cup on each cookie.
- Let the cookies set until the chocolate fully hardens, then serve.
