There’s something truly special about making treats that bring smiles—not just for kids, but for adults too. These Witch Hat Chocolate Cookie Cones are exactly that kind of comfort food. They are playful, sweet, and easy to share with family and friends. I can picture a cozy afternoon where everyone gathers around the kitchen table, enjoying these little cones that look as fun as they taste. For me, this recipe is pure comfort, with a touch of Halloween magic.
At the heart of this recipe are small chocolate wafer cookies and pointed sugar ice cream cones. Imagine rich, crispy chocolate wafers that bring a satisfying crunch paired with the sweet, crisp sugar cones shaped like little witch hats. We dip these cones in melted chocolate, which binds everything together, adding a smooth, velvety coat. For decoration, melted orange and yellow candy melts form the perfect “hat bands” and buckles, giving these treats a festive look with a gentle fruity sweetness that complements the rich chocolate perfectly.
The method is delightfully uncomplicated, making it perfect for cooks at any skill level, including seniors. The process involves lining a baking sheet with parchment paper, dipping the cones into melted chocolate, setting them upright on the chocolate wafers, and decorating with candy melts. This set-and-decorate approach lets the chocolate harden naturally, forming a sturdy but delicate hat shape. Preparing these cones usually takes just about an hour, making it an approachable project for any home cook.
These Witch Hat Chocolate Cookie Cones are not only visually appealing but also perfect for all kinds of occasions. Whether you’re hosting a Halloween party or just want a sweet treat for chilly autumn nights, these cones fit the bill. They’re great for potlucks, school parties, or anytime you need a fun, bite-sized dessert that kids and adults can enjoy together.
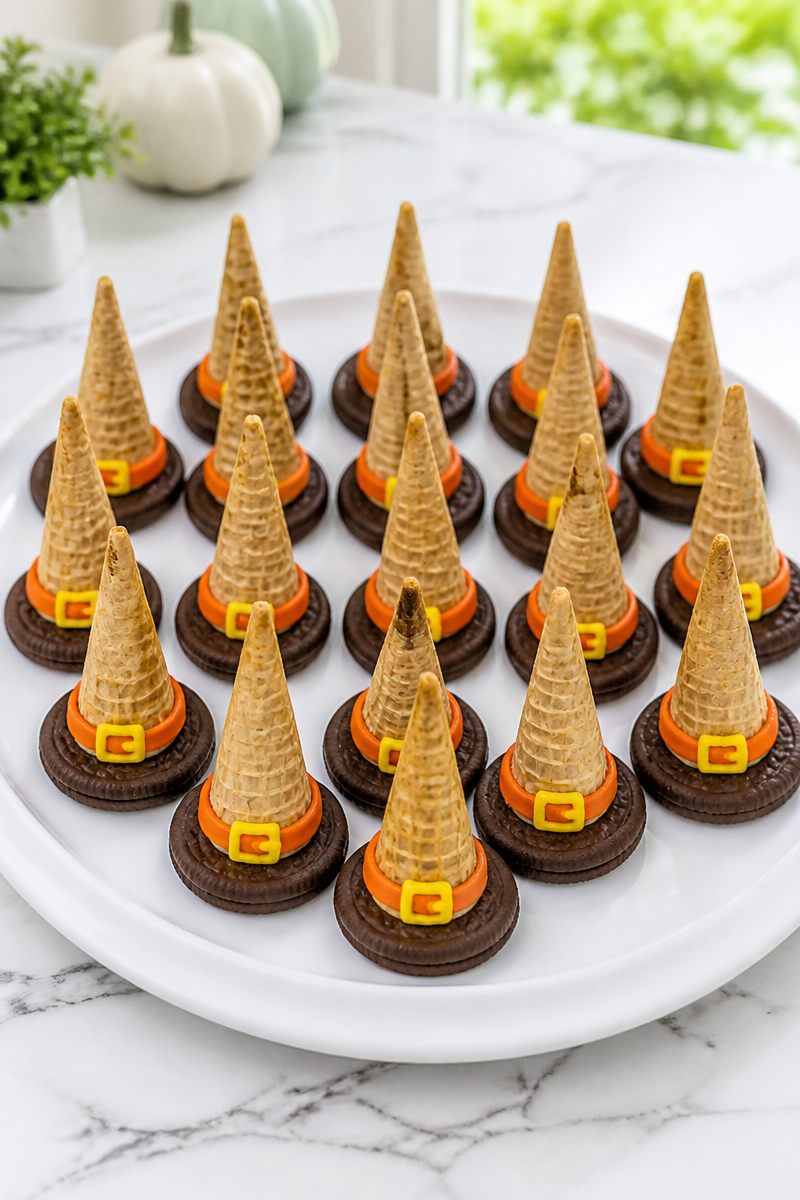
Why You’ll Love This Witch Hat Chocolate Cookie Cones
- Quick and easy to make, perfect for beginners or busy schedules.
- Uses simple, easy-to-find ingredients you probably already have or can get easily.
- Fun and festive design that delights kids and adults alike.
- No baking required, just melting and assembling.
- A balance of crunchy, sweet, and smooth chocolate flavors that feels like a special treat.
Chocolate Wafer Cookie Tips
When selecting chocolate wafer cookies, you want ones that are firm yet thin enough to hold the weight of the cone once dipped in melted chocolate. Some brands have a softer texture, which might make the cones topple or soak through. Look for cookies labeled as “crispy” or “thin and crunchy” to add the right texture contrast. It’s also a good idea to keep the cookies in a cool, dry place until you’re ready to assemble to prevent any sogginess. Handling them gently will help avoid cracks, as broken cookies won’t support the cones properly.
Options for Substitutions
- Use vanilla wafer cookies instead of chocolate wafers for a lighter flavor and different color contrast.
- Swap the sugar ice cream cones with waffle cones cut to size for a nuttier, chewier texture.
- Use white chocolate melting wafers instead of regular chocolate wafers for a sweeter, creamier base.
- Replace orange and yellow candy melts with colored royal icing or colored sprinkles for the buckle.
- Substitute candy melts with colored buttercream piped using a small tip for more control over decorations.
- Use dark chocolate chips or chocolate bark, melted, if melting wafers aren’t available.
Watch Out for These Mistakes
One common mistake is not working quickly enough when dipping the cones into the melted chocolate. If the chocolate starts cooling before you place the cone on the cookie, you might struggle to get a clean seal. It’s best to dip one cone at a time and immediately attach it to the cookie while the chocolate is still fluid. Another issue is not holding the cones upright during setting. If the cones tip over while the chocolate hardens, the whole shape can collapse. Using a cup or a small box edge as support helps keep them steady.
Also, avoid adding too much extra melted chocolate around the base; a thin layer is enough to hold the cone securely to the cookie. Thick layers might drip or take too long to set. Lastly, be patient with the decoration step. Trying to pipe the candy melts before the chocolate hat is fully set can lead to smearing or smudging. Let the base dry completely, then add your orange band and yellow buckle carefully.
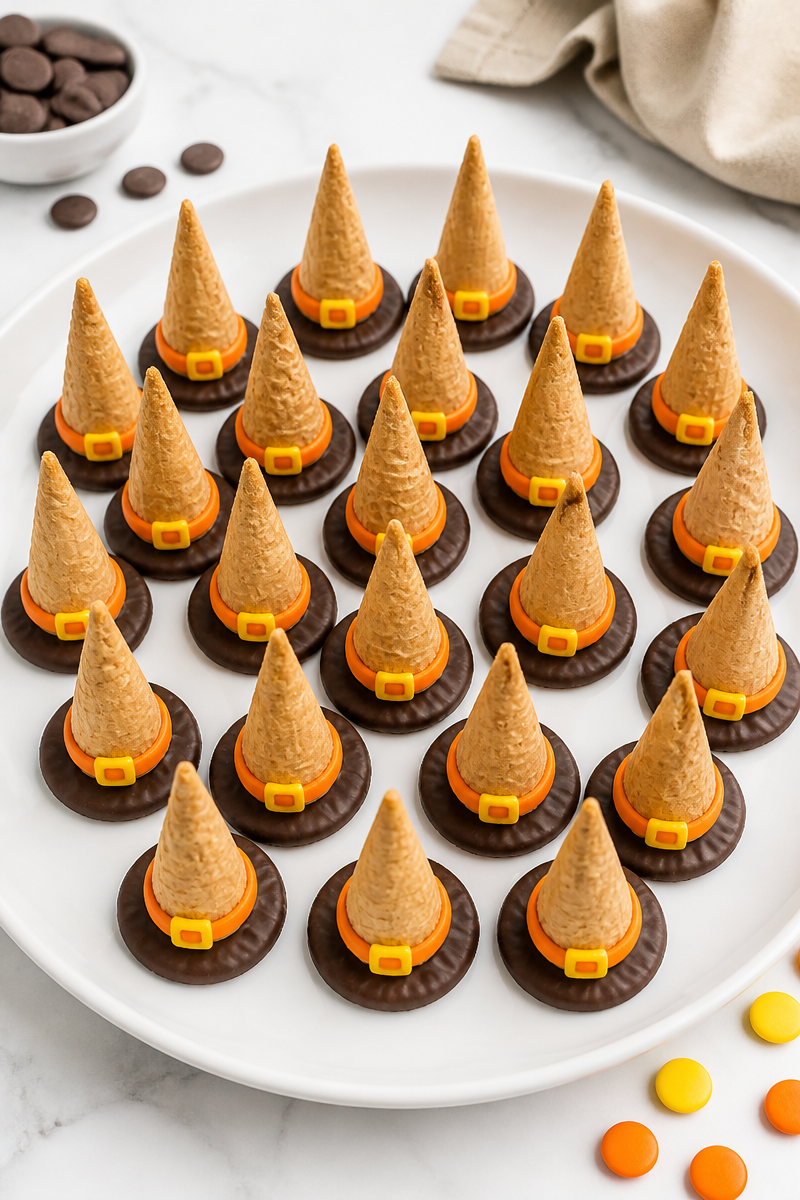
What to Serve With Witch Hat Chocolate Cookie Cones?
These fun witch hats pair well with simple yet festive dishes. Think about serving them alongside warm, spiced apple cider or a creamy pumpkin spice latte for a seasonal treat. They also go great with a plate of freshly baked pumpkin muffins or cinnamon sugar donuts. If you want to keep it light, serve them with a bowl of fresh fruit like sliced pears, apples, or seedless grapes, balancing the sweetness of the cones.
Storage Instructions
Store your Witch Hat Chocolate Cookie Cones in an airtight container at room temperature away from heat for up to 1 week. Avoid refrigeration as it may cause the cones to become soft or the decoration to sweat.
If you want to store them longer, freezing is an option. Place them in a single layer in a freezer-safe container separated by parchment paper. They will keep for up to 3 months frozen. To thaw, transfer the cones to the counter and let them come to room temperature naturally. Avoid using the microwave or stove for reheating as this can melt the chocolate.
Reheating is generally not necessary since these cones are best enjoyed cool and crisp. However, if you prefer to warm the cones slightly, try a quick 10-second burst in the microwave only to take the chill off—longer heating will melt the chocolate decorations.
Recipe Info
Preparation Time: About 30 minutes, including dipping and decorating.
Cooking Time: No baking required, but allow 15 to 20 minutes to set plus 10 minutes for decoration to firm.
Total Time: Approximately 55 minutes.
Level of Difficulty: Easy.
Servings: Makes 24 witch hat cones.
Estimated Nutrition
Estimated nutrition for the whole recipe (without optional ingredients):
Calories: 1800-2000 total
Protein: 12-15 grams
Fat: 80-90 grams
Carbohydrates: 250-280 grams
These numbers are approximate and will vary slightly depending on the exact brands and types of waffle cones and candy melts you use.
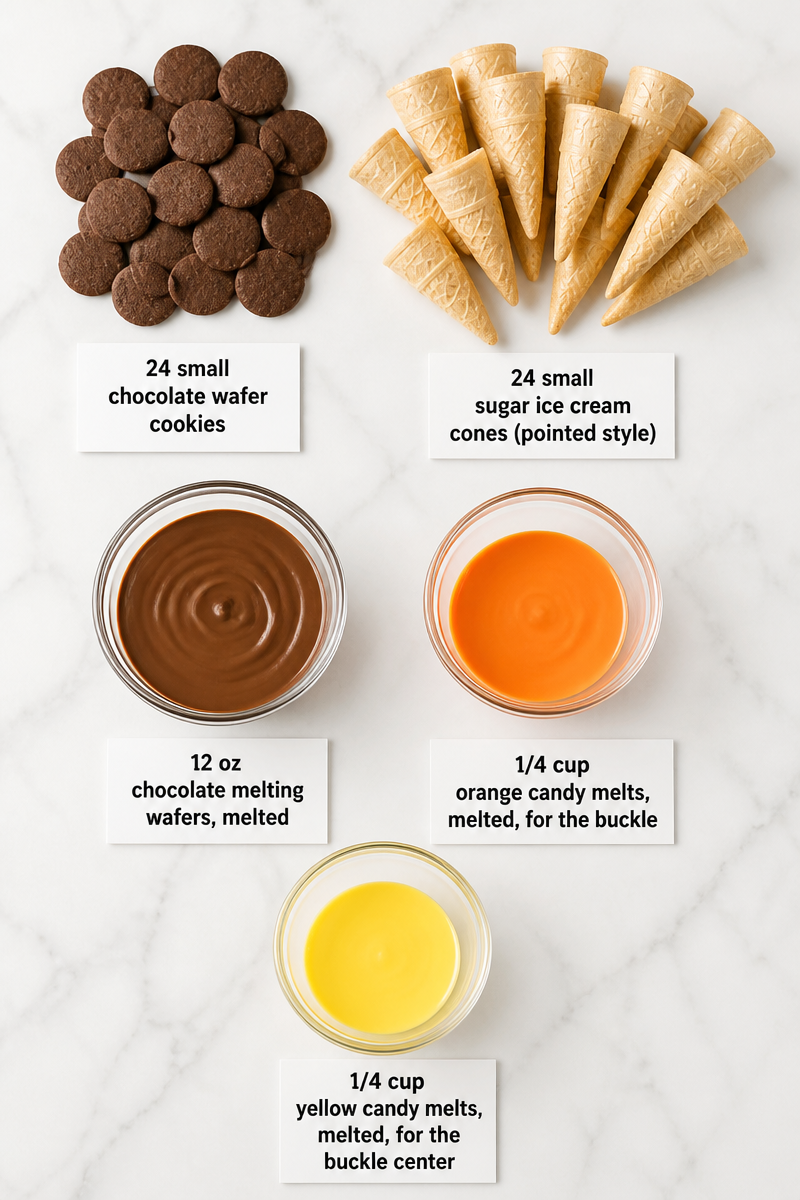
Ingredients
- 24 small chocolate wafer cookies
- 24 small sugar ice cream cones (pointed style)
- 12 oz chocolate melting wafers, melted
- 1/4 cup orange candy melts, melted, for the buckle
- 1/4 cup yellow candy melts, melted, for the buckle center
Step-by-Step Instructions
Step 1: Prepare Your Workspace
Start by lining a baking sheet with parchment paper. This will prevent the cones from sticking and make cleanup easy. Set the baking sheet on a level surface where you can work comfortably.
Step 2: Dip and Attach the Cones
Dip the open rim of one sugar cone into the melted chocolate wafers, coating it evenly. Immediately press the dipped rim onto the center of a chocolate wafer cookie. The cone should stand upright like a pointed witch hat. Repeat with all cones and cookies.
Step 3: Secure the Cone to the Cookie
Take a spoon and add a little extra melted chocolate around the base where the cone meets the cookie. This acts like glue to strengthen the connection. Place the tray in a stable spot and lean the cones against the edge of a cup or a small box to keep them upright. Let them stand until the chocolate fully sets, about 15 to 20 minutes.
Step 4: Decorate the Witch Hats
Once the cones are set and stable, pipe a thin ring of melted orange candy melts around the base of each cone, creating the look of a hat band. Then add a small square or dot of yellow candy melts on the front as the buckle. Allow the decorations to set for 10 minutes.
Step 5: Store or Serve
After the decorations have firmed up, these Witch Hat Chocolate Cookie Cones are ready to serve or package for later. Keep them in an airtight container at room temperature until you are ready to enjoy.
Conclusion
These Witch Hat Chocolate Cookie Cones bring joy to any gathering with their festive look and delightful chocolate crunch. They are simple to make, require no baking, and transform ordinary ingredients into a magical treat. I encourage you to try this recipe for your next party or cozy night in. When you do, please come back and share how yours turned out or explore more sweet and simple dessert ideas on the blog. Happy baking!
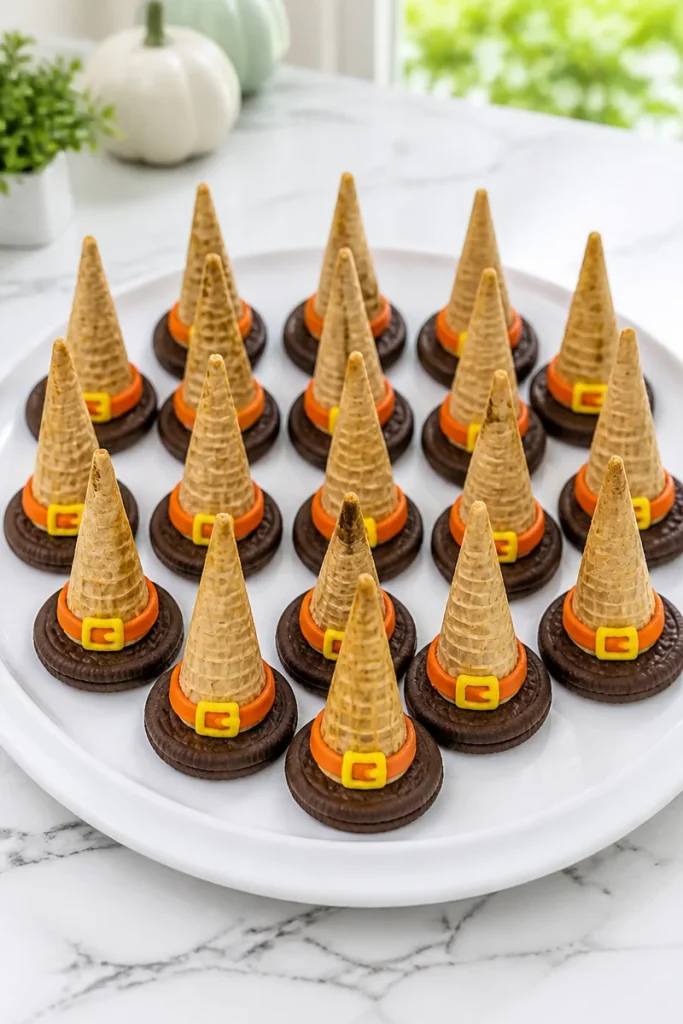
Witch Hat Chocolate Cookie Cones
Ingredients
Method
- Line a baking sheet with parchment paper.
- Dip the open rim of one sugar cone into the melted chocolate wafers and coat it evenly.
- Immediately press the dipped rim onto the center of a chocolate wafer cookie to form a witch hat.
- Repeat with all cones and cookies.
- Add a little extra melted chocolate around the base of the cone on the cookie to strengthen the connection.
- Lean the cones against the edge of a cup or a small box to keep them upright and let them set for about 15 to 20 minutes.
- Pipe a thin ring of melted orange candy melts around the base of each cone to create a hat band.
- Add a small square of yellow candy melts on the front as the buckle and let set for 10 minutes.
- Keep the finished cones in an airtight container at room temperature until ready to serve.
