These mummy hand pies are pure comfort with a playful twist. They bring together the cozy flavor of pumpkin with a fun Halloween look, so they feel special without being fussy. I love recipes like this because they make people smile the moment they reach the table.
At the center of these pumpkin hand pies is a simple filling made with canned pumpkin puree, light brown sugar, pumpkin pie spice, cinnamon, sea salt, and a little cornstarch to help it set. Then the pies are wrapped in refrigerated pie crusts, brushed with egg wash, sprinkled with turbinado sugar, and finished with tiny eyes made from black olive or black gel icing. The flavor is warm, gently sweet, and lightly spiced, with a flaky crust that adds just the right contrast.
The method is easy, too. You make the filling, cut the dough, fill and seal the hand pies, then add the mummy bandages from dough scraps. After that, the pies bake for about 22 minutes, which means the full recipe takes only 52 minutes from start to finish. With a yield of 10 hand pies, this is a smart recipe for a family dessert, party tray, or school treat.
These pumpkin hand pies are perfect for chilly nights, Halloween parties, fall bake sales, or any time you want a cozy dessert that still feels fun. They are also a good choice for make-ahead entertaining because they store well and reheat nicely.
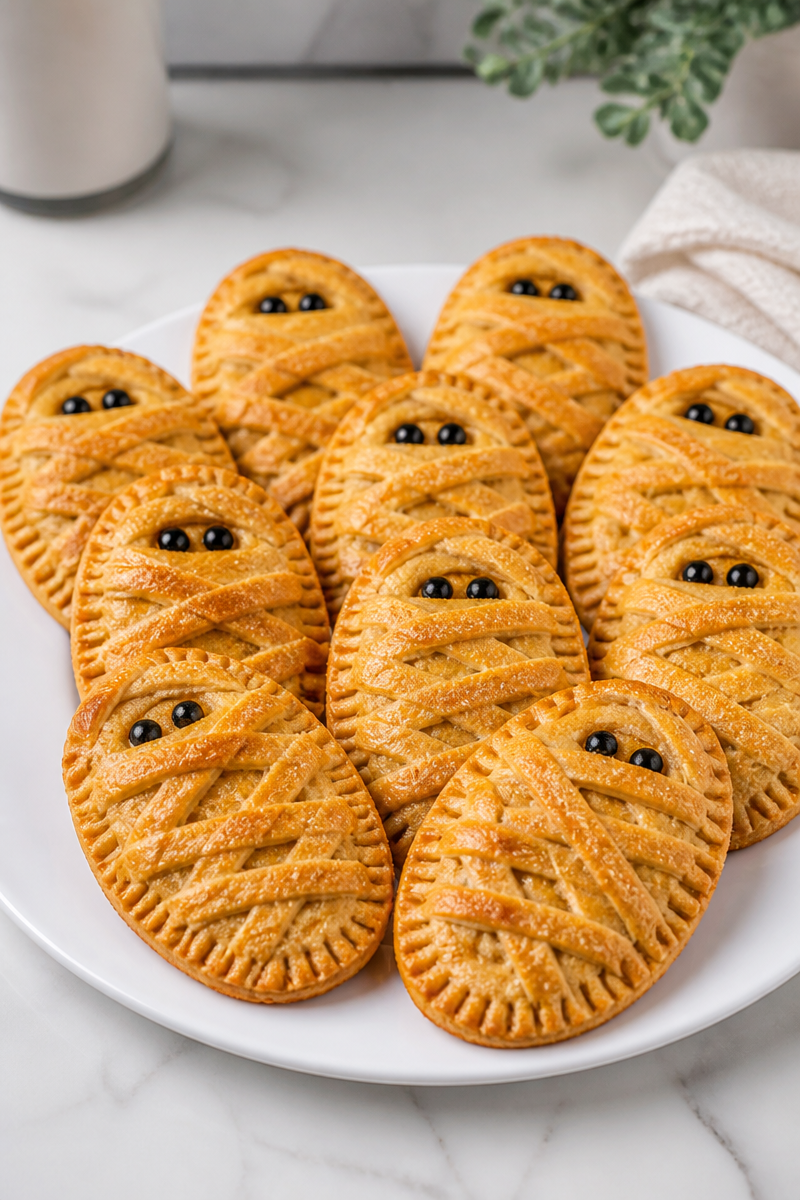
Why You’ll Love This Mummy Hand Pie Pumpkin Filling
- Quick to make: The total time is just 52 minutes, so you can make them even on a busy day.
- Simple ingredients: Most of what you need is probably already in your kitchen.
- Family-friendly: Kids love the mummy look, and adults enjoy the warm pumpkin flavor.
- Easy to serve: Each hand pie is portable, so there is no need for slicing or plating.
- Great for fall gatherings: These pumpkin hand pies fit Halloween, Thanksgiving, and cozy autumn menus.
Pumpkin Tips
Pumpkin is the heart of this recipe, so choose it with care. Use 100% canned pumpkin puree, not pumpkin pie filling, because pie filling already has sugar and spices added. That can make the filling too sweet and throw off the texture. Before mixing, give the puree a good whisk so it is smooth and even. Also, the cornstarch helps the filling stay inside the hand pies, so do not skip it. If your pumpkin puree looks watery, let it sit for a minute, then stir again. This small step helps the pumpkin hand pies bake up neatly and hold their shape.
Options for Substitutions
- Use pie dough made from scratch instead of store-bought crust if you prefer homemade pastry.
- Swap light brown sugar for dark brown sugar for a deeper molasses note.
- Replace pumpkin pie spice with a mix of cinnamon, ginger, nutmeg, and cloves if needed.
- Use white sugar in place of brown sugar for a lighter, cleaner sweetness.
- Replace the egg wash with a little milk or cream if you do not want to use egg, although the shine will be softer.
- Use mini chocolate chips or small dots of frosting instead of black olive or black gel icing for the eyes.
Watch Out for These Mistakes
One common mistake is using too much filling. It can be tempting to pack in extra pumpkin, but that often causes leaks. Instead, stay close to the suggested 1 1/2 tablespoons per hand pie. That amount gives you a nice center of filling without breaking the seal.
Another issue is skipping the seal. After you place the top crust on, press the edges firmly and crimp them with a fork. If the edges are not sealed well, the filling can bubble out during baking. Also, make sure the dough is cold when you work with it, because warm dough is harder to handle and more likely to tear.
Be careful not to overbake the pumpkin hand pies. You want them deep golden brown, but not dark brown. If they bake too long, the crust can dry out and the filling may become dense. So, begin checking near the end of the baking time.
Finally, do not add the eyes too early. Let the hand pies cool for about 5 minutes first. If they are too hot, the black olive pieces or icing can slide around. A brief cooling time helps the eyes stay in place and keeps the mummy face neat.
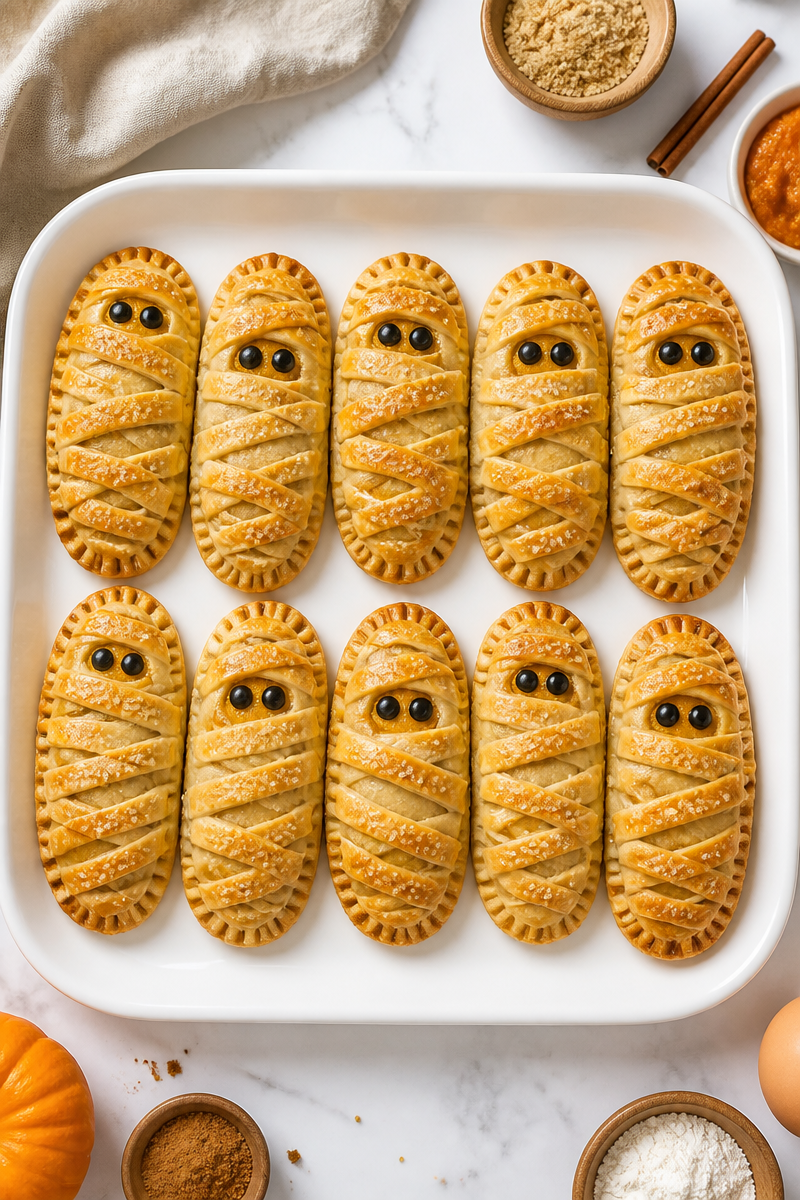
What to Serve With Mummy Hand Pie Pumpkin Filling?
These pumpkin hand pies taste lovely with a mug of hot coffee, warm apple cider, or a cup of tea. For a fuller fall spread, serve them with vanilla ice cream, a spoonful of whipped cream, or fresh fruit like sliced pears or apples. If you are making a dessert board, add caramel dip, cinnamon cookies, or roasted nuts for extra texture and variety.
Storage Instructions
Store: Keep leftover pumpkin hand pies in an airtight container at room temperature for up to 2 days. If you want them to last longer, refrigerate them for up to 5 days.
Freeze: Freeze baked hand pies for up to 2 months. First, let them cool completely. Then wrap each one well and place them in a freezer-safe bag or container. For the best texture, freeze without the eyes if you plan to add them later.
Reheat: For the best crisp crust, reheat in a 350°F oven for 8 to 10 minutes. If you need a quick option, microwave for 20 to 30 seconds, but know that the crust will soften. If you have time, a short oven reheat is the better choice.
Recipe Info
- Preparation Time: 30 minutes
- Cooking Time: 22 minutes
- Total Time: 52 minutes
- Level of Difficulty: Easy
- Servings: 10 hand pies
Estimated Nutrition
Estimated nutrition for the whole recipe (without optional ingredients):
- Calories: 2,200 to 2,700
- Protein: 20 to 30 g
- Fat: 110 to 150 g
- Carbohydrates: 260 to 330 g
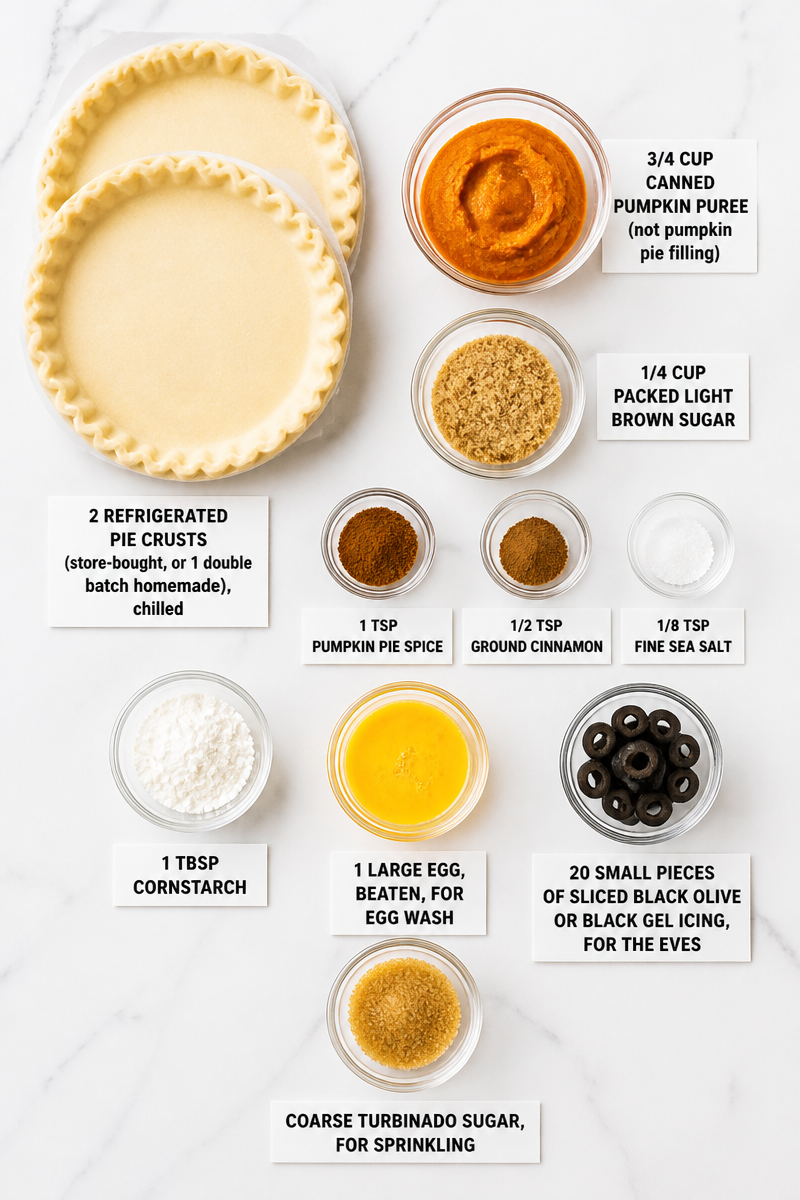
Ingredients
- 2 refrigerated pie crusts (store-bought, or 1 double batch homemade), chilled
- 3/4 cup canned pumpkin puree (not pumpkin pie filling)
- 1/4 cup packed light brown sugar
- 1 tsp pumpkin pie spice
- 1/2 tsp ground cinnamon
- 1/8 tsp fine sea salt
- 1 tbsp cornstarch
- 1 large egg, beaten, for egg wash
- 20 small pieces of sliced black olive or black gel icing, for the eyes
- coarse turbinado sugar, for sprinkling
Step-by-Step Instructions
Step 1: Make the Pumpkin Filling
In a medium bowl, whisk together the pumpkin puree, brown sugar, pumpkin pie spice, cinnamon, salt, and cornstarch until smooth. Keep whisking until there are no lumps of cornstarch left. This helps the filling bake up cleanly and stay inside the crust.
Step 2: Prep the Oven and Cut the Dough
Preheat the oven to 400°F and line two baking sheets with parchment paper. On a lightly floured surface, roll out each pie crust to about 1/8-inch thickness. Then cut out 20 ovals total using a 4-inch oval or rectangular cutter, or use a knife and template if needed. Re-roll the scraps as you go so you can use as much dough as possible.
Step 3: Fill the Bottom Pieces
Place 10 dough ovals on the prepared baking sheets, leaving space between them. Spoon about 1 1/2 tablespoons of pumpkin filling into the center of each one. Be sure to leave about a 1/2-inch border around the edge so the pies can seal well.
Step 4: Seal the Hand Pies
Brush the bare edge of each filled oval with a little beaten egg. Then place a second dough oval on top of each one. Press the edges together firmly, and crimp them with a fork to make a tight seal. This step matters because it keeps the pumpkin filling from leaking while the pies bake.
Step 5: Add the Mummy Bandages
Use any leftover dough scraps to cut thin strips, about 1/4 inch wide. Lay 3 to 4 strips diagonally across the top of each hand pie at different angles to create the mummy look. Leave small gaps between the strips, and trim off any extra dough that hangs over the edge. Also, leave a small bare oval near one end for the face.
Step 6: Bake and Finish the Faces
Brush the tops of the hand pies, including the bandage strips, with the remaining beaten egg. Sprinkle lightly with turbinado sugar. Cut 2 small vents in each pie, or use the gaps between the strips so steam can escape. Bake for 20 to 22 minutes, until the pies are deep golden brown and the filling is set. Let them cool for 5 minutes, then press 2 small pieces of black olive or dots of black gel icing onto the face area for eyes.
Step 7: Serve
Serve the mummy hand pies warm or at room temperature. They are lovely on their own, and they also pair well with ice cream, whipped cream, or a hot drink.
These mummy hand pies are a fun way to enjoy pumpkin season. The crust is flaky, the filling is warm and spiced, and the little mummy faces make them extra charming. So if you want an easy fall treat that feels festive and tastes cozy, give this recipe a try. If you do, come back and share how they turned out, or explore more seasonal dessert ideas for your next family gathering.
