This Classic Layered Pea Salad Side is pure comfort in a bowl. It feels right at home on a family table, and it brings that old-fashioned, crowd-pleasing charm that so many home cooks love. Because it is cool, creamy, and full of color, it works just as well for a casual weeknight dinner as it does for a holiday spread.
What makes this layered pea salad so special is the mix of simple, familiar ingredients. You get crisp chopped iceberg lettuce, juicy sliced grape tomatoes, sweet thawed frozen peas, thin green onions, sharp cheddar cubes, and thick-cut bacon. Then the creamy dressing pulls it all together with mayonnaise, sour cream, apple cider vinegar, sugar, and Creole seasoning. The result is fresh, savory, creamy, and just a little zesty. Plus, a clear glass bowl or a 9 x 13-inch dish lets those pretty layers shine.
The method is easy, too. First, you thaw the peas, cook the bacon, and whisk together the dressing. After that, you layer the salad, spread the dressing over the top, and chill it so the flavors can blend. Finally, you add the bacon just before serving. It is a simple process, and because most of the work happens ahead of time, it is a stress-free side dish for busy days.
This salad is a smart choice for potlucks, church meals, backyard cookouts, and family holidays. It also travels well when chilled, so it is handy for gatherings where you want something familiar and dependable. Since it serves a crowd, it is especially nice when you need a side dish that looks beautiful and tastes even better.
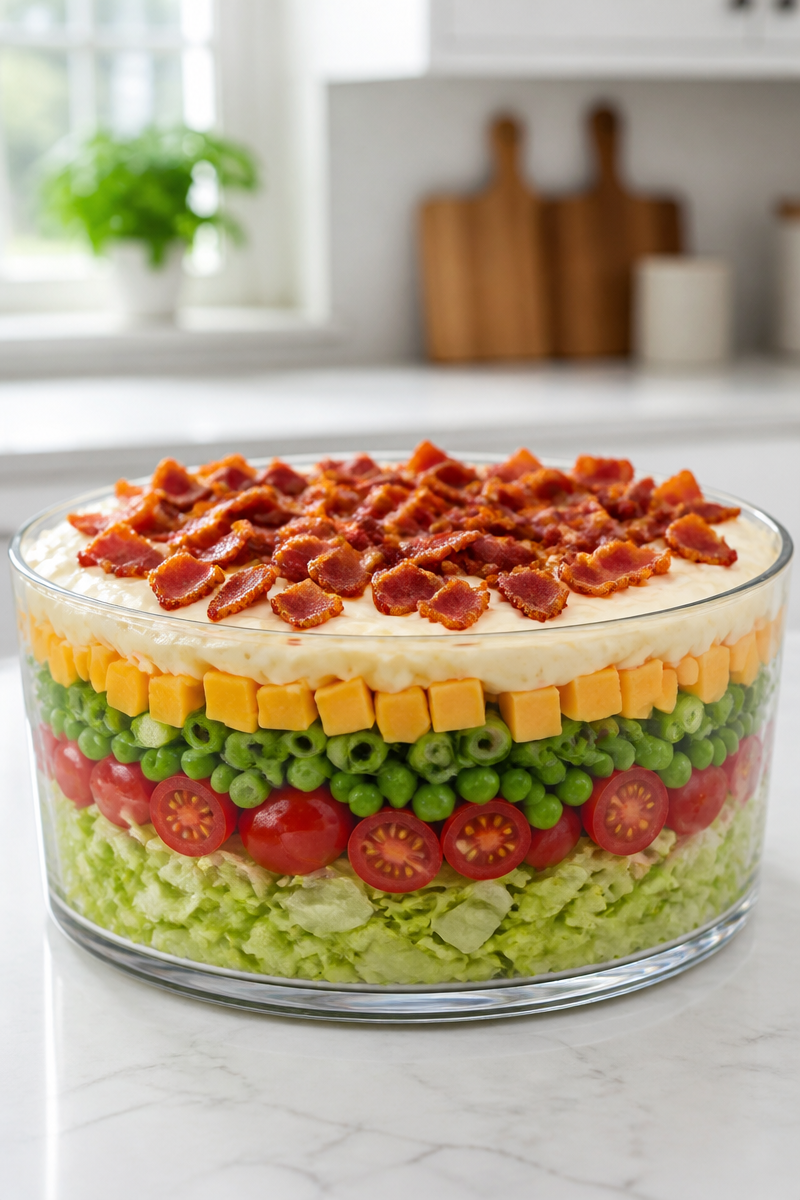
Why You’ll Love This Classic Layered Pea Salad Side
- It is quick to make, so you can get it on the table without much fuss.
- It uses simple ingredients that are easy to find in most grocery stores.
- The layers make it look special, even though the method is very easy.
- It tastes creamy, crunchy, salty, and fresh all in one bite.
- It is great for potlucks, family dinners, and make-ahead meal planning.
Peas Tips
Frozen peas are the heart of this classic layered pea salad side, so it helps to use them the right way. Choose standard frozen peas, not canned peas, because frozen peas keep a better texture and a sweeter taste. Also, thaw them just until they are no longer icy, then drain them well and pat them dry. That step matters because extra water can make the salad soggy. For the best result, keep the peas cold, but do not cook them. In this recipe, their natural sweetness adds a fresh pop that balances the creamy dressing and salty bacon.
Options for Substitutions
- Use romaine lettuce or butter lettuce instead of iceberg if you want a softer bite.
- Swap grape tomatoes for cherry tomatoes, or leave them out if you want a more classic layered pea salad look.
- Replace sharp cheddar with Colby Jack, mild cheddar, or pepper jack for a different flavor.
- Use turkey bacon or plant-based bacon if you want a lighter option.
- Replace sour cream with plain Greek yogurt for a tangier dressing.
- Change the Creole seasoning to ranch seasoning or a mild all-purpose blend if you prefer less heat.
Watch Out for These Mistakes
One common mistake is skipping the step that dries the peas. If the peas hold too much water, the salad can turn watery at the bottom. So, after thawing, drain them well and pat them dry with a paper towel. That small step helps the layers stay neat.
Another mistake is overcooking the bacon. You want it crisp, but not burnt. Since the bacon goes on at the end, it should have a strong crunch and a good smoky taste. If it is too soft, it can lose its texture fast once it sits on the salad.
Also, do not spread the dressing unevenly. The dressing should reach the edges and seal the top layer, because that helps keep the vegetables fresh during chilling. If you leave gaps, the top can dry out and the salad may not hold together as well.
Finally, do not add the bacon too early. Bacon softens in the fridge, so it is best to sprinkle it on right before serving. That way, every bite still has that salty crunch people expect from a good layered pea salad.
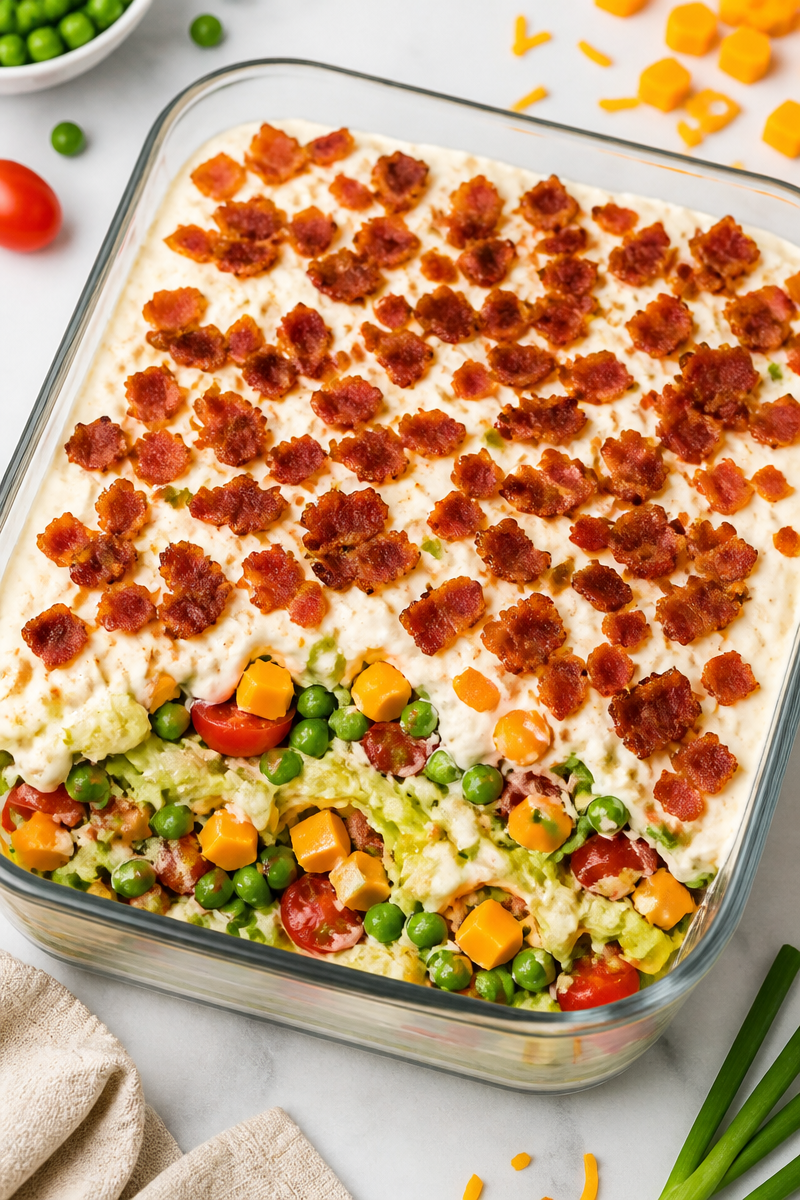
What to Serve With Classic Layered Pea Salad Side?
This classic layered pea salad side goes well with so many meals. Serve it with baked ham, grilled chicken, pulled pork, or roasted turkey for a hearty spread. It also pairs nicely with burgers, sandwiches, or simple baked potatoes. Since the salad is cool and creamy, it balances warm main dishes very well.
Storage Instructions
Store: Cover the salad tightly and refrigerate for up to 2 days. For the best texture, add the bacon only before serving, not during storage.
Freeze: Freezing is not recommended. The lettuce, tomatoes, and creamy dressing will lose texture after thawing, and the salad will not taste as fresh.
Reheat: This dish is meant to be served cold, so you do not need to reheat it. If you want it less chilled, let it sit in the refrigerator for a few minutes before serving. Since there is no stovetop or microwave reheating needed, it stays simple and easy.
Recipe Info
Preparation Time: 20 minutes, plus 2 hours chilling
Cooking Time: 15 minutes
Total Time: 2 hours 35 minutes
Difficulty: Easy
Servings: 12 servings
Estimated Nutrition
Estimated nutrition for the whole recipe (without optional ingredients):
- Calories: about 240 to 280 per serving
- Protein: about 7 to 10 grams per serving
- Fat: about 18 to 22 grams per serving
- Carbohydrates: about 10 to 14 grams per serving
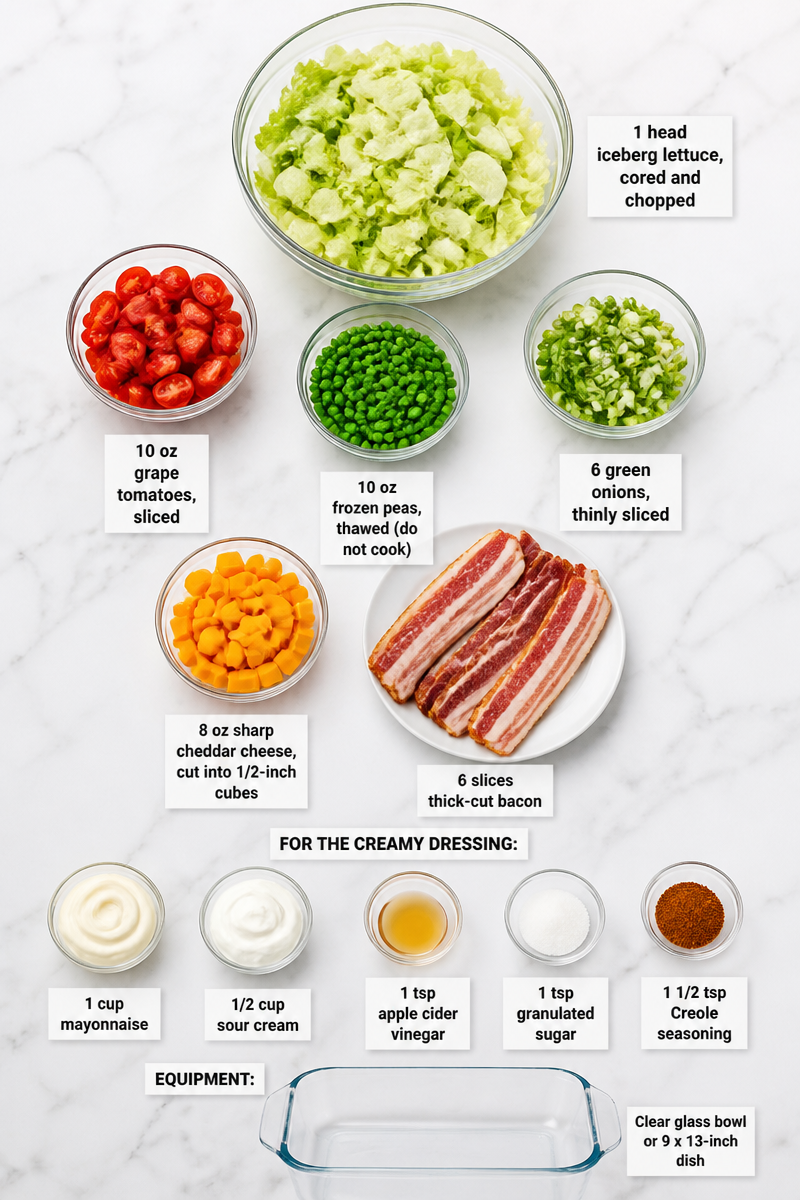
Ingredients
- 1 head iceberg lettuce (use 1/2 to 1 head, depending on dish size), cored and chopped
- 10 oz grape tomatoes, sliced
- 10 oz frozen peas, thawed (do not cook)
- 6 green onions, thinly sliced
- 8 oz sharp cheddar cheese, cut into 1/2-inch cubes
- 6 slices thick-cut bacon
- 1 cup mayonnaise
- 1/2 cup sour cream
- 1 tsp apple cider vinegar
- 1 tsp granulated sugar
- 1 1/2 tsp Creole seasoning
- Clear glass bowl or 9 x 13-inch dish
Step-by-Step Instructions
Step 1: Thaw the Peas and Prep the Bacon
Start by thawing the frozen peas. You can run them under cool water in a colander for about a minute, or let them sit at room temperature until thawed. After that, drain them well and pat them dry. At the same time, cook the bacon until crisp. You can bake it on a rimmed sheet pan at 400°F for 15 to 18 minutes, or fry it in a skillet over medium heat for 8 to 10 minutes. Then drain it on paper towels, let it cool, and crumble it into bite-size pieces.
Step 2: Make the Creamy Dressing
Next, make the dressing in a small bowl. Whisk together the mayonnaise, sour cream, apple cider vinegar, sugar, and Creole seasoning until smooth. The dressing should be thick, creamy, and easy to spread. If you taste it now, it should be tangy with a little savory spice, which helps balance the sweet peas and sharp cheddar later on.
Step 3: Layer the Salad
Now set out your clear glass bowl or 9 x 13-inch dish. Begin with the chopped iceberg lettuce, then add the sliced tomatoes, the thawed peas, the green onions, and the cheddar cubes. Since this is a layered salad, try to spread each ingredient in an even layer. That way, the finished dish looks neat and scoops up beautifully.
Step 4: Add the Dressing and Chill
After the vegetables are layered, spread the dressing evenly over the top. Be sure to cover the salad all the way to the edges, because this helps seal in the freshness. Then cover the dish and refrigerate it for at least 2 hours. If you have time, you can chill it up to 24 hours. This resting time gives the flavors a chance to blend.
Step 5: Finish With Bacon and Serve
Right before serving, sprinkle the crumbled bacon over the top. This keeps it crisp and gives the salad its best texture. When serving, scoop from the bottom to the top so each portion gets a little of every layer. That is one of the nicest parts of a layered pea salad, because every bite gives you a mix of creamy, crunchy, salty, and fresh flavors.
Conclusion
This Classic Layered Pea Salad Side is simple, colorful, and always welcome at the table. It brings together crisp lettuce, sweet peas, juicy tomatoes, sharp cheddar, and smoky bacon in a creamy dressing that ties everything together. Because it is easy to make ahead, it is a smart choice for potlucks, holidays, and busy weeknights alike.
If you are looking for a dependable side dish that feels old-fashioned in the best way, give this recipe a try. Then come back and share how it turned out, or explore more easy side dishes for your next family meal.
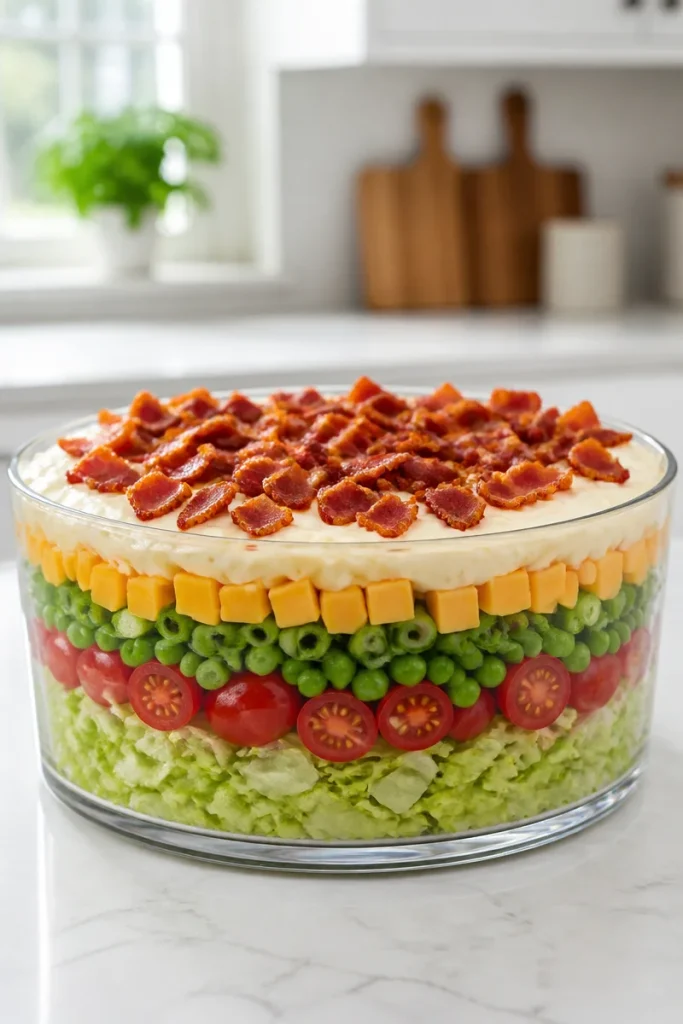
Classic Layered Pea Salad
Ingredients
Method
- Thaw the frozen peas by running them under cool water in a colander or letting them sit at room temperature. Drain and pat dry.
- Cook the bacon until crisp, either by baking at 400°F for 15-18 minutes or frying over medium heat for 8-10 minutes. Drain on paper towels and crumble.
- In a small bowl, whisk together mayonnaise, sour cream, apple cider vinegar, sugar, and Creole seasoning until smooth and creamy.
- In a clear glass bowl or 9 x 13-inch dish, layer the chopped iceberg lettuce, sliced tomatoes, thawed peas, green onions, and cheddar cubes evenly.
- Spread the dressing evenly over the layers, ensuring it reaches the edges to seal in freshness. Cover and refrigerate for at least 2 hours.
- Before serving, sprinkle crumbled bacon over the top. Scoop portions from the bottom to ensure each serving contains all layers.
