These Chewy Butterfinger Candy Bar Cookies are pure comfort in cookie form. They are sweet, soft, and full of that classic peanut-butter candy crunch people remember from childhood. I love how they feel both playful and familiar, so they work just as well for a family dessert as they do for a casual snack with coffee or milk.
What makes these cookies stand out is the simple mix of pantry basics and candy bar pieces. You start with 2 1/4 cups all-purpose flour, 1 teaspoon baking soda, and 1 teaspoon fine salt for structure. Then you add 1 cup unsalted butter, softened, 1 cup packed light brown sugar, 1/2 cup granulated sugar, 1 teaspoon pure vanilla extract, and 2 large eggs for richness and chew. Finally, 6 full-size Butterfinger bars, coarsely chopped bring that crispy, peanut-butter toffee flavor that makes every bite interesting. The result is sweet, buttery, slightly salty, and nicely crunchy in the center.
The method is simple, which is another reason I like this recipe so much. First, you whisk the dry ingredients, then beat the butter and sugars until light and fluffy. After that, you mix in the vanilla and eggs, add the flour mixture, and fold in the chopped candy. From there, you scoop, bake, cool, and enjoy. Even though the process feels easy, the cookies still taste bakery-style and special.
These cookies are wonderful for potlucks, bake sales, lunchbox treats, and weekend baking. In fact, they are also a smart choice for holidays or game-day dessert trays because they travel well and hold their shape. So, if you want a cookie that feels cheerful, nostalgic, and crowd-friendly, this recipe is a very good one to keep on hand.
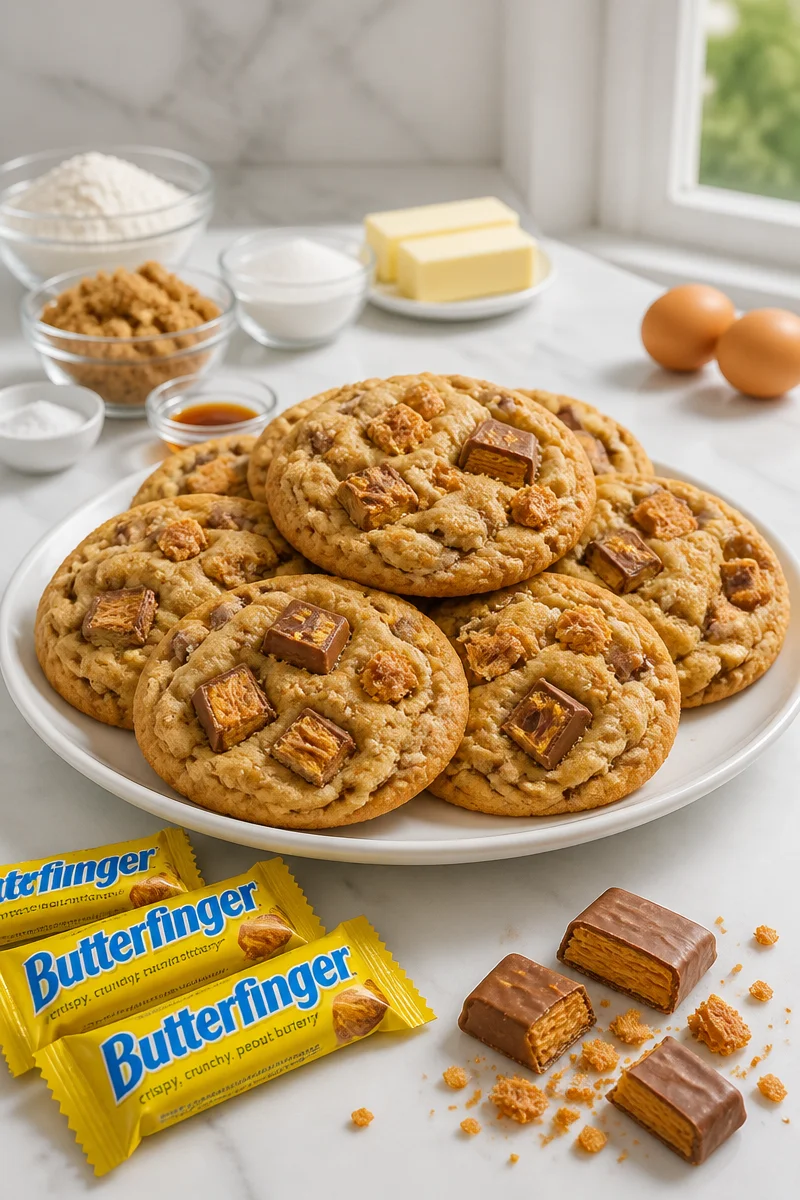
Why You’ll Love This Chewy Butterfinger Candy Bar Cookies
- Easy to make: The steps are simple, so even newer bakers can follow along with confidence.
- Comforting flavor: The mix of butter, brown sugar, and Butterfinger candy tastes warm, sweet, and familiar.
- Great texture: You get soft centers, crisp edges, and crunchy candy bits in every bite.
- Party friendly: Since the recipe makes about 40 cookies, it works well for sharing.
- Flexible and dependable: You can make them ahead, store them well, and serve them for many occasions.
Butterfinger Tips
The star ingredient here is Butterfinger candy bars. For the best cookies, chop the bars into medium pieces instead of crushing them too fine. That way, the candy stays visible and gives you those crunchy pockets that make each cookie fun to eat. If the bars are very warm, chill them for a few minutes before chopping so they cut more cleanly. Also, keep the pieces fairly large when folding them into the dough. Smaller bits can melt into the cookie too much, while larger chunks keep more of that classic Butterfinger texture.
Options for Substitutions
- Use dark brown sugar instead of light brown sugar for a deeper molasses flavor.
- Swap salted butter for unsalted butter, then reduce the added salt a little.
- Use vanilla bean paste instead of pure vanilla extract for a stronger vanilla taste.
- Replace Butterfinger bars with chopped peanut butter cups for a softer candy bite.
- Use a gluten-free all-purpose flour blend if you need a gluten-free version.
- Add milk chocolate chips with the candy bars if you want a sweeter, richer cookie.
Watch Out for These Mistakes
One common mistake is overbaking. These cookies should come out when the edges are golden and the centers still look a little soft. Since they keep cooking on the hot pan, pulling them out at the right time gives you that chewy center people love. If you wait until they look fully set in the oven, they may turn dry after cooling.
Another issue is using candy pieces that are too small. If you chop the Butterfinger bars too finely, they can melt into the dough and lose their crunch. Instead, keep the pieces chunky. That way, the candy stays distinct and gives the cookies their best texture.
Also, do not skip the butter-and-sugar creaming step. Beating them for 3 to 4 minutes helps add air and gives the cookies a lighter, better structure. If you rush this step, the cookies may spread too much. Likewise, add the flour in stages and mix only until the dough comes together. Too much mixing can make the cookies tougher.
Finally, measure the flour carefully. If you pack in too much flour, the dough can turn dry and the cookies may lose their soft chew. For best results, spoon the flour into the cup and level it off. That small step makes a big difference.
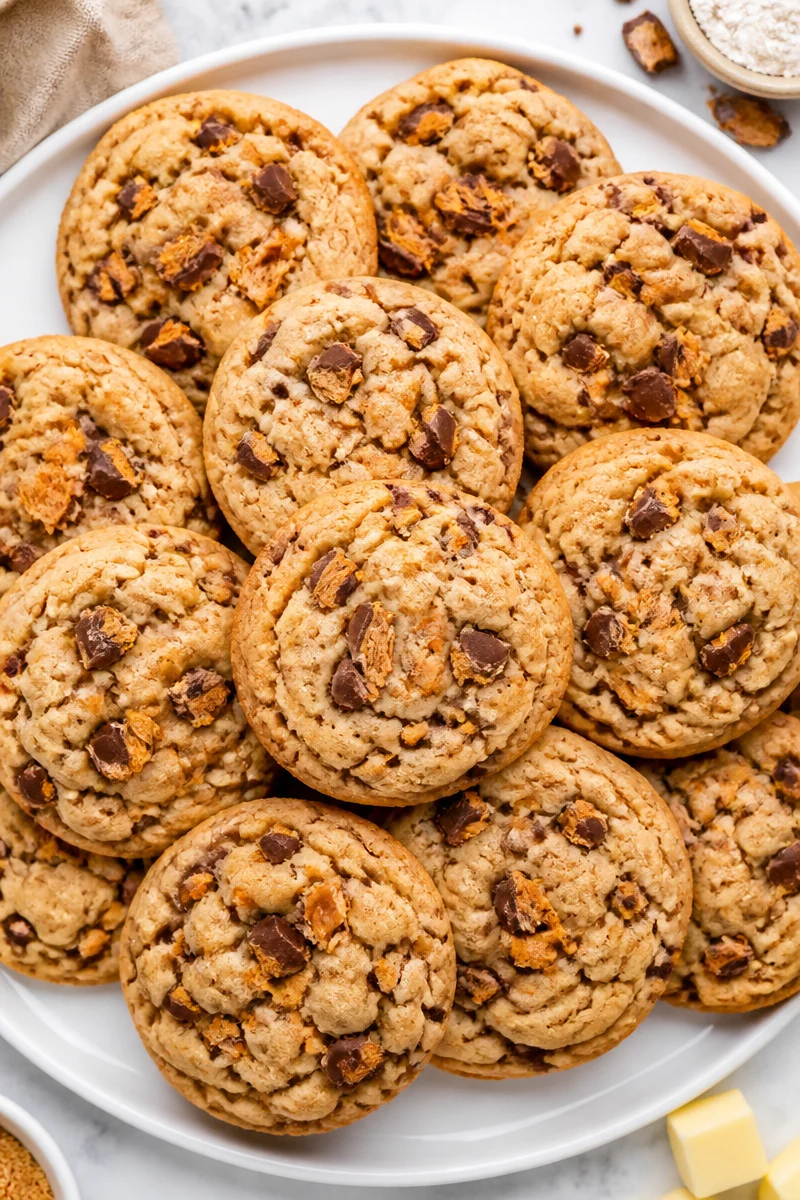
What to Serve With Chewy Butterfinger Candy Bar Cookies?
These Chewy Butterfinger Candy Bar Cookies pair well with a cold glass of milk, a mug of coffee, or a simple vanilla latte. For a dessert plate, serve them with fresh berries, a scoop of vanilla ice cream, or even a small bowl of whipped cream for dipping. If you are building a snack spread, they also go nicely with salted nuts, chocolate pudding, or fruit salad, since those sides balance the sweet candy flavor.
Storage Instructions
Store: Keep the cookies in an airtight container at room temperature for up to 4 days. If you want them a little softer, place a small piece of bread in the container to help hold moisture. In the fridge, they will keep for about 1 week, although they may firm up a bit.
Freeze: Freeze baked cookies for up to 3 months. Place them in a single layer first, then move them to a freezer bag or sealed container. You can also freeze the dough balls and bake them later for fresh cookies on demand.
Reheat: For the stovetop? Since these are cookies, the better choice is a warm pan only if you want to serve them with a topping or crumble them into a dessert. However, for regular reheating, use the microwave for 8 to 10 seconds to make one cookie soft and warm again. If you are reheating several, use a low oven at 300°F for 3 to 5 minutes.
Recipe Info
Preparation Time: 15 minutes
Cooking Time: 30 minutes
Total Time: 45 minutes
Difficulty Level: Easy
Servings: 40 cookies
Estimated Nutrition
Estimated nutrition for the whole recipe (without optional ingredients):
- Calories: about 5,700 to 5,900
- Protein: about 55 to 65 grams
- Fat: about 300 to 330 grams
- Carbohydrates: about 700 to 760 grams
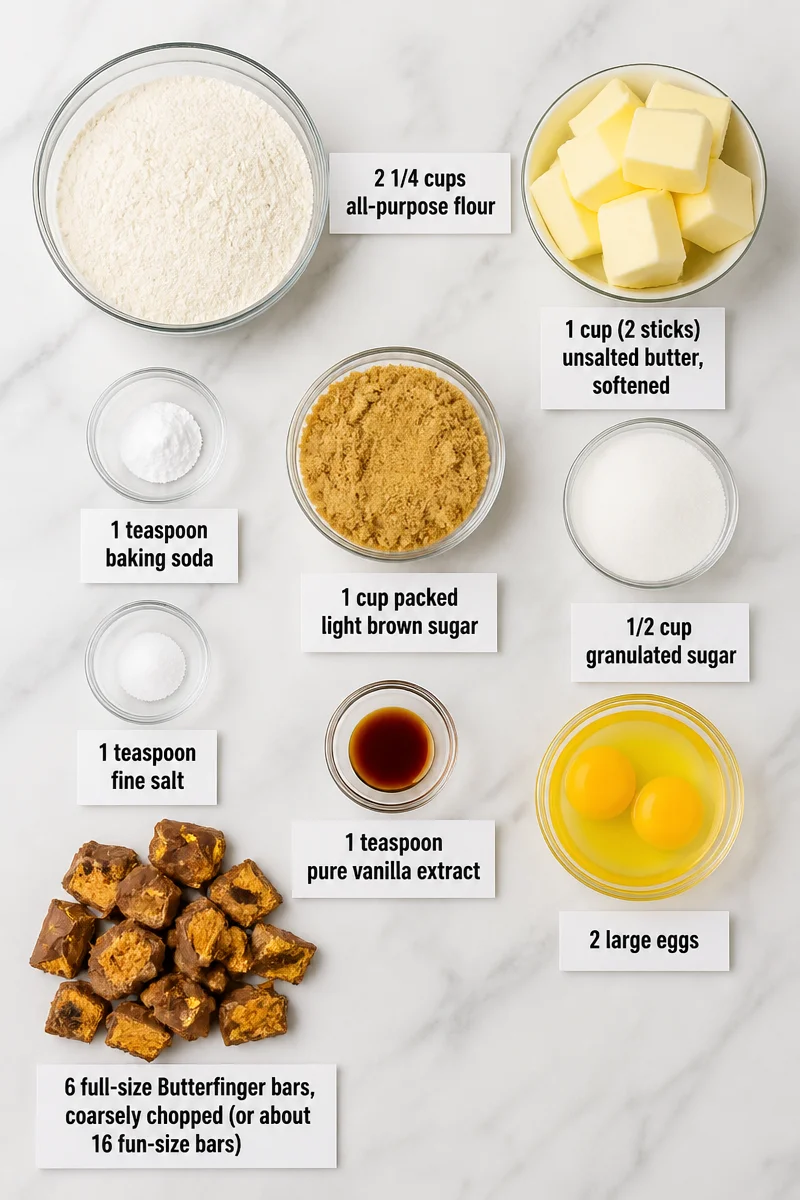
Ingredients
- 2 1/4 cups all-purpose flour
- 1 teaspoon baking soda
- 1 teaspoon fine salt
- 1 cup (2 sticks) unsalted butter, softened
- 1 cup packed light brown sugar
- 1/2 cup granulated sugar
- 1 teaspoon pure vanilla extract
- 2 large eggs
- 6 full-size Butterfinger bars, coarsely chopped (or about 16 fun-size bars)
Step-by-Step Instructions
Step 1: Heat the Oven and Prep the Pans
Start by heating the oven to 350°F. Then line two large rimmed baking sheets with parchment paper or silicone baking mats. This helps the cookies bake evenly and keeps them from sticking.
Step 2: Mix the Dry Ingredients
In a medium bowl, whisk together the flour, baking soda, and fine salt. Mixing these first helps spread the leavening and salt evenly through the dough, so the cookies bake with a balanced texture and flavor.
Step 3: Cream the Butter and Sugars
In a stand mixer, beat the softened butter with the brown sugar and granulated sugar for 3 to 4 minutes. Keep going until the mixture looks pale and fluffy. This step adds air, which helps the cookies bake up soft and chewy instead of dense.
Step 4: Add the Vanilla and Eggs
Beat in the vanilla first, then add the eggs one at a time. After each egg, scrape down the bowl so everything mixes evenly. This keeps the dough smooth and helps the cookies hold together well.
Step 5: Add the Flour Mixture and Candy
Add the flour mixture on low speed in stages. Mix only until no dry streaks remain. After that, fold in the chopped Butterfinger bars, keeping the pieces fairly large so they stay crunchy after baking. Be gentle here so the candy does not break down too much.
Step 6: Scoop, Bake, and Cool
Scoop level 2-tablespoon portions onto the prepared sheets, leaving space between each one. Bake for about 10 minutes per tray, or until the edges are golden and the centers still look slightly soft. Since the cookies continue to set as they cool, let them rest on the baking sheet for 5 minutes, then move them to a rack. Repeat with the remaining dough, and enjoy once cooled.
Conclusion
These Chewy Butterfinger Candy Bar Cookies are sweet, soft, and full of crunchy candy flavor. Because the dough comes together quickly and the ingredients are easy to find, this is a recipe you can make without stress. Plus, the cookies store well, freeze well, and work for so many occasions.
If you try this recipe, I would love for you to make it part of your regular cookie rotation. Share your results, leave a note about how they turned out, or explore more easy cookie recipes for your next baking day.
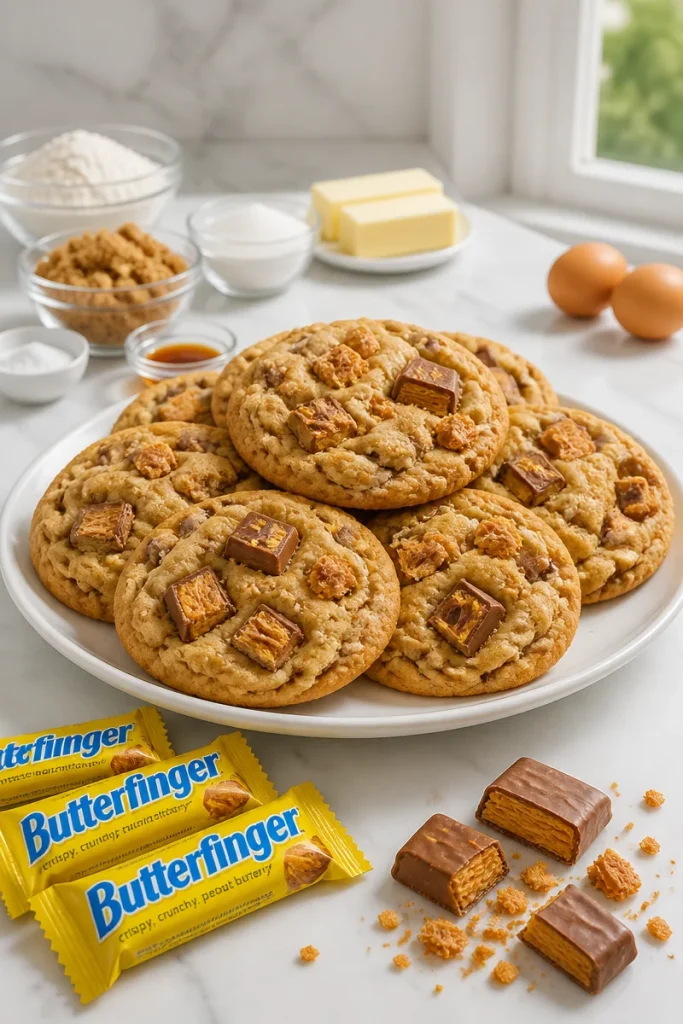
Chewy Butterfinger Candy Bar Cookies
Ingredients
Method
- Heat the oven to 350°F. Line two large rimmed baking sheets with parchment paper or silicone baking mats.
- In a medium bowl, whisk together the flour, baking soda, and fine salt.
- In a stand mixer, beat the softened butter with the brown sugar and granulated sugar for 3 to 4 minutes until pale and fluffy.
- Beat in the vanilla first, then add the eggs one at a time, scraping down the bowl after each addition.
- Add the flour mixture on low speed in stages, mixing until no dry streaks remain. Fold in the chopped Butterfinger bars, keeping the pieces large.
- Scoop level 2-tablespoon portions onto the prepared sheets, leaving space between each one.
- Bake for about 10 minutes per tray, until the edges are golden and the centers still look slightly soft.
- Let the cookies rest on the baking sheet for 5 minutes, then move them to a rack to cool.
