This Christmas Window Pane Stained Cookie is pure holiday joy. It looks fancy, but it feels cozy and familiar, which is exactly why I love it. The crisp cookie edges, the bright candy center, and the simple ornament shape make it a treat that brings smiles right away. Best of all, it tastes just as good as it looks.
At the heart of this recipe is a soft, buttery dough made with 1 cup unsalted butter, room temperature, 3/4 cup granulated sugar, 1 large egg, 1 tsp pure vanilla extract, and 1/4 tsp almond extract. Then you mix in 2 3/4 cups all-purpose flour, 1/2 tsp baking powder, and 1/4 tsp fine sea salt for the cookie base. For the stained glass effect, you use 1 cup hard candy, crushed and separated by color, so each cookie can shine with red, green, or yellow centers. If you want to hang them, a little thin ribbon turns each one into an edible ornament.
The method is easy to follow, too. First, you beat the butter and sugar until fluffy, then mix in the egg and extracts. After that, you add the dry ingredients, chill the dough, roll it out, cut the shapes, and fill the middle with candy. Then the oven does the rest. Because the candy melts into a glossy pane, these cookies feel special without being hard to make.
These Christmas Window Pane Stained Cookies are perfect for holiday cookie trays, classroom parties, gift boxes, and family baking days. They also make a sweet project for a quiet winter afternoon, since the dough is simple and the final result feels magical. If you enjoy baking with children or grandchildren, this recipe gives everyone a fun job to do.
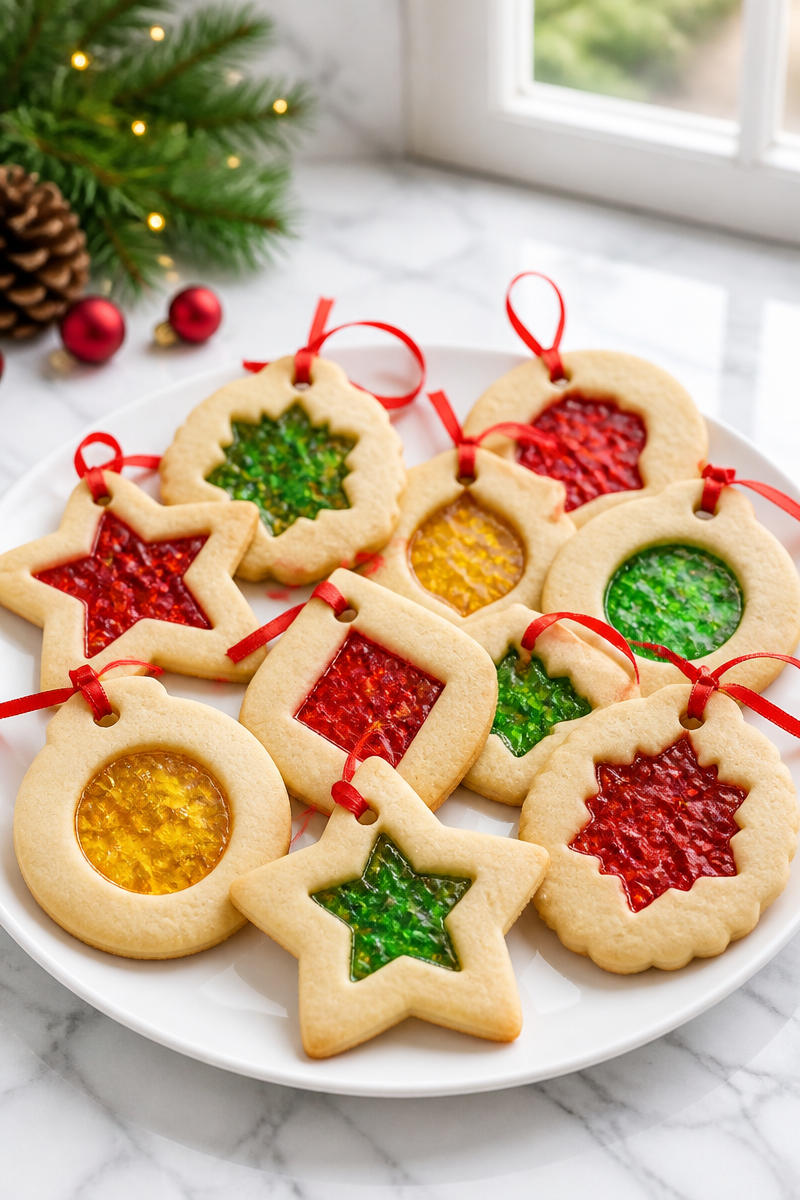
Why You’ll Love This Christmas Window Pane Stained Cookie
- They look beautiful on a holiday cookie platter, and yet they use simple pantry ingredients.
- The buttery dough has a soft, tender bite with a light vanilla-almond flavor.
- The stained glass centers make them festive without extra frosting or decorating skills.
- They are a fun holiday baking project for families, neighbors, and gift exchanges.
- You can shape them into stars, ornaments, wreaths, or circles, so they fit many holiday themes.
Butter Tips
Butter is the main fat in this Christmas Window Pane Stained Cookie, so it matters more than you might think. For the best texture, use room temperature unsalted butter that is soft enough to press with a finger, but not melted. If the butter is too cold, it will not cream well with the sugar. On the other hand, if it is too warm, the dough may spread too much in the oven. For a smoother cookie and better flavor, beat the butter and sugar until the mixture looks light and fluffy. That step adds air, which helps the cookies bake up tender.
Options for Substitutions
- Use salted butter instead of unsalted butter, but reduce the added sea salt slightly.
- Swap almond extract for extra vanilla extract if you want a milder flavor.
- Replace part of the all-purpose flour with white whole wheat flour for a slightly nuttier taste, but keep the dough soft.
- Use gluten-free 1-to-1 baking flour if you need a gluten-free version.
- Try different hard candy colors such as blue, purple, or orange for a brighter holiday look.
- Use pre-cut candy canes or peppermint hard candy for a more minty Christmas flavor.
Watch Out for These Mistakes
One common mistake is skipping the chill time. The dough for Christmas Window Pane Stained Cookie needs at least 1 hour in the refrigerator, and that makes a big difference. If you roll it too soon, the cookies can spread and lose their shape. So, if the dough feels sticky, give it more time to firm up. That small pause helps the shapes stay neat.
Another problem is overfilling the candy center. The crushed hard candy should sit neatly inside the cutout, but it should not pile high or spill onto the dough. As it melts, it spreads a little. Therefore, a heavy hand can cause the candy to run over the cookie edges and stick to the pan. A modest amount works best.
Also, do not move the cookies too early after baking. The candy center looks set, but it is still fragile while warm. If you try to lift them right away, the stained glass pane can crack. Instead, let them cool fully on the baking sheet for at least 20 to 30 minutes. That extra wait keeps the centers smooth and pretty.
Finally, keep an eye on the oven during the last two minutes. The cookie edges should be lightly golden, but the candy can go from glossy to scorched very fast. Because oven heat varies, it helps to watch closely near the end. If the candy starts to bubble too hard or darken, take the cookies out right away.
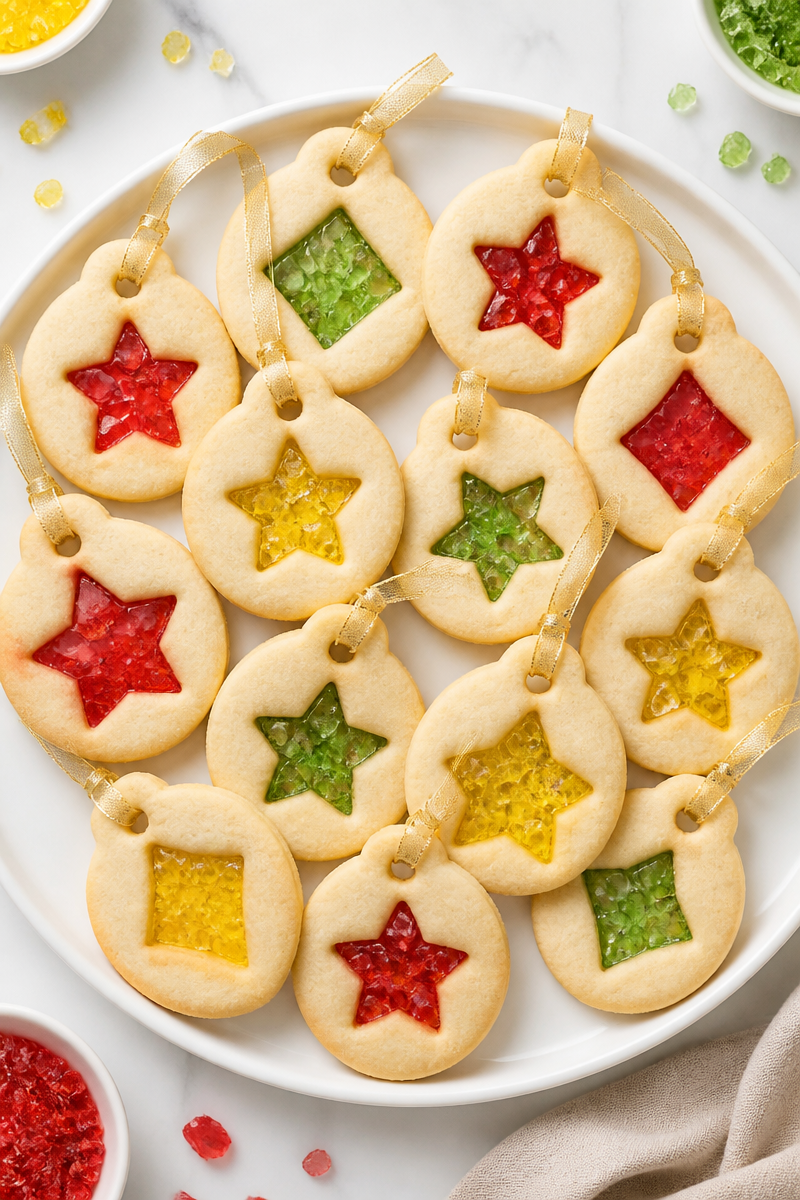
What to Serve With Christmas Window Pane Stained Cookie?
These Christmas Window Pane Stained Cookies pair nicely with a warm mug of hot cocoa, a cup of black tea, or a mild coffee drink, since the buttery cookie balances sweet drinks well. They also look lovely on a holiday dessert table with sugar cookies, peppermint bark, or shortbread squares. If you want a fuller spread, add fresh fruit, a cheese board, or simple spiced nuts so guests have both sweet and savory bites.
Storage Instructions
Store: Keep the cookies in a single layer in an airtight container at cool room temperature for up to 1 week. If you must stack them, place parchment between layers, but a single layer is safest because the candy centers can crack or stick.
Freeze: You can freeze the baked cookies for up to 2 months. First, let them cool fully. Then wrap each cookie gently and place them in a freezer-safe container with parchment between layers. Thaw at room temperature before serving.
Reheat: These cookies do not need much reheating. If you want to refresh them, place them on a baking sheet in a low oven for a few minutes, just until slightly warm. In the microwave, use only a few seconds at a time, since the candy center can melt or bubble. For best results, serve them at room temperature.
Recipe Info
Preparation Time: 30 minutes, plus 1 hour chilling
Cooking Time: 12 minutes
Total Time: 1 hour 42 minutes
Level of Difficulty: Easy
Servings: 20 servings
Estimated Nutrition
Estimated nutrition for the whole recipe (without optional ingredients):
Calories: 2,600 to 2,900 kcal
Protein: 20 to 30 g
Fat: 130 to 155 g
Carbohydrates: 330 to 380 g
Ingredients
- 1 cup unsalted butter, room temperature
- 3/4 cup granulated sugar
- 1 large egg, room temperature
- 1 tsp pure vanilla extract
- 1/4 tsp almond extract
- 2 3/4 cups all-purpose flour, spooned and leveled
- 1/2 tsp baking powder
- 1/4 tsp fine sea salt
- 1 cup hard candy, separated by color (red, green, and yellow), crushed into small pieces (keep each color separate)
- Thin ribbon, for threading through a small hole in each cookie
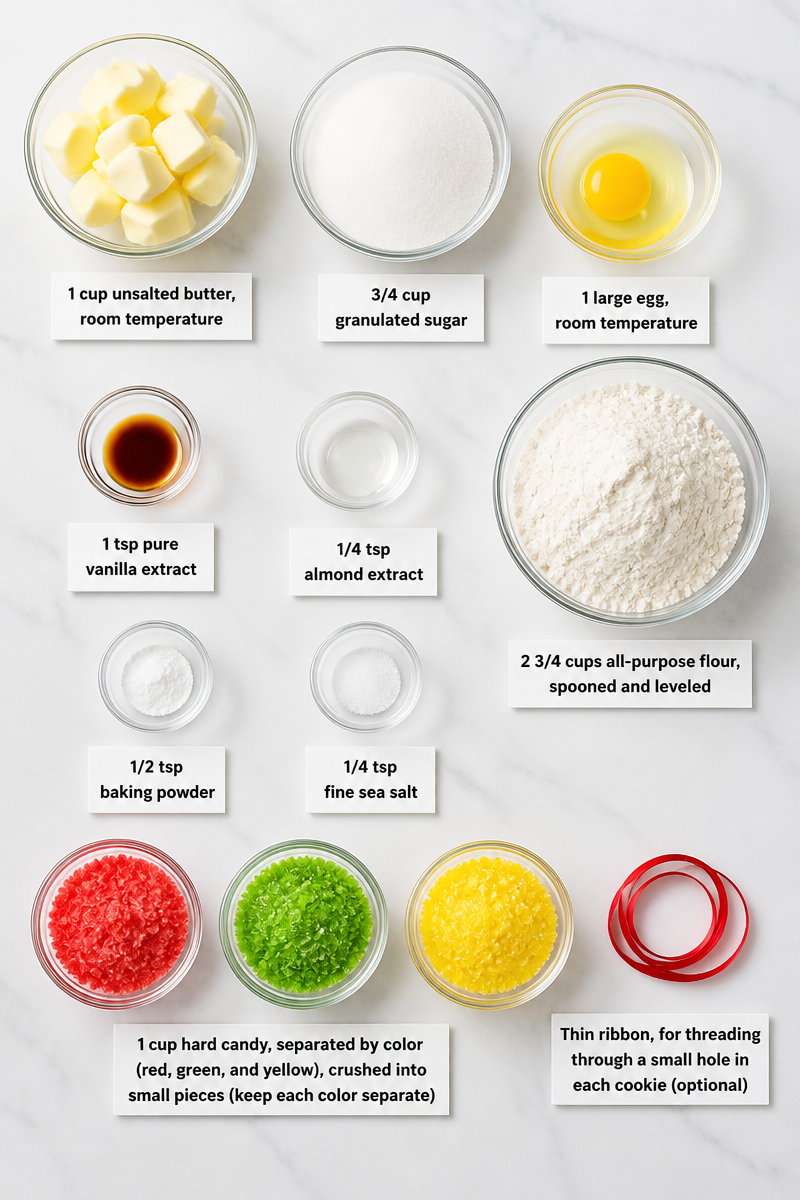
Step-by-Step Instructions
Step 1: Cream the Butter and Sugar
In a large bowl, beat the butter and sugar with a hand mixer on medium speed for 2 to 3 minutes, until the mixture looks light and fluffy. Then beat in the egg, vanilla extract, and almond extract until everything is well blended. This first step builds the base flavor and gives the cookies a tender texture.
Step 2: Make the Dough
Add the flour, baking powder, and salt to the butter mixture. Mix on low speed just until a soft dough forms. Do not overmix, since that can make the cookies tough. Once the dough comes together, divide it into two disks, wrap each one in plastic wrap, and chill for at least 1 hour.
Step 3: Roll, Cut, and Fill
Preheat the oven to 350°F and line two baking sheets with parchment paper or a silicone baking mat. Next, roll one disk of dough on a lightly floured surface to 1/4-inch thickness. Cut out large cookie shapes, then cut a smaller window from the center of each one to make the stained glass opening. If you want to hang the cookies, punch a small hole near the top edge with a plastic straw. After that, fill each center with one color of crushed hard candy, keeping the candy inside the cutout.
Step 4: Bake Until Set
Bake the cookies for 10 to 12 minutes, until the edges are lightly golden and the candy has melted into a smooth, glassy center. Watch them closely during the last two minutes, because the candy can brown quickly. Then remove the baking sheet from the oven and let the cookies cool right on the pan.
Step 5: Cool and Serve
Let the cookies cool completely on the baking sheet for 20 to 30 minutes, until the candy centers are firm again. Once they are fully set, lift them carefully from the pan. If you made the hanging hole, thread a ribbon through it and use the cookie as an edible ornament. Store any extras in a single layer so the candy windows stay intact.
Conclusion
Christmas Window Pane Stained Cookie is a lovely holiday bake that brings together buttery dough, bright candy centers, and a festive look that feels special on any table. It is simple enough for home bakers, yet pretty enough for gifts and celebrations. Plus, the recipe uses familiar ingredients and easy steps, so you can make it with confidence. If you try these Christmas Window Pane Stained Cookies, I would love for you to share your thoughts, leave feedback, or explore more festive cookie recipes next.
Christmas Window Pane Stained Cookie
Ingredients
Method
- In a large bowl, beat the butter and sugar with a hand mixer on medium speed for 2 to 3 minutes until light and fluffy.
- Beat in the egg, vanilla extract, and almond extract until well blended.
- Add the flour, baking powder, and salt to the butter mixture, mixing on low speed until a soft dough forms. Do not overmix.
- Divide the dough into two disks, wrap in plastic wrap, and chill for at least 1 hour.
- Preheat the oven to 350°F and line two baking sheets with parchment paper.
- Roll one disk of dough on a lightly floured surface to 1/4-inch thickness.
- Cut out large cookie shapes, then cut a smaller window from the center of each.
- Fill each center with one color of crushed hard candy, ensuring it doesn't overflow.
- Bake for 10 to 12 minutes until edges are lightly golden and candy is melted.
- Let the cookies cool on the pan for 20 to 30 minutes until centers firm up.
- If made with a hanging hole, thread a ribbon through it and use as an edible ornament.
- Store extras in a single layer to keep candy intact.
