There’s something truly special about a jar of homemade lemon curd filling. For me, it represents pure comfort and joy in the kitchen. This delightful spread is versatile, bright, and bursting with flavors that evoke memories of sunny afternoons and family gatherings. You can use it in various desserts, bring it out for teacups with friends, or keep it on hand for a last-minute treat.
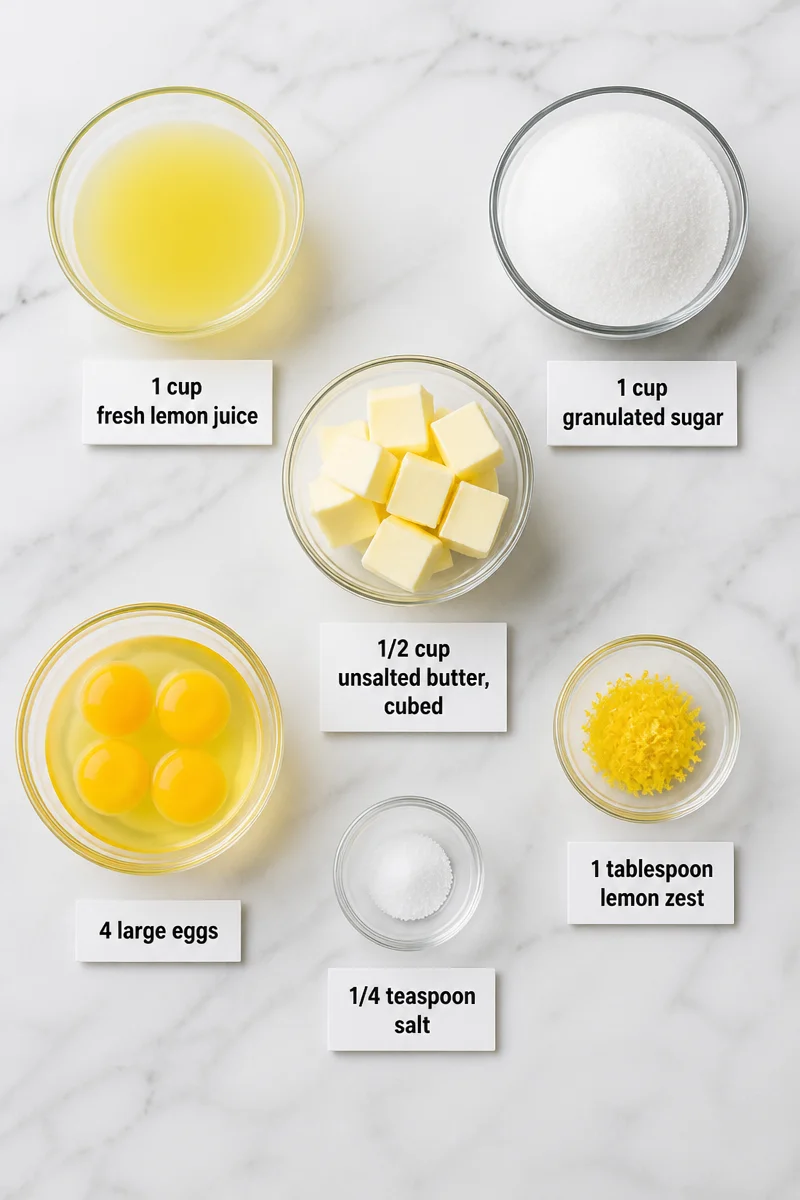
The magic of this recipe lies in its simple yet vibrant ingredients: 1 cup of fresh lemon juice, 1 cup of granulated sugar, 1/2 cup of unsalted butter, 4 large eggs, 1 tablespoon of lemon zest, and a pinch of 1/4 teaspoon of salt. The combination of these elements creates a beautifully tangy filling that dances on your palate. The harmony of tartness and sweetness, enriched by the buttery texture, makes this lemon curd an irresistible treat.
Preparing this lemon curd is quite straightforward. First, you’ll combine the fresh lemon juice, sugar, and salt in a saucepan over medium heat. Next, you’ll add the butter and stir until it melts into the mixture. In a separate bowl, whisk the eggs, then slowly add the warm lemon mixture while whisking continuously. This creates a smooth blend that you will return to the saucepan, cooking it on low heat while stirring until it thickens. The process takes about 10 minutes, after which you’ll stir in the lemon zest and let the curd cool before storing it in the fridge.
This lemon curd is perfect for any occasion. Whether you’re bringing a dessert to a potluck, adding a zing to your weekend brunch, or simply satisfying your sweet tooth, it’s a delightful addition to your culinary repertoire.
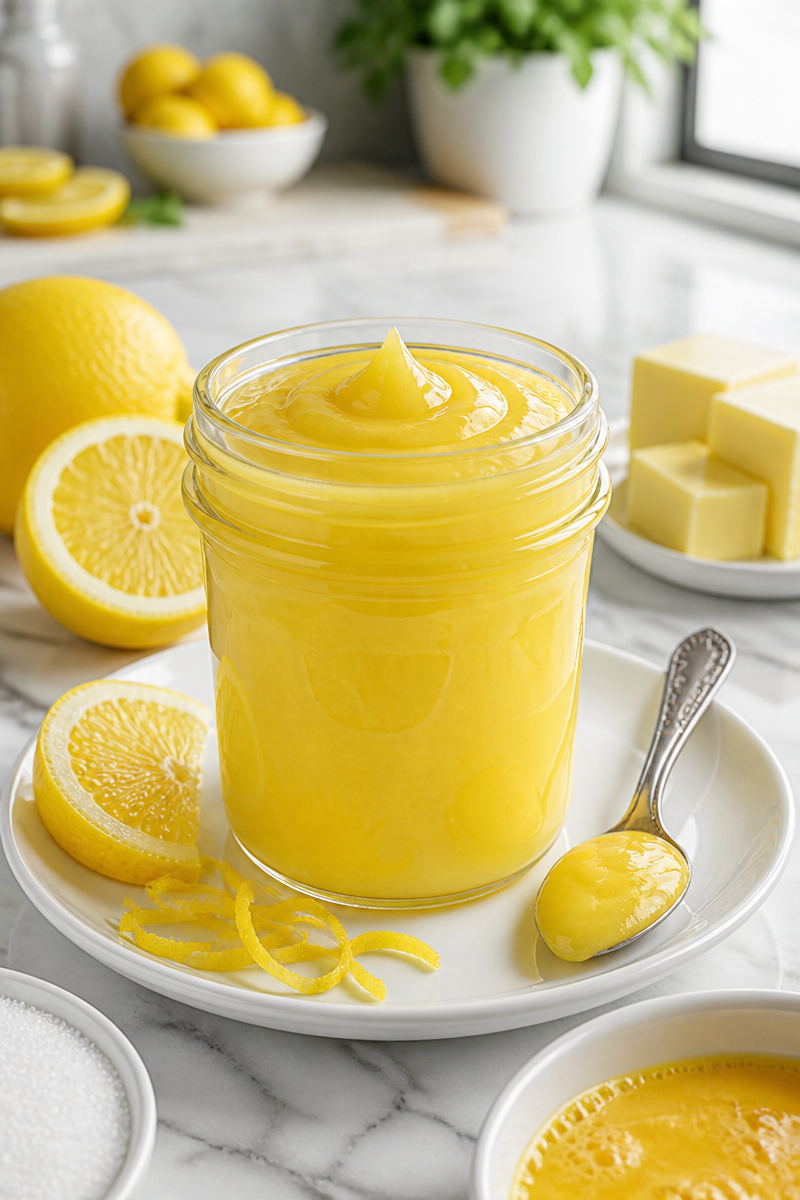
Why You’ll Love This Classic Homemade Lemon Curd Filling
- Quick to make: This recipe can be prepared in less than an hour.
- Simple ingredients: You only need basic items that are easy to find.
- Comfort food: Sweet and tart, this filling is pure nostalgia and satisfaction.
- Versatile usage: Great for cakes, tarts, scones, or as a spread on toast.
- Homemade goodness: There’s nothing quite like creating something from scratch that tastes incredible.
Lemon Juice Tips
When selecting fresh lemon juice, prioritize using fresh lemons instead of bottled juice. Fresh lemons provide the best flavor and aroma. Look for lemons that are bright yellow and feel heavy for their size, indicating juiciness. If you can, give them a gentle squeeze; they should yield slightly to pressure. When juicing, roll the lemon on the counter with your palm before cutting it in half; this helps release more juice, giving you the maximum flavor!
Options for Substitutions
If you’d like to make variations or substitutions in your lemon curd filling, consider the following options:
- Use lime juice instead of lemon juice for a different zesty flavor.
- Swap granulated sugar with honey or agave syrup for a healthier option.
- For a vegan variant, substitute butter with coconut oil or vegan margarine.
- Instead of large eggs, you can use flax eggs (1 tablespoon of ground flaxseed mixed with 3 tablespoons of water equals one egg).
- If you prefer less zest, reduce the lemon zest to 1/2 teaspoon.
- Use sea salt instead of regular table salt for a slight flavor enhancement.
Watch Out for These Mistakes
When making lemon curd, there are a few common pitfalls to avoid. First, be careful not to cook the mixture on too high of a heat. Keep it at a low simmer; otherwise, you risk scrambling the eggs, which can ruin the smooth texture of your curd.
Another mistake is failing to stir constantly while cooking. This process is essential to prevent the curd from burning on the bottom. Make sure you’re vigilant in stirring until it thickens, which usually takes about 10 minutes.
Finally, make sure to let your curd cool to room temperature before transferring it to a jar or container. This cooling step helps enhance the flavors and allows for the right consistency.
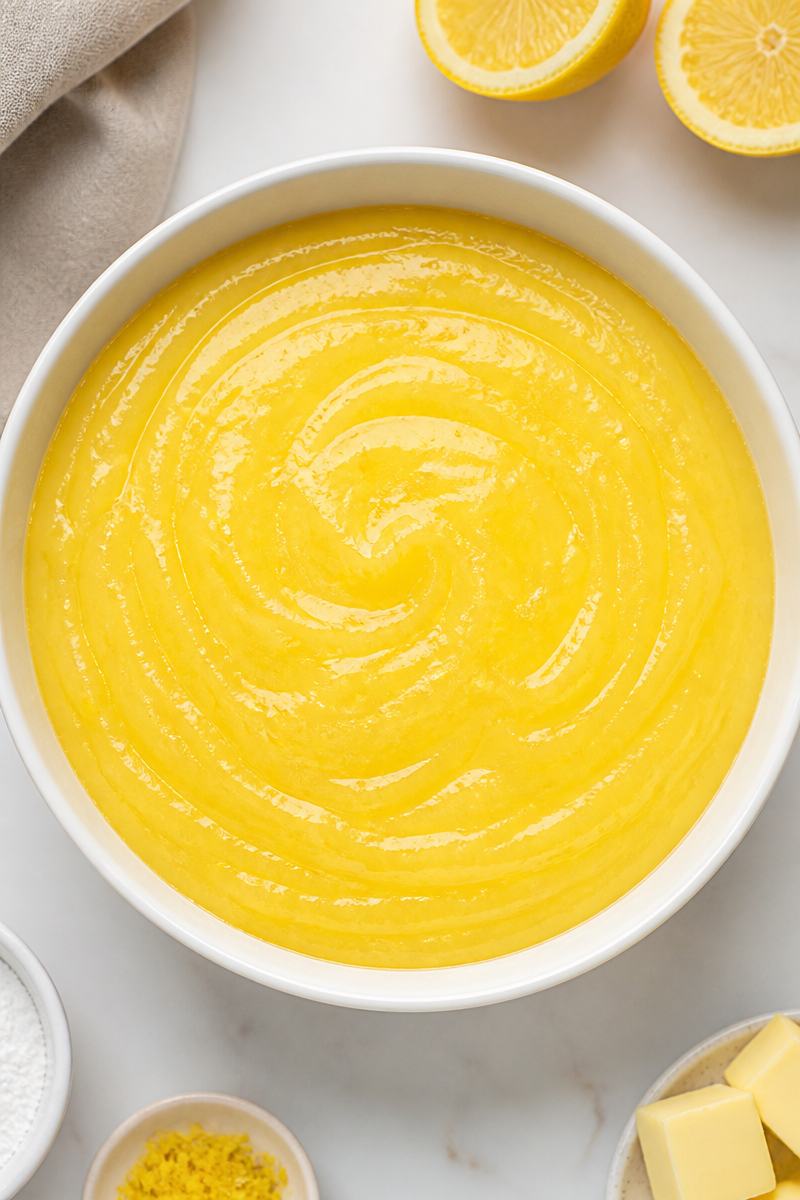
What to Serve With Classic Homemade Lemon Curd Filling?
This delicious lemon curd pairs beautifully with many options. Spread it on freshly baked scones for a delightful treat during tea time. Consider using it as a filling for layered cakes or cupcakes; its bright flavor complements buttercream icing extremely well. Alternatively, serve it alongside a fruit salad or as a topping for pancakes and waffles to elevate your breakfast experience.
Storage Instructions
Store: Place the lemon curd in a clean jar and seal it tightly. It can be stored in the refrigerator for up to two weeks.
Freeze: If you want to keep it longer, lemon curd can be frozen for up to three months. Just make sure to leave some space in the container for expansion as it freezes.
Reheat: To reheat, you can gently warm it on the stovetop over low heat while stirring continuously until it reaches the desired temperature. Alternatively, you can microwave it in 15-second increments, stirring in between to avoid overheating.
Recipe Info
Preparation Time: 10 minutes
Cooking Time: 10 minutes
Total Time: 20 minutes
Level of Difficulty: Easy
Servings: Approximately 2 cups
Estimated Nutrition
Estimated nutrition for the whole recipe (without optional ingredients):
- Calories: 1700 – 2000
- Protein: 10 – 15 grams
- Fat: 70 – 80 grams
- Carbohydrates: 250 – 300 grams
Ingredients
- 1 cup fresh lemon juice
- 1 cup granulated sugar
- 1/2 cup unsalted butter, cubed
- 4 large eggs
- 1 tablespoon lemon zest
- 1/4 teaspoon salt
Step-by-Step Instructions
Step 1: Combine Ingredients in the Pan
In a medium saucepan, combine the lemon juice, granulated sugar, and salt over medium heat. Stir the ingredients together gently until the sugar starts to dissolve.
Step 2: Add the Butter
Add the cubed unsalted butter to the saucepan. Continue to stir until it melts completely, blending with the lemon mixture. This adds a rich, creamy texture to your curd.
Step 3: Prepare the Egg Mixture
While the butter is melting, crack the four large eggs into a bowl and whisk them until they are completely blended. This ensures a smooth incorporation into the curd.
Step 4: Combine and Thicken
Once the butter has melted, slowly pour the warm lemon mixture into the bowl with the eggs, whisking constantly. Once combined, return the entire mixture to the saucepan. Cook over low heat, stirring continuously until the mixture thickens and coats the back of a spoon, about 10 minutes.
Step 5: Add the Lemon Zest
Once thickened, remove the pan from heat. Stir in the lemon zest, which enhances the flavor and aroma of your curd.
Step 6: Cool and Store
Allow your lemon curd to cool at room temperature before transferring it to a clean jar. Seal it tightly and store it in the refrigerator.
In conclusion, making a classic homemade lemon curd filling is both rewarding and simple. You will cherish its vibrant taste and versatility for various dishes! I invite you to try this comforting recipe and share your experience, or explore other delightful recipes on my blog. Happy cooking!
Lemon Curd
Ingredients
Method
- In a medium saucepan, combine the lemon juice, granulated sugar, and salt over medium heat, stirring gently until the sugar starts to dissolve.
- Add the cubed unsalted butter and stir until completely melted and blended.
- In a bowl, whisk the eggs until blended.
- Slowly pour the warm lemon mixture into the eggs while whisking continuously, then return to the saucepan.
- Cook over low heat, stirring continuously until the mixture thickens, about 10 minutes.
- Remove from heat and stir in the lemon zest, then let cool.
- Transfer to a clean jar, seal tightly, and store in the refrigerator.
