Crispy Japanese Taiyaki Fish-Shaped Cakes

Affiliate disclosure: This post may contain affiliate links. I may earn a small commission at no extra cost to you. See our Privacy Policy for details HERE.
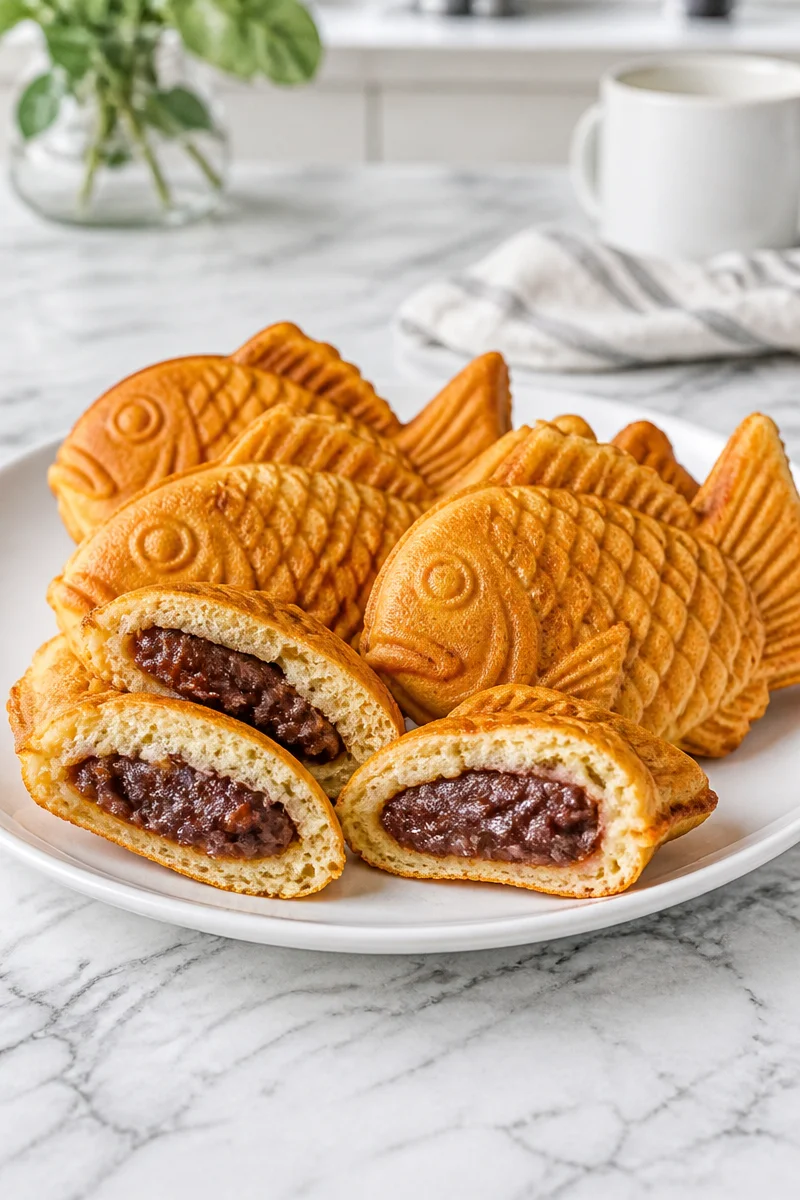
Warm, crisp, and a little bit whimsical, taiyaki is pure comfort in fish shape. I love how it feels both playful and homey at the same time. Each bite gives you a soft, lightly sweet cake outside and a cozy filling inside, so it is the kind of treat that makes people smile right away.
This version of crispy Japanese taiyaki fish-shaped cakes uses a simple batter made with cake flour, baking powder, baking soda, sugar, egg, and milk. Then comes the classic filling, sweet red bean paste, also called anko. The result is lightly sweet, tender, and golden, with a gentle bean flavor that feels traditional and satisfying. If you like, you can also swap in Nutella, custard cream, chocolate, cheese, or sweet potato paste for a different flavor.
The method is easier than it looks. First, you mix the batter, then let it rest so it turns smooth and easy to pour. After that, you heat a taiyaki pan, oil it well, add batter, spoon in the filling, and cook until each fish is crisp and deeply golden. Since mold sizes vary, the first taiyaki is your test piece, which makes the process very friendly for beginners.
This recipe is perfect for chilly nights, weekend cooking, or a fun dessert after dinner. It also works well for potlucks, family gatherings, or any time you want something special without a lot of fuss. Because taiyaki is best served warm, it brings a fresh, bakery-style feel right into your own kitchen.
Why You’ll Love This Crispy Japanese Taiyaki Fish-Shaped Cakes
- Easy to make at home with simple pantry ingredients and a taiyaki pan.
- Comforting and fun because the fish shape makes it feel special for kids and adults alike.
- Crisp outside, soft inside, which gives you a great mix of textures in every bite.
- Flexible filling options so you can keep the classic red bean paste or try something new.
- Great for sharing since this recipe makes 8 servings and reheats well for later.
Sweet Red Bean Paste Tips
Sweet red bean paste, or anko, is the heart of traditional taiyaki. For the best result, look for a smooth paste that is thick enough to stay in place while cooking. If it seems too loose, it can leak out of the batter and make the taiyaki harder to flip. Also, if you are using store-bought anko, taste it first. Some brands are sweeter than others, so you can choose the one that fits your preference. If you want a richer flavor, use a smooth paste rather than a chunky one, since it spreads more evenly inside the fish mold.
Options for Substitutions
- Use Nutella instead of red bean paste for a chocolate-hazelnut version.
- Swap in custard cream for a soft, creamy center.
- Try chocolate chips or chopped chocolate for a meltier filling.
- Use cheese for a sweet-savory taiyaki that works well as a snack.
- Replace anko with sweet potato paste for a mellow, earthy flavor.
- If you do not have whole milk, use 2% milk or a non-dairy milk such as oat milk.
Watch Out for These Mistakes
One common mistake is adding too much batter. Since taiyaki pan molds vary by brand, the fish can overflow if you fill them too full. For that reason, use the first one as a test. Start with about 60 percent full, then adjust as needed. If the batter spills, the edges may brown too fast and make the fish look messy.
Another issue is skipping the resting time. The batter should chill for at least 1 hour so the flour hydrates and the gluten relaxes. This step matters because it helps the batter pour smoothly and bake up with a better texture. If the batter seems too thick after resting, whisk in a small splash of milk. However, do not make it thin like crepe batter.
Heat also matters. If the pan is too hot, the outside can burn before the inside cooks through. On the other hand, if the heat is too low, the taiyaki can turn pale and soft instead of crisp. So keep the pan on medium-low heat, and flip it right away after closing it. That quick flip helps the batter spread evenly through the mold.
Finally, do not forget the oil. A light brushing on both sides of the pan helps the cakes release cleanly and brown evenly. Between batches, add more oil as needed. Otherwise, the fish may stick, tear, or lose their shape. Also, once they are done, move them to a wire rack so the bottoms stay crisp instead of getting soggy.
What to Serve With Crispy Japanese Taiyaki Fish-Shaped Cakes?
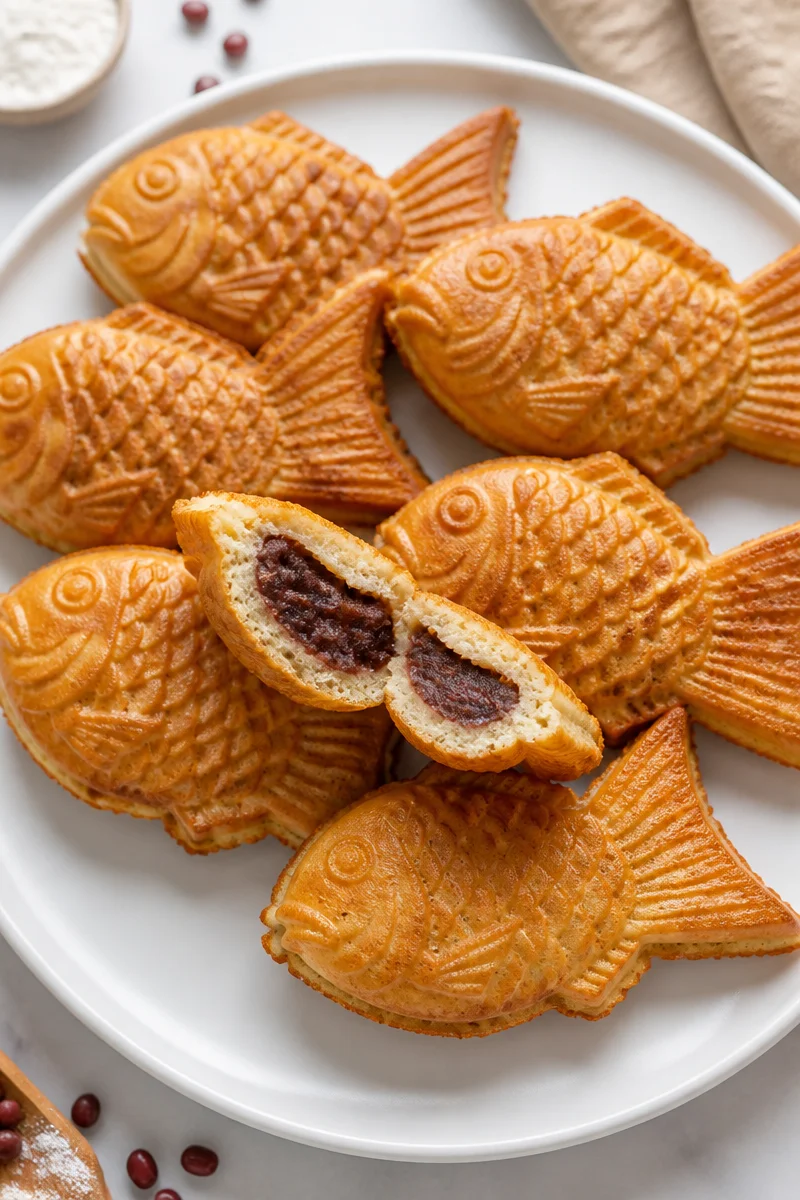
Taiyaki tastes wonderful with a hot cup of green tea, black tea, or coffee, since the light bitterness balances the sweet filling. For a fuller snack plate, serve it with fresh fruit, such as strawberries or mandarin oranges, and a small bowl of vanilla ice cream if you want a dessert-style treat. You can also pair it with a simple miso soup or a light savory snack for a Japanese-inspired spread that feels cozy and complete.
Storage Instructions
Store: Keep leftover taiyaki in an airtight container in the refrigerator for up to 2 days. For the best texture, let them cool first before storing.
Freeze: Freeze in a single layer, then place in a freezer bag or container for up to 1 month. This helps protect the shape and keeps the outside from getting crushed.
Reheat: For the best crisp texture, reheat in a toaster oven or oven at 350 F until warm and crisp again. If you need a quick option, you can use the microwave for a short time, but the outside will be softer. To improve it, finish in a dry skillet for a minute or two to bring back some crunch.
Recipe Info
Preparation Time: 15 minutes + 1 hour resting
Cooking Time: 45 minutes
Total Time: 2 hours
Difficulty Level: Easy
Servings: 8 servings
Estimated Nutrition
Estimated nutrition for the whole recipe (without optional ingredients):
- Calories: about 1,850 to 1,950 kcal
- Protein: about 30 to 36 g
- Fat: about 40 to 50 g
- Carbohydrates: about 320 to 350 g
Ingredients
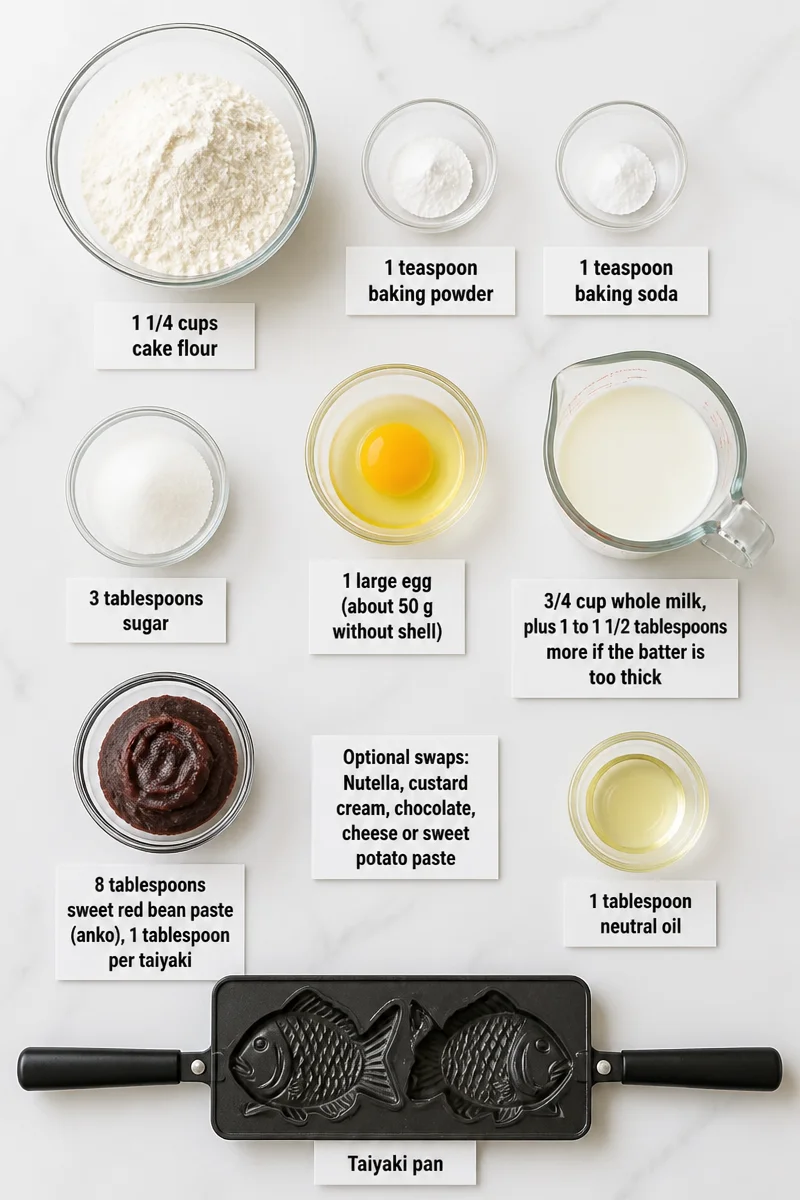
- 1 1/4 cups cake flour
- 1 teaspoon baking powder
- 1 teaspoon baking soda
- 3 tablespoons sugar
- 1 large egg (about 50 g without shell)
- 3/4 cup whole milk, plus 1 to 1 1/2 tablespoons more if the batter is too thick
- 8 tablespoons sweet red bean paste (anko), 1 tablespoon per taiyaki
- 1 tablespoon neutral oil
- Taiyaki pan
Step-by-Step Instructions
Step 1: Mix the Dry Ingredients
Sift the cake flour, baking powder, and baking soda into a large bowl. Then whisk in the sugar. This helps break up clumps and gives the batter a lighter feel.
Step 2: Combine the Wet Ingredients
In a medium bowl, beat the egg first. After that, stir in the milk until the mixture looks smooth and even. This helps the batter blend more easily in the next step.
Step 3: Make the Batter and Rest It
Pour the wet mixture into the dry ingredients and whisk until smooth. Then cover the bowl and chill the batter for at least 1 hour. During that time, the flour hydrates and the gluten relaxes, which gives the taiyaki a better texture. If the batter feels too thick after resting, whisk in a little more milk. It should be pourable, thicker than pancake batter but thinner than waffle batter.
Step 4: Heat the Pan and Fill the Molds
Pour the batter into a pitcher or spouted measuring cup for easier pouring. Then heat the taiyaki pan over medium-low heat. Once the pan is hot, brush both sides with oil. Fill each fish mold about 60% full with batter, then place 1 tablespoon of red bean paste in the center of each mold. After that, cover the filling with more batter.
Step 5: Cook, Flip, and Finish
Close the pan and flip it right away. Cook for 2 to 2 1/2 minutes, then flip again and cook for another 2 to 2 1/2 minutes until the taiyaki is golden brown. Transfer each one to a wire rack as it finishes, and repeat with the remaining batter. If needed, oil the pan between batches.
Step 6: Serve and Enjoy
Serve the taiyaki warm for the best taste and texture. The outside should be crisp, while the inside stays soft and sweet. If you have extras, let them cool before storing them for later.
Conclusion
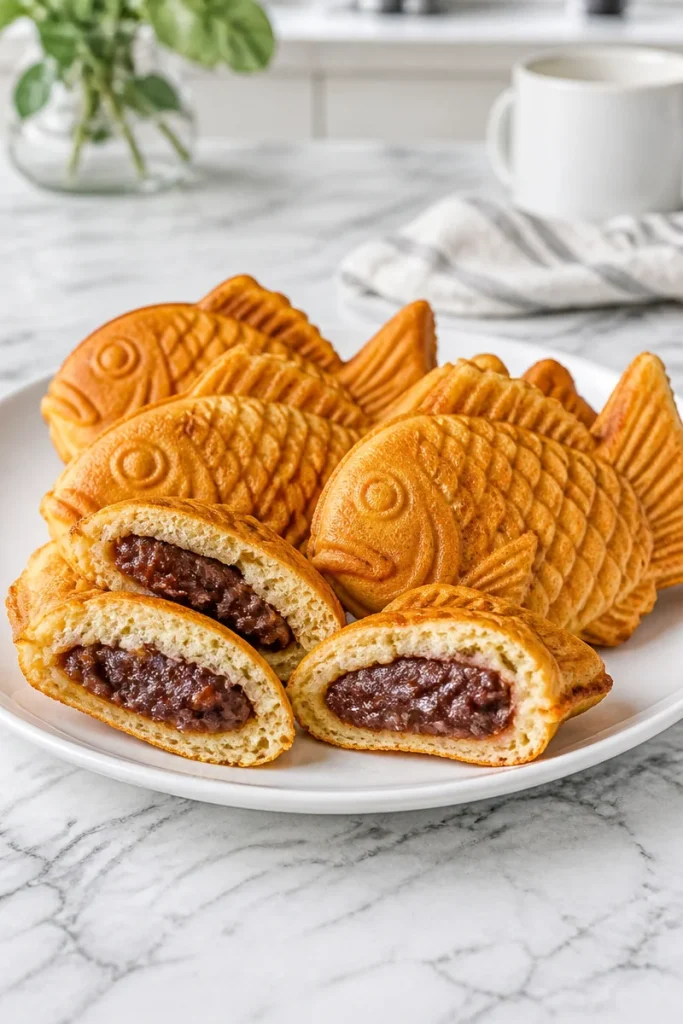
These crispy Japanese taiyaki fish-shaped cakes are a lovely mix of fun, comfort, and classic flavor. The batter is simple, the red bean filling is satisfying, and the pan gives each cake its charming fish shape. Best of all, once you learn how much batter your mold needs, the process becomes easy to repeat.
So if you want a cozy homemade treat that feels special without being complicated, this taiyaki recipe is a wonderful place to start. Try it soon, then come back and share how it turned out. If you enjoyed this recipe, you may also like other Japanese dessert ideas and simple stovetop sweets made for home cooks.
Taiyaki
Ingredients
Method
- Sift the cake flour, baking powder, and baking soda into a large bowl. Whisk in the sugar.
- In a medium bowl, beat the egg and stir in the milk until smooth.
- Pour the wet mixture into the dry ingredients and whisk until smooth. Cover the bowl and chill the batter for at least 1 hour.
- Heat the taiyaki pan over medium-low heat and brush both sides with oil.
- Fill each fish mold about 60% full with batter, add 1 tablespoon of red bean paste in the center, then cover with more batter.
- Close the pan, flip it right away, and cook for 2 to 2 1/2 minutes. Flip again and cook for another 2 to 2 1/2 minutes until golden brown.
- Transfer each taiyaki to a wire rack and repeat with remaining batter.
- Serve the taiyaki warm for the best taste and texture.
