Halloween baking should be fun, and this Eyeball Cake Pop Halloween Treat is one of those recipes that feels playful, spooky, and just plain joyful. I love it because it brings a big wow factor without making you spend hours in the kitchen. In other words, it is the kind of treat that makes people smile before they even take a bite.
These cake pops start with 1 (9×13-inch) baked vanilla or chocolate cake, cooled completely, mixed with 3/4 cup vanilla or chocolate frosting, then shaped on 24 cake pop sticks or lollipop sticks. After that, they get dipped in 16 ounces white chocolate melting wafers or candy melts and finished with 24 small candy eyeballs, plus assorted gel food coloring in green, blue, or brown for the iris, and red gel food coloring for the spooky bloodshot veins. The flavor is classic and comforting, with soft cake on the inside, creamy frosting in the middle, and a sweet chocolate shell on the outside.
The method is simple, too. You crumble the cake, mix it with frosting, roll it into balls, chill them, add the sticks, dip them in melted white chocolate, and decorate. Because the recipe has Prep Time: 35 minutes, plus 1 hour chilling, Cooking Time: 0 minutes, and Total Time: 1 hour 35 minutes, it is very manageable even on a busy Halloween week. Each cake pop comes in at about 160 kcal, and the full batch makes 24 servings.
This Eyeball Cake Pop Halloween Treat is perfect for Halloween parties, classroom events, family movie nights, and potlucks. It also works well for a spooky dessert table, since the pops stand up nicely and make a great centerpiece. If you want a treat that looks impressive but is still easy enough for home cooks of any age, this is a wonderful choice.
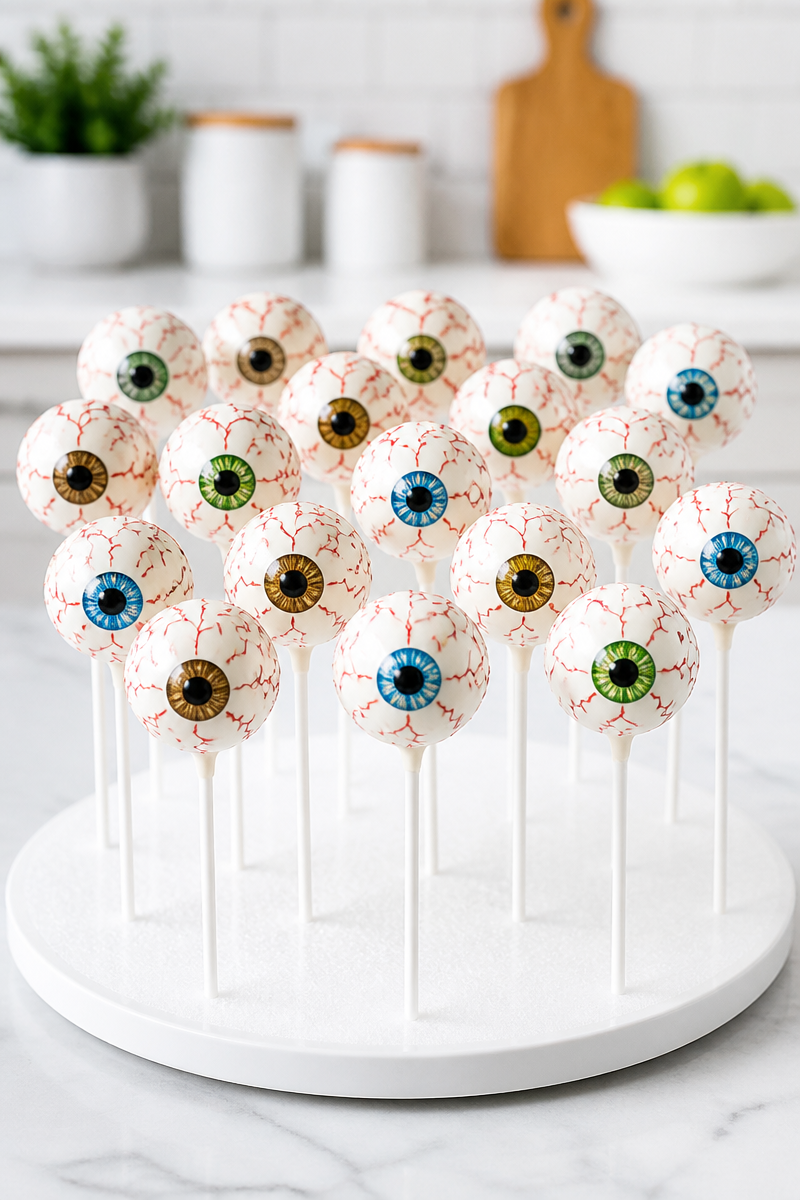
Why You’ll Love This Eyeball Cake Pop Halloween Treat
- It uses simple ingredients you can find in most grocery stores.
- It is a no-bake style dessert, so there is no oven time after the cake is ready.
- It is fun to make with kids, grandkids, or friends.
- It looks festive and creative without needing advanced decorating skills.
- It is easy to serve, share, and transport for parties or gatherings.
Cake Tips
For the best Eyeball Cake Pop Halloween Treat, start with a cake that is fully cooled and not too dry. A boxed cake mix works very well, and so does a homemade cake. Vanilla gives a sweet, classic flavor, while chocolate makes the pops taste richer and deeper. Since the cake is crumbled and mixed with frosting, the texture matters more than a fancy recipe. So, if your cake is a little firmer, that is actually helpful because it holds together better. Just make sure it is completely cool before you mix, or the frosting can turn greasy and the balls can become too soft.
Options for Substitutions
- Use chocolate frosting instead of vanilla frosting for a richer, darker filling.
- Swap white chocolate melting wafers for vanilla-flavored candy melts if you want easier coating.
- Use a gluten-free cake mix and gluten-free frosting for a wheat-free version.
- Replace candy eyeballs with homemade fondant eyes if candy decorations are hard to find.
- Use black or purple gel food coloring for a different spooky eye look.
- Skip the cake pop sticks and serve the cake balls as bite-sized eyeball truffles.
Watch Out for These Mistakes
One common mistake is using cake that is still warm. If the cake is even a little warm, the crumbs can turn sticky and soft, and the frosting may melt into the mix. As a result, the balls may not hold their shape well. So, always cool the cake completely first.
Another issue is adding too much frosting. The mixture should feel like soft cookie dough, not like cake batter. If it seems too wet, the balls can slide off the sticks later. Therefore, add frosting slowly, one tablespoon at a time, until the mixture just holds together when pressed.
Chilling time matters, too. If you rush the freezer step, the balls may crack or fall apart during dipping. Likewise, if the cake pops are too cold for too long, the chocolate can set too fast and look uneven. A short chill is usually enough to firm them without making them rock hard.
Finally, be careful when melting the white chocolate. If you heat it too long, it can seize or become thick. Instead, use short bursts in the microwave and stir often. That way, the coating stays smooth and easier to work with.
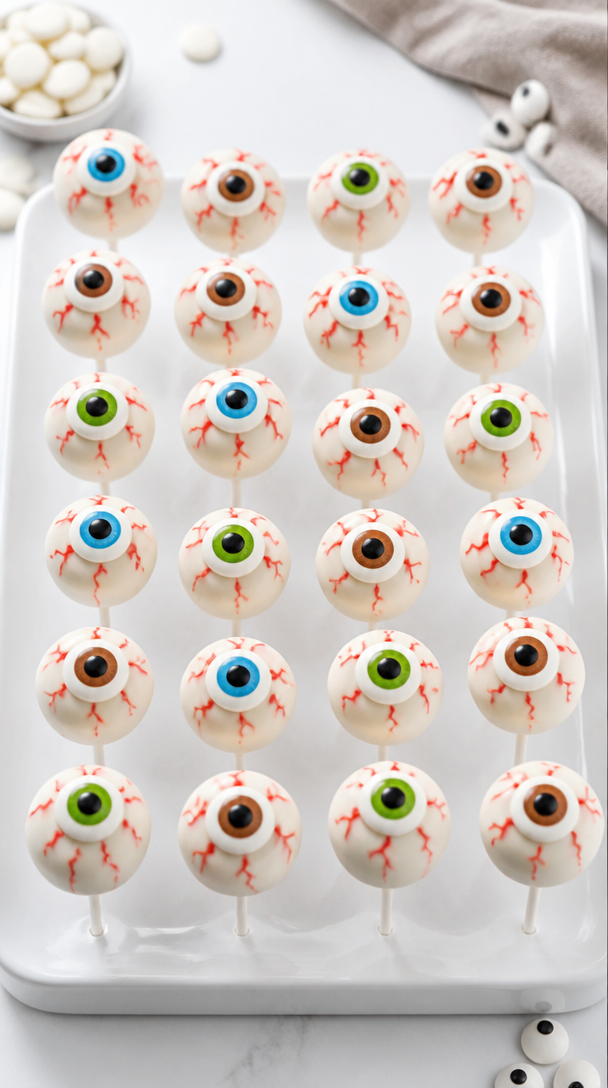
What to Serve With Eyeball Cake Pop Halloween Treat?
These eyeball cake pops pair well with other easy Halloween foods like caramel popcorn, fruit skewers with strawberries and grapes, popcorn mix, or a simple bowl of hot apple cider. Since the cake pops are sweet and rich, it helps to serve them with one or two lighter snacks, plus a warm drink if the evening is chilly.
Storage Instructions
Store: Place the cake pops in an airtight container and keep them at room temperature for up to 5 days. If your kitchen runs warm, refrigerate them for up to 10 days.
Freeze: You can freeze the finished cake pops for up to 2 months. Wrap each pop gently, then place them in a freezer-safe container. Thaw in the refrigerator overnight before serving.
Reheat: These cake pops do not need real reheating. If they have been chilled or frozen, let them sit at room temperature until the coating softens slightly. If you want the chocolate shell to take the chill off, set them out for 15 to 20 minutes. A stovetop or microwave is not needed for serving, and too much heat can melt the coating.
Recipe Info
- Preparation Time: 35 minutes
- Chilling Time: 1 hour
- Cooking Time: 0 minutes
- Total Time: 1 hour 35 minutes
- Level of Difficulty: Easy
- Servings: 24
- Calories: 160 kcal per serving
Estimated Nutrition
Estimated nutrition for the whole recipe (without optional ingredients):
- Calories: 3,700 to 4,200
- Protein: 30 to 45 g
- Fat: 180 to 230 g
- Carbohydrates: 500 to 620 g
Ingredients
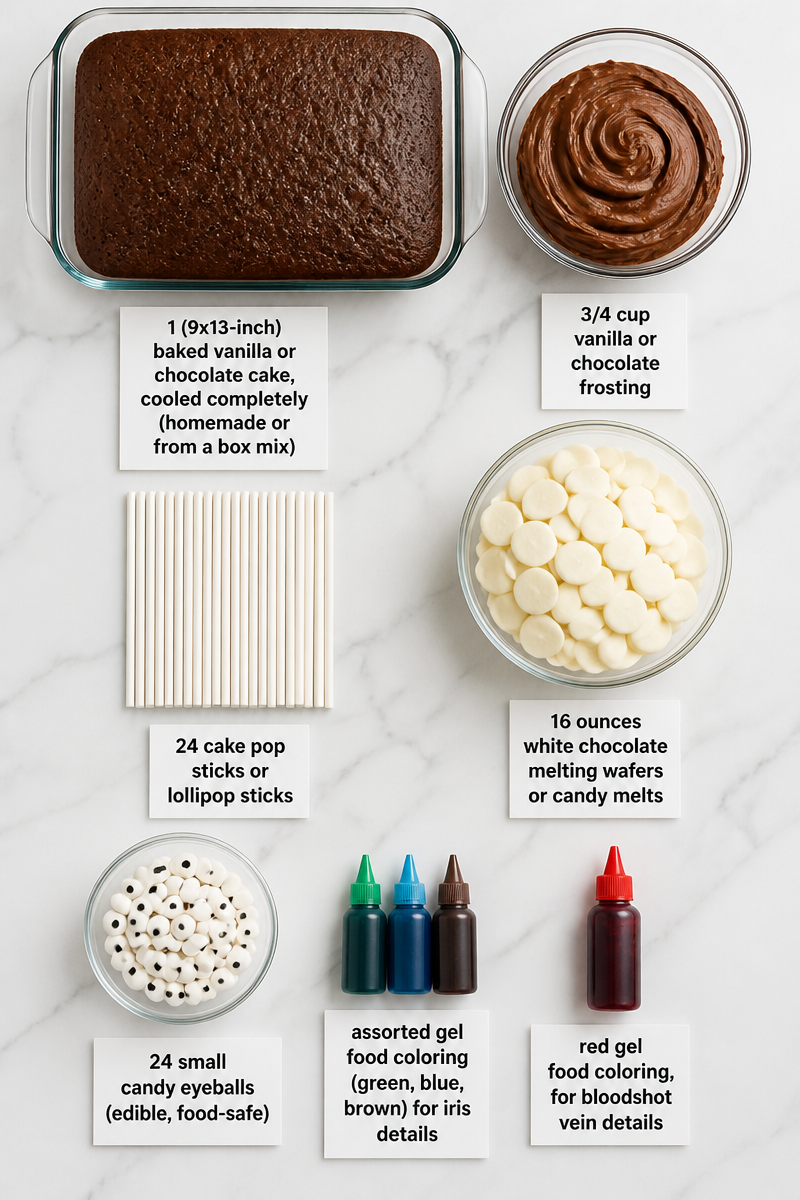
- 1 (9×13-inch) baked vanilla or chocolate cake, cooled completely (homemade or from a box mix)
- 3/4 cup vanilla or chocolate frosting
- 24 cake pop sticks or lollipop sticks
- 16 ounces white chocolate melting wafers or candy melts
- For decorating: 24 small candy eyeballs (edible, food-safe)
- Assorted gel food coloring (green, blue, brown) for iris details
- Red gel food coloring, for bloodshot vein details
Step-by-Step Instructions
Step 1: Crumble the Cake
Start by placing the cooled cake in a large bowl. Then, use your hands or a fork to break it into fine crumbs. Keep going until no large chunks remain. This helps the cake mix smoothly with the frosting and gives the finished pops a soft, even texture.
Step 2: Mix in the Frosting
Add the frosting to the cake crumbs and mix well with a spatula or your hands. The mixture should hold together easily when pressed into a ball, similar to cookie dough. If it feels too dry and crumbly, add a little more frosting, just one tablespoon at a time, until it comes together.
Step 3: Shape and Chill the Cake Balls
Line a baking sheet with parchment paper, then roll the cake mixture into 24 smooth balls, about 1 1/2 inches wide. Place them on the prepared sheet and freeze for 15 minutes. This short chill firms them up, which makes dipping much easier.
Step 4: Add the Sticks
Melt about 1/4 cup of the white chocolate in a microwave-safe bowl using 30-second bursts, and stir between each round until smooth. Dip the tip of each stick into the melted chocolate, then insert it about halfway into each chilled cake ball. The melted chocolate acts like glue. After that, freeze the pops again for 15 to 20 minutes so they stay firm.
Step 5: Coat the Cake Pops
Melt the remaining white chocolate in a tall, narrow microwave-safe glass using 30-second bursts, stirring well each time. Next, dip each chilled cake pop straight down into the chocolate and twirl gently to coat it fully. Let the extra chocolate drip back into the glass. Then stand each pop upright in a cake pop stand or styrofoam block while the coating sets, which usually takes 5 to 10 minutes.
Step 6: Decorate and Serve
Once the chocolate shell is completely set, press one candy eyeball onto the front of each pop. If needed, use a tiny dab of melted chocolate to help it stick. Then, use a small food-safe brush or fine-tipped toothpick to paint thin red squiggly lines around the eye for a bloodshot look. Finally, display the finished Eyeball Cake Pop Halloween Treat in a stand, vase, or candy-filled centerpiece, and serve.
Conclusion
This Eyeball Cake Pop Halloween Treat is a simple, spooky dessert that brings big Halloween fun with very little fuss. With a soft cake center, sweet frosting, smooth white chocolate coating, and playful candy eye decoration, it is a crowd-pleaser for kids and adults alike. Since it uses easy steps and common ingredients, it is a great recipe to make ahead for parties, school events, or a cozy night at home.
If you try these cake pops, I would love to hear how they turned out. Share your thoughts, leave a comment, or save this recipe for your Halloween dessert list. And if you want more easy seasonal sweets, keep browsing for more festive treats that are simple, tasty, and fun to make.
Eyeball Cake Pop
Ingredients
Method
- Crumble the cooled cake into fine crumbs in a large bowl.
- Mix in the frosting until the mixture holds together like cookie dough.
- Roll the mixture into 24 smooth balls, about 1 1/2 inches wide, and place them on a lined baking sheet.
- Freeze the cake balls for 15 minutes to firm them up.
- Melt 1/4 cup of white chocolate and dip the tip of each stick into it before inserting it halfway into each chilled cake ball.
- Freeze the cake pops again for 15-20 minutes.
- Melt the remaining white chocolate and dip each cake pop to coat them completely.
- Stand each coated pop upright until the coating sets, about 5-10 minutes.
- Press one candy eyeball onto the front of each pop.
- Use red gel food coloring to create bloodshot veins around the eye.
- Display the finished Eyeball Cake Pop Halloween Treat and serve.
