These Homemade Twinkies Cream Filled Snack Cakes are pure comfort. They bring back that soft, sweet snack cake feeling many of us remember, but with the extra joy of making them fresh at home. I like recipes like this because they feel fun, familiar, and a little nostalgic. Even better, they make a lovely treat for family afternoons, lunchboxes, and weekend baking.
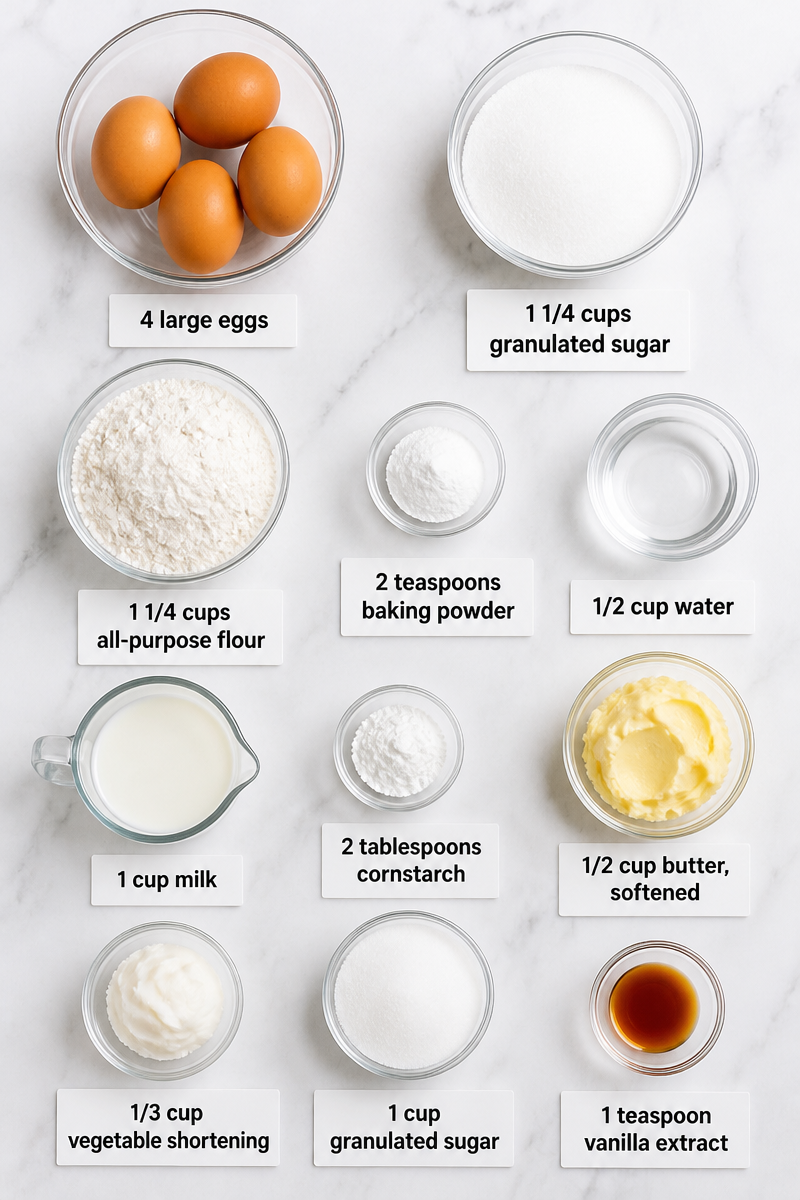
The sponge cakes use 4 large eggs, 1 1/4 cups granulated sugar, 1 1/4 cups all-purpose flour, 2 teaspoons baking powder, and 1/2 cup water. Then the cream filling comes together with 1 cup milk, 2 tablespoons cornstarch, 1/2 cup butter, softened, 1/3 cup vegetable shortening, 1 cup granulated sugar, and 1 teaspoon vanilla extract. As a result, you get a light cake with a sweet, creamy center. The flavor is soft, rich, and pleasantly vanilla-forward, with a tender crumb and a smooth filling that tastes like a classic bakery treat.
The method is simple, too. First, you beat the eggs and sugar until light and airy, which is what gives the sponge its lift. Next, you fold in the dry ingredients with water, then bake the cakes until golden. After that, you cook the milk and cornstarch filling, cool it, and whip it with butter, shortening, sugar, and vanilla until fluffy. Finally, you pipe the filling into the cooled cakes. It is an easy process, and once you do it once, it feels very manageable. Prep time is about 30 minutes, plus 1 hour cooling, and the total time is 1 hour 45 minutes.
These snack cakes are great for potlucks, after-school treats, birthday trays, and coffee breaks. They also travel well, so they are handy for picnics, church gatherings, and family get-togethers. If you want a homemade dessert that feels special without being fussy, this recipe is a good one to keep.
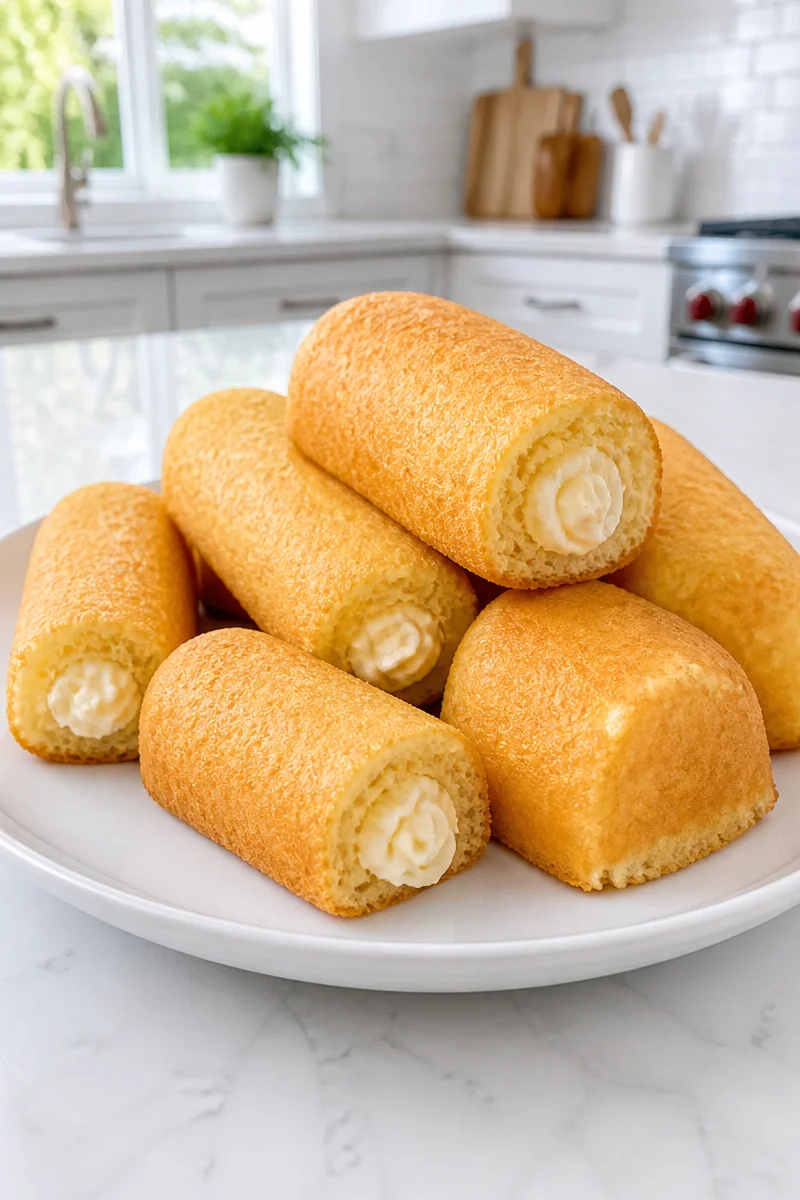
Why You’ll Love This Homemade Twinkies Cream Filled Snack Cakes
- The ingredients are simple and easy to find in most grocery stores.
- The recipe makes soft, sweet cakes with a smooth cream filling.
- It tastes nostalgic, so it is a fun treat for both kids and adults.
- The steps are easy to follow, even if you are not an expert baker.
- It works well for sharing at parties, potlucks, and family snacks.
Egg Tips
Eggs are the key to the sponge texture in these Homemade Twinkies Cream Filled Snack Cakes, so fresh eggs matter. For the best result, use large eggs at room temperature if you can. They whip up better, and that helps create more volume in the batter. Also, beat them long enough to turn pale and fluffy, because that step gives the cakes their light, airy feel. If your eggs are cold, let them sit out for a little while before you begin.
Options for Substitutions
- Use whole milk or 2% milk in the filling if that is what you have on hand.
- Swap butter only for the butter and shortening mix, though the filling may be a little softer.
- Use cake flour instead of all-purpose flour for an even more tender sponge.
- Replace vanilla extract with almond extract for a different flavor, but use a smaller amount.
- Use cornstarch-free pudding mix only if you want a different filling texture and a quicker shortcut.
- Swap vegetable shortening for softened cream cheese if you want a tangier filling, but note that the flavor will change.
Watch Out for These Mistakes
One common mistake is rushing the egg and sugar mixture. If you do not beat it until pale and fluffy, the cakes may turn out dense instead of light. So take your time here. This step builds the sponge, and it really matters.
Another issue is overmixing after the flour goes in. Once you add the dry ingredients, stir only until smooth. If you keep mixing, the batter can lose air and the cakes may bake up heavy. Also, be sure to fill the liners only about two-thirds full so they rise well without spilling over.
Cooling is just as important. If the cakes are still warm, the filling can melt and slide out. Likewise, make sure the milk and cornstarch mixture is fully cool before you beat it into the butter mixture. Otherwise, the filling can turn loose and messy.
Finally, do not overfill the cakes with cream. Insert the piping tip gently and stop when the cake feels full. If you squeeze too much, the cakes can split. A little care here gives you neat, bakery-style snack cakes.
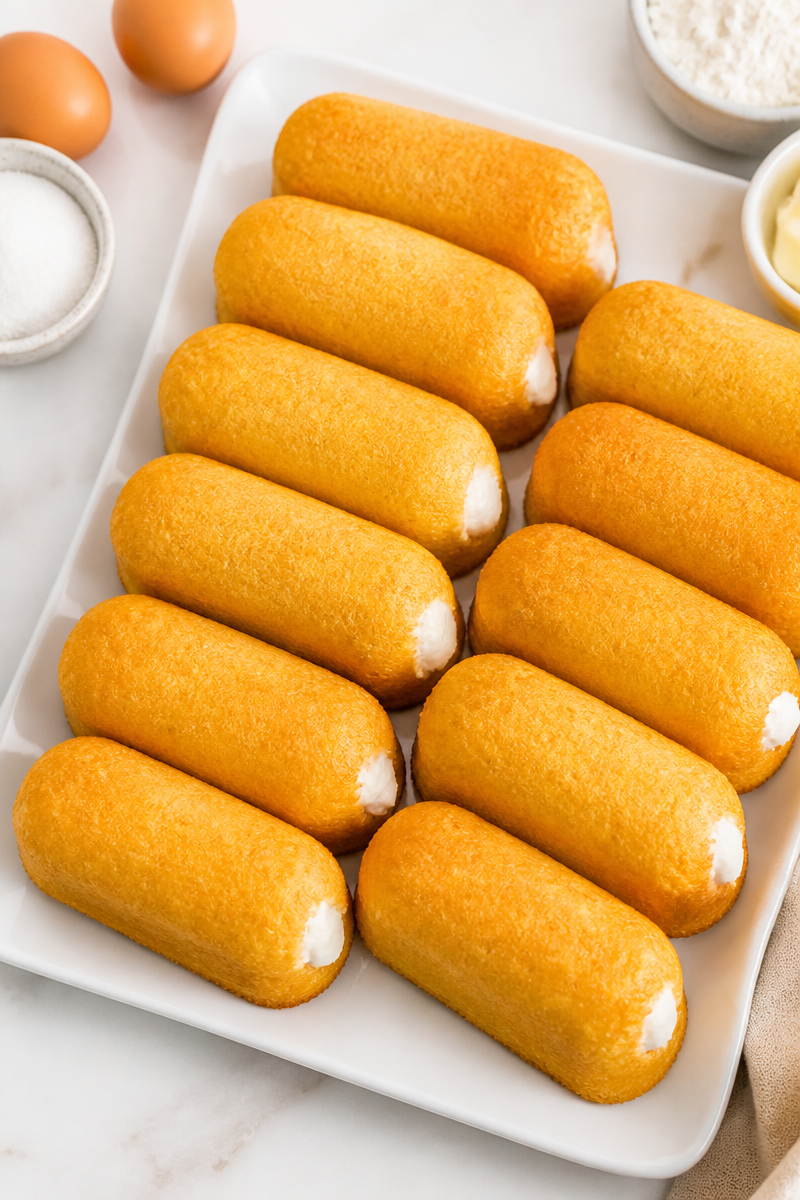
What to Serve With Homemade Twinkies Cream Filled Snack Cakes?
These Homemade Twinkies Cream Filled Snack Cakes pair nicely with a cold glass of milk, a cup of coffee, or hot tea. For a fuller spread, you can serve them with fresh berries, a small bowl of fruit salad, or a scoop of vanilla ice cream. If you want a party tray, add some salty snacks on the side, such as pretzels or roasted nuts, so the sweet flavor stands out even more.
Storage Instructions
Store: Keep these snack cakes in an airtight container at room temperature for up to 2 days. In warm weather, refrigerate them for up to 3 days.
Freeze: Wrap each cake well and place them in a freezer-safe container or bag. Freeze for up to 2 months. For best texture, freeze without any toppings or extra garnish.
Reheat: For a soft, fresh taste, let refrigerated cakes sit at room temperature for about 15 to 20 minutes before serving. If you want to warm one slightly, use the microwave for 5 to 8 seconds only. Stovetop reheating is not needed for the cakes themselves, but if the filling seems firm from refrigeration, letting the snack cakes rest at room temperature is the best option.
Recipe Info
Preparation Time: 30 minutes plus 1 hour cooling
Cooking Time: 15 minutes
Total Time: 1 hour 45 minutes
Difficulty Level: Easy
Servings: 12
Calories: 280 kcal per serving
Estimated Nutrition
Estimated nutrition for the whole recipe (without optional ingredients):
Calories: about 3,200 to 3,400 total
Protein: about 45 to 55 g
Fat: about 150 to 175 g
Carbohydrates: about 430 to 470 g
Ingredients
- For the sponge cakes:
- 4 large eggs
- 1 1/4 cups granulated sugar
- 1 1/4 cups all-purpose flour
- 2 teaspoons baking powder
- 1/2 cup water
- For the cream filling:
- 1 cup milk
- 2 tablespoons cornstarch
- 1/2 cup butter, softened
- 1/3 cup vegetable shortening
- 1 cup granulated sugar
- 1 teaspoon vanilla extract
Step-by-Step Instructions
Step 1: Preheat the Oven and Prepare the Pan
Heat the oven to 375°F and line a 12-cup muffin tin with paper liners. This gives you a ready pan so you can move quickly once the batter is mixed. Since the sponge batter depends on air, it is best to have everything set up before you begin.
Step 2: Beat the Eggs and Sugar Until Light
In a large bowl, beat the eggs until they look light and fluffy. Then pour in the sugar slowly while beating, and keep going until the mixture turns a pale lemon yellow. This step takes a little patience, but it is worth it because the air you whip in helps the cakes rise.
Step 3: Add the Dry Ingredients and Water
Mix the flour and baking powder together first. Then add them to the egg mixture in a few additions, alternating with the water, and mix only until smooth. Do not overmix, because that can make the sponge tough instead of soft and tender.
Step 4: Fill and Bake the Cakes
Fill each paper liner about two-thirds full. Then bake for 10 to 12 minutes, or until the tops are golden. After that, remove the pan from the oven and let the cakes cool completely. This usually takes about 1 hour, and it is important because warm cakes can melt the filling.
Step 5: Make the Cream Filling
Whisk the cornstarch into the milk in a saucepan, then bring it to a boil while stirring constantly until thick. Set it aside and let it cool completely. Next, in a mixing bowl, cream the butter, shortening, and sugar until fluffy. Add the cooled milk mixture and beat on high for several minutes until smooth. Rub a little between your fingers to check for sugar grit. If it feels smooth, add the vanilla and beat for one more minute.
Step 6: Fill the Cakes and Store Them
Put the filling in a piping bag with a coupler and a large round tip. Push the tip into the bottom of each cake and squeeze until you feel it fill. Resting a hand on top helps you sense when it is full, and that can help keep the cakes from bursting. Finally, store the finished snack cakes in an airtight container. Keep them at room temperature up to 2 days, or refrigerate them up to 3 days in warm weather.
Conclusion
These Homemade Twinkies Cream Filled Snack Cakes are soft, sweet, and wonderfully nostalgic. They use simple ingredients, but the final result feels special and homemade. The sponge is light, the filling is creamy, and the whole recipe is easy enough for a weekend baking project. If you try them, I would love for you to share how they turned out. And if you enjoy classic snack cakes, be sure to explore more homemade dessert recipes for your next baking day.
Homemade Twinkies Cream Filled Snack Cakes
Ingredients
Method
- Preheat the oven to 375°F and line a 12-cup muffin tin with paper liners.
- In a large bowl, beat the eggs until light and fluffy. Gradually add the sugar while continuing to beat until the mixture turns a pale lemon yellow.
- Mix the flour and baking powder together, then add to the egg mixture alternating with the water. Mix only until smooth.
- Fill each paper liner about two-thirds full and bake for 10 to 12 minutes until the tops are golden.
- Remove from the oven and let the cakes cool completely for about 1 hour.
- Whisk the cornstarch into the milk in a saucepan, then bring to a boil while stirring constantly until thick. Let it cool completely.
- In a mixing bowl, cream the butter, shortening, and sugar until fluffy, then add the cooled milk mixture and beat on high until smooth. Add the vanilla and mix for one more minute.
- Transfer the filling to a piping bag. Fill each cooled cake by inserting the piping tip into the bottom and squeezing until full.
- Store the filled snack cakes in an airtight container at room temperature for up to 2 days or refrigerate for up to 3 days in warm weather.
