Sweets can bring so much joy and comfort. There’s something incredibly heartwarming about preparing a delicious dessert that can brighten anyone’s day. With Halloween around the corner, why not create a fun and festive treat that the whole family can enjoy? These Mini No Bake Cheesecake Mummy Topped treats are both adorable and delicious, making them perfect for anyone who loves a good sweet.
Imagine sinking your teeth into a rich cheesecake filling, set atop a crunchy Oreo crust that crumbles with every bite. The blend of flavors is simply magical. The creamy texture of the cheesecake mixed with the sweetness of whipped cream and a hint of vanilla creates a dessert that feels indulgent yet is easily achievable. The addition of white chocolate draped over the top in a spooky mummy wrap, along with candy eyes, makes these treats visually appealing and fun to serve.
Creating these mini cheesecake mummies is straightforward, which is one of the best parts. You start by mixing the Oreo crumbs with melted butter to form a crust, followed by whipping together the cream cheese with sugar and vanilla. After chilling the mini cheesecakes, you’ll pipe on the creamy filling and drizzle with melted white chocolate. Add those cute candy eyes, and you have a winning dessert that requires no baking at all.
These mini cheesecakes are perfect for gatherings, Halloween parties, or just as a delightful treat after a family dinner. They’re especially great for serving to guests of all ages, as their charm and taste can appeal to anyone, even those who might not typically indulge in sweets.
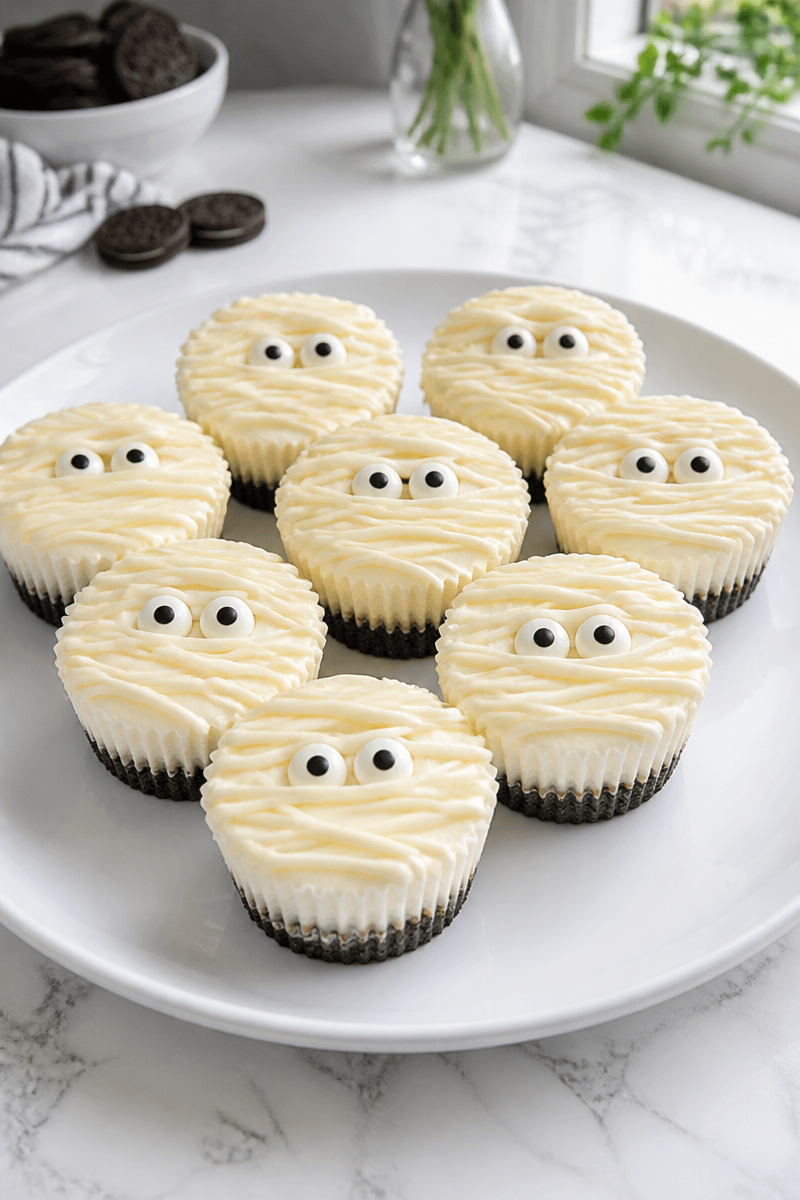
Why You’ll Love This Mini No Bake Cheesecake Mummy Topped
- Quick: This recipe requires no baking, meaning you can whip these up in no time.
- Simple Ingredients: You likely have many of these ingredients in your pantry already.
- Comfort Food: Cheesecake is a favorite dessert for many due to its creamy richness.
- Family-Friendly: Kids and adults alike enjoy getting creative by decorating these spooky treats.
- Perfectly Themed: These eye-catching desserts will impress guests at any Halloween gathering.
Oreo Crumbs Tips
Selecting quality Oreo crumbs is key for your crust. You can either purchase pre-packaged Oreo crumbs or make your own by crushing whole Oreo cookies. If you choose to go the DIY route, simply place them in a sealed bag and crush them with a rolling pin until you have fine crumbs. Ensure you remove the cream filling if you want a drier consistency. This makes for an excellent base that holds the cheesecake filling nicely.
Options for Substitutions
- Use graham cracker crumbs instead of Oreo crumbs for a different crust flavor.
- Swap the butter for coconut oil for a dairy-free version.
- Cream cheese can be replaced with a non-dairy cream cheese alternative if desired.
- Substitute sugar with white or brown sugar to see how it changes the sweetness.
- Opt for homemade whipped cream if you prefer that over store-bought.
- For a dairy-free topping, use a dairy-free chocolate instead of white chocolate.
Watch Out for These Mistakes
When making the crust, be careful not to over-melt your butter. It should be just melted enough to mix in with the cookie crumbs. If it’s too hot, it may change the texture of your crust.
While combining your filling ingredients, make sure the cream cheese is softened to room temperature. If it’s too cold, it won’t mix smoothly with the other ingredients, and you’ll end up with lumps.
When folding the whipped cream into the filling, be gentle. Use a light hand to prevent the whipped cream from deflating. If you’re too vigorous, your cheesecake might lose that desirable airy texture.
Finally, it’s crucial to give the cheesecakes enough time to chill. If you don’t let them set adequately in the fridge, they may fall apart when you try to remove them from the liners.
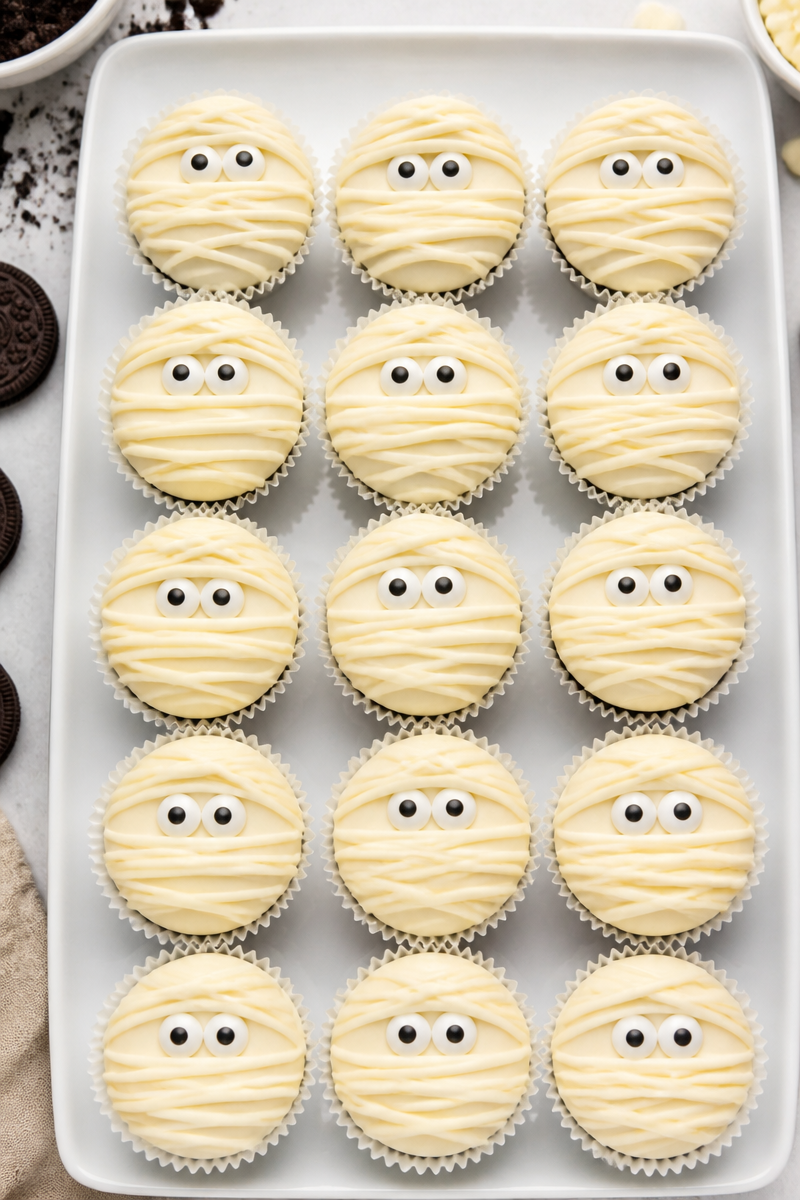
What to Serve With Mini No Bake Cheesecake Mummy Topped?
These mini cheesecakes are delightful on their own, but they pair perfectly with some simple side dishes. Consider serving them with fresh fruit, like strawberries or raspberries, that adds a splash of color and a tart contrast to the sweetness. A sprinkle of crushed nuts can add texture, and a warm cup of spiced cider or pumpkin soup complements the Halloween theme beautifully.
Storage Instructions
Store: Keep these mini cheesecakes in an airtight container in the refrigerator for up to 5 days. They stay fresh and delicious during this time.
Freeze: If you need to prep ahead, you can freeze the cheesecakes for up to 3 months. Just ensure they’re well-wrapped to prevent freezer burn.
Reheat: Since these are no-bake cheesecakes and served chilled, there’s no need to reheat them. Just thaw in the refrigerator overnight if frozen, and they’re ready to enjoy.
Recipe Info
Preparation Time: 20 minutes
Cooking Time: 2 hours (chill time)
Total Time: 2 hours 20 minutes
Level of Difficulty: Easy
Servings: Approximately 12 servings
Estimated Nutrition
Estimated nutrition for the whole recipe (without optional ingredients):
- Calories: 2,000 – 2,200
- Protein: 15 – 20 grams
- Fat: 140 – 150 grams
- Carbohydrates: 180 – 200 grams
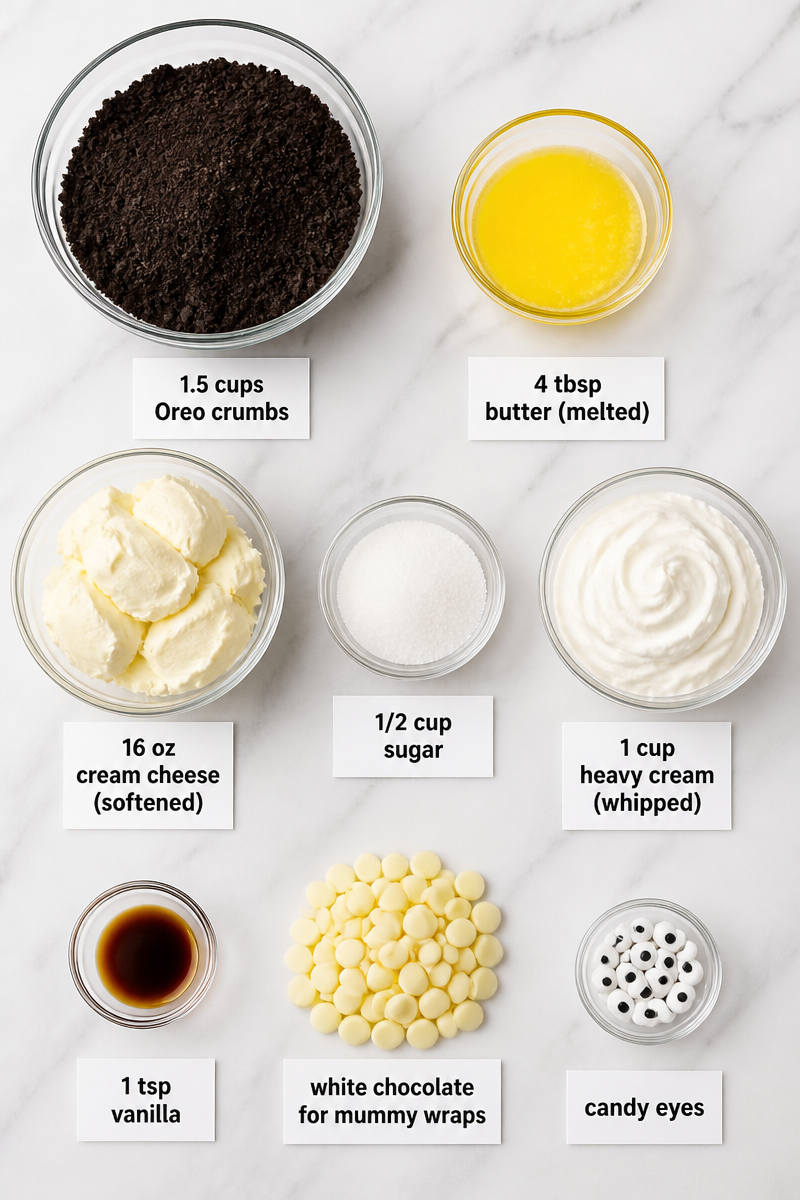
Ingredients
- 1.5 cups Oreo crumbs
- 4 tbsp butter (melted)
- 16 oz cream cheese (softened)
- 1/2 cup sugar
- 1 cup heavy cream (whipped)
- 1 tsp vanilla
- White chocolate for mummy wraps
- Candy eyes
Step-by-Step Instructions
Step 1: Prepare the Crust
Begin by mixing the Oreo crumbs with the melted butter in a bowl until well combined. The mixture should resemble wet sand. Line a muffin tin with paper liners or silicone molds and press the crumb mixture firmly into the bottom of each liner to create mini crusts. Chill them in the refrigerator for about 15 minutes while you prepare the filling.
Step 2: Make the Cream Cheese Filling
In a large mixing bowl, beat the softened cream cheese, sugar, and vanilla together until the mixture is smooth and free of lumps. It’s best to use a hand mixer or stand mixer for this step. Once combined, gently fold in the whipped cream until it’s just blended. Be careful not to overmix, as you want to maintain that light and fluffy texture.
Step 3: Fill the Crusts
Take the chilled crusts out of the fridge. Using a piping bag or a spoon, carefully fill each crust with the cheesecake mixture, distributing it evenly. Once filled, return the muffin tin to the refrigerator and let the cheesecakes set for about 2 hours.
Step 4: Add Mummy Wrapping
After the cheesecakes have set, melt the white chocolate in a microwave-safe bowl or using a double boiler. Once melted, use a piping bag or a spoon to drizzle the melted chocolate over the cheesecake in a fun mummy-wrap pattern. Allow the chocolate to harden slightly before you proceed to the next step.
Step 5: Attach the Candy Eyes
Finally, take your candy eyes and attach them to each cheesecake with a dab of melted chocolate. Make sure they’re placed prominently so they can be seen when you serve your spooky treats!
Step 6: Serve and Enjoy
These mini cheesecakes are best served chilled. Arrange them on a platter for a delightful presentation and watch as your friends and family enjoy these festive treats.
In conclusion, these Mini No Bake Cheesecake Mummy Topped delights are a fun, easy dessert perfect for Halloween gatherings or a cozy family night. They’re simple to make, and the unique presentation brings a whimsical touch to your table. Give this recipe a try, and don’t forget to share your feedback and explore more delightful treats in similar posts. Your family will thank you for this sweet addition to your fall festivities!
Mini No Bake Cheesecake Mummy Topped
Ingredients
Method
- Mix the Oreo crumbs with melted butter in a bowl until well combined. The mixture should resemble wet sand.
- Line a muffin tin with paper liners or silicone molds and press the crumb mixture firmly into the bottom of each liner to create mini crusts.
- Chill the crusts in the refrigerator for about 15 minutes while preparing the filling.
- In a large mixing bowl, beat the softened cream cheese, sugar, and vanilla together until smooth and free of lumps.
- Gently fold in the whipped cream until just blended, being careful not to overmix.
- Once the crusts are chilled, fill each crust with the cheesecake mixture using a piping bag or a spoon, distributing it evenly.
- Return the muffin tin to the refrigerator and let the cheesecakes set for about 2 hours.
- Melt the white chocolate in a microwave-safe bowl or using a double boiler.
- Use a piping bag or spoon to drizzle the melted chocolate over the cheesecake in a mummy-wrap pattern.
- Allow the chocolate to harden slightly.
- Attach candy eyes to each cheesecake using a dab of melted chocolate.
- Serve chilled on a platter.
