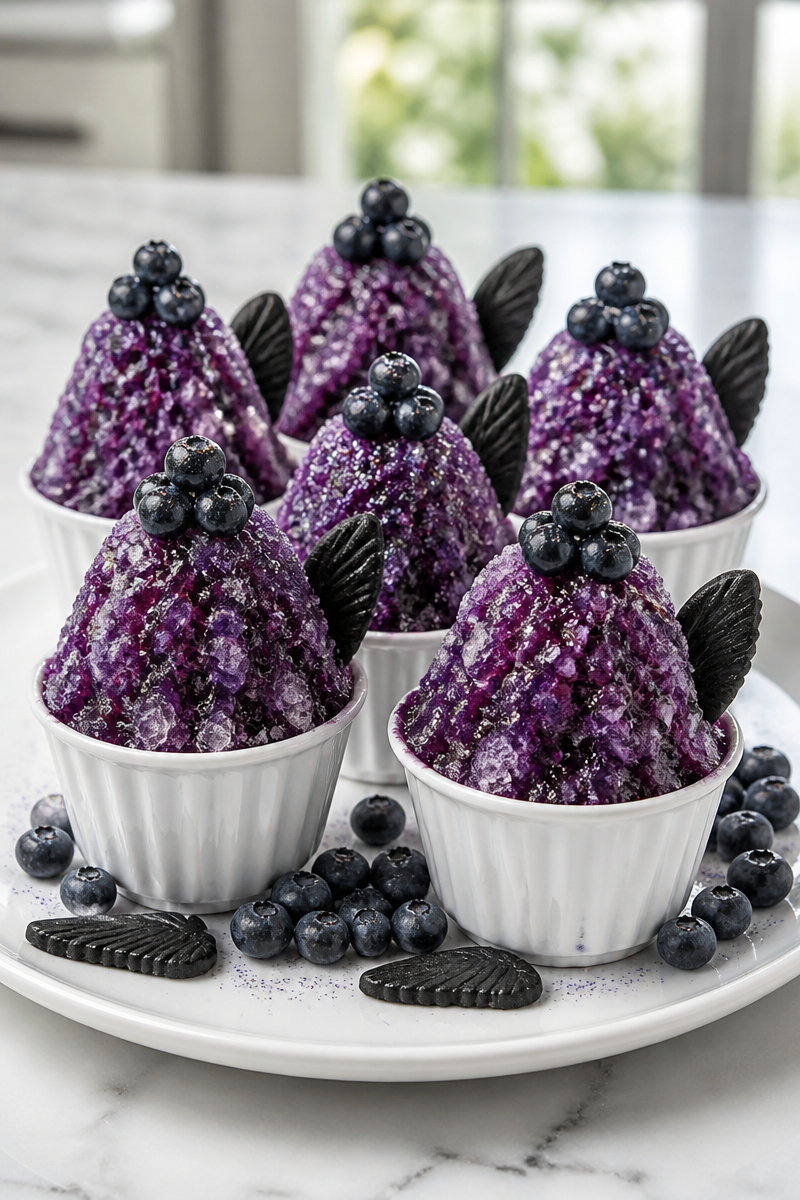
This Mothman Blueberry Moon Snow Cone is pure fun, and honestly, it feels like a little party in every cup. The sweet berry flavor is bright and cheerful, while the spooky theme gives it just enough charm to make kids and grown-ups smile. Because it is cold, colorful, and easy to serve, it works beautifully for warm days, themed gatherings, or a simple treat after dinner.
What makes this snow cone so appealing is the mix of a rich blueberry syrup, icy shaved snow, and playful garnish. The syrup uses 2 cups fresh or frozen blueberries, 3/4 cup granulated sugar, 1/2 cup water, and 1 tbsp fresh lemon juice, so the flavor lands between sweet and tart. Then the 8 cups finely shaved ice give you that light, fluffy texture people expect from a good snow cone. Finally, the fresh blueberries, black licorice wing pieces, and optional edible silver glitter turn each serving into a moonlit little scene.
The method is simple, and that is one reason I love it. You simmer the blueberries with sugar, water, and lemon juice, then strain and chill the syrup. After that, you shave the ice, pack it into cups, and drizzle the cold syrup over the top. Because the steps are easy and the ingredients are basic, this recipe feels approachable even if you do not make desserts often.
This Mothman Blueberry Moon Snow Cone is especially nice for summer birthdays, Halloween parties, family movie nights, and backyard get-togethers. It also makes a cute after-school snack or a fun weekend project with grandchildren. Since the syrup can be made ahead, you can keep the work light and still serve something memorable.
Why You’ll Love This Mothman Blueberry Moon Snow Cone
- It comes together fast, so you can make a special treat in about 15 minutes.
- It uses simple ingredients you may already have on hand.
- The blueberry syrup tastes fresh, fruity, and bright, with a gentle lemon lift.
- The recipe is easy to customize for parties, kids, or themed events.
- It looks festive and spooky without requiring any difficult decorating skills.
Blueberry Tips
Blueberries are the heart of this recipe, so it helps to choose them with care. Fresh berries should look plump, deep in color, and free from mushy spots. However, frozen blueberries work very well too, which makes this recipe handy all year long. If you use frozen berries, there is no need to thaw them first. Just add them to the saucepan and let them cook down with the sugar, water, and lemon juice. Also, gentle mashing during cooking helps the syrup take on a stronger berry flavor and a deeper color.
Options for Substitutions
- Use raspberries or blackberries instead of blueberries for a different berry flavor.
- Swap the granulated sugar for honey or maple syrup, but use a little less since both are sweeter.
- Replace the fresh lemon juice with lime juice for a sharper, brighter taste.
- Use store-bought shaved ice or crushed ice if you do not have a blender or snow cone machine.
- Skip the black licorice wings and use fruit leather cut into shapes for a kid-friendly garnish.
- Leave out the edible glitter, or use a tiny pinch of colored sanding sugar for a sparkling finish.
Watch Out for These Mistakes
One common mistake is cooking the blueberry syrup too long. You want the berries to break down and the liquid to thicken slightly, but you do not want a jam that turns too stiff after chilling. So, keep an eye on the saucepan and stir often enough to prevent sticking.
Another issue is skipping the chilling step. If you pour warm syrup over the shaved ice, the snow melts too quickly and the texture turns watery. Therefore, make sure the syrup is fully cool before you assemble the snow cones. It does not take long, but it matters.
Also, try not to overpack the shaved ice with big chunks. Fine, fluffy ice gives you the best snow cone texture. If the ice is coarse, the syrup will run through too fast. For the best result, pulse the ice in small batches until it looks soft and snow-like.
Finally, assemble the cones right before serving. Snow cones do not hold well, and they start melting as soon as they are made. So, once the ice is packed and the syrup is chilled, move quickly and serve them fresh.
What to Serve With Mothman Blueberry Moon Snow Cone?
This blueberry snow cone pairs well with light, easy snacks like popcorn, fruit skewers, shortbread cookies, or mini tea sandwiches. If you are hosting a themed party, you can also serve it with salty pretzels or a simple cheese plate, since the sweet-tart blueberry flavor balances nicely with savory bites. For a fuller dessert spread, add brownies or vanilla ice cream so guests can choose between creamy and icy treats.
Storage Instructions
Store: Keep the blueberry syrup in an airtight jar or container in the refrigerator for up to 1 week. If you have leftover shaved ice, store it in the freezer, but expect the texture to change a bit.
Freeze: You can freeze the blueberry syrup for up to 3 months. However, freeze it in a sealed container with a little room at the top because liquids expand as they freeze.
Reheat: To use chilled or frozen syrup, warm it gently on the stovetop over low heat until it loosens. You can also microwave it in short bursts, stirring between each one. If the syrup is frozen, thaw it in the fridge first for the smoothest texture.
Recipe Info
Preparation Time: 10 minutes
Cooking Time: 5 minutes
Total Time: 15 minutes
Level of Difficulty: Easy
Servings: 6 servings
Estimated Nutrition
Estimated nutrition for the whole recipe (without optional ingredients):
Calories: 780 to 900
Protein: 1 to 3 g
Fat: 0 to 2 g
Carbohydrates: 190 to 220 g
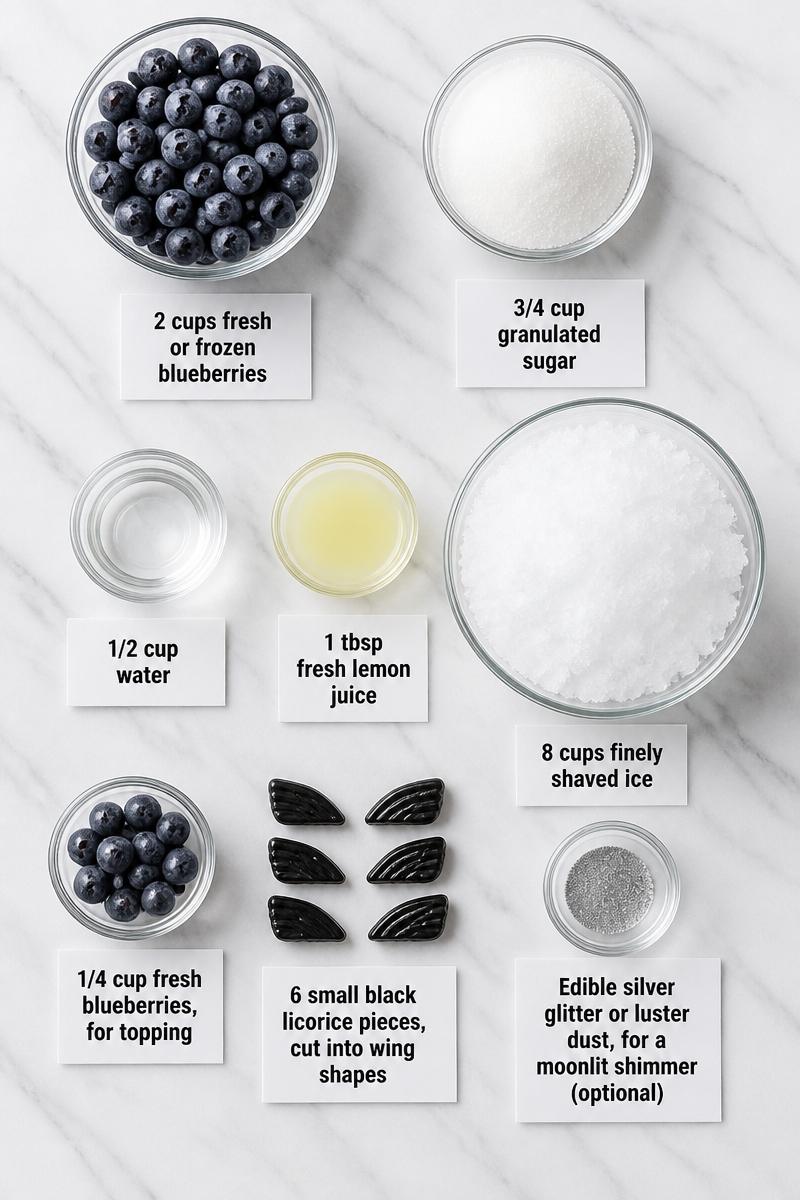
Ingredients
- For the Blueberry Syrup:
- 2 cups fresh or frozen blueberries
- 3/4 cup granulated sugar
- 1/2 cup water
- 1 tbsp fresh lemon juice
- For the Snow:
- 8 cups finely shaved ice (crushed in a blender or shaved ice machine)
- For Garnish:
- 1/4 cup fresh blueberries, for topping
- 6 small black licorice pieces, cut into wing shapes, for a “Mothman wing” garnish
- Edible silver glitter or luster dust, for a moonlit shimmer (optional)
Step-by-Step Instructions
Step 1: Cook the Blueberry Syrup
Add the blueberries, sugar, water, and lemon juice to a medium saucepan set over medium heat. Bring the mixture to a simmer, then cook it for 8 to 10 minutes. Stir now and then, and gently mash the berries with a spoon as they soften. As the berries break down, the syrup will thicken slightly and start to coat the back of a spoon.
Step 2: Strain and Chill
Remove the pan from the heat, then strain the syrup through a fine-mesh sieve into a heatproof bowl. Press on the solids with a spatula to get as much liquid out as possible, and then discard the solids. After that, let the syrup cool for about 30 minutes. Once it is no longer warm, refrigerate it for about 1 hour, or until fully chilled.
Step 3: Make the Shaved Ice
While the syrup chills, prepare the ice. Working in batches, pulse ice cubes in a high-powered blender or food processor until the ice looks finely shaved and snow-like. If you have a shaved ice machine, that works well too. The finer the ice, the better the texture of the finished snow cone.
Step 4: Assemble the Snow Cones
Pack the shaved ice firmly into 6 snow cone cups or small paper cups. Shape each one into a tall dome so it holds the syrup nicely. Then drizzle the chilled blueberry syrup generously over each mound, starting at the top and working down the sides. Use about 3 to 4 tablespoons of syrup per cone.
Step 5: Add the Garnish and Serve
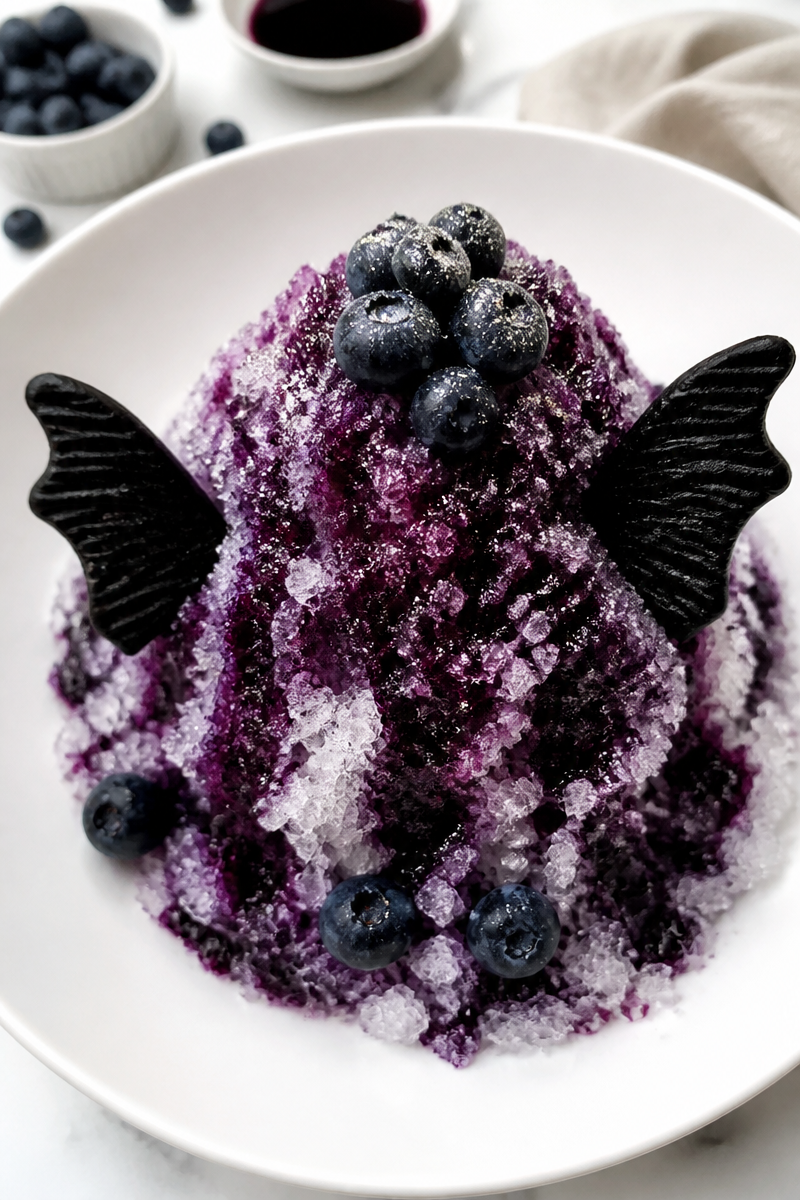
Top each snow cone with a few fresh blueberries. Then tuck a black licorice wing piece into the side of each one for the Mothman look. If you want a moonlit shine, dust lightly with edible silver glitter or luster dust. Serve right away with a spoon, since the shaved ice will begin to melt quickly.
Conclusion
This Mothman Blueberry Moon Snow Cone is simple, playful, and very refreshing. The blueberry syrup brings bold flavor, the shaved ice keeps it light, and the spooky garnish makes it extra fun for parties or family nights. Because the syrup can be made ahead, it is also an easy dessert to fit into a busy day. If you try this recipe, let me know how it turned out, and be sure to check out more easy fruit desserts and themed treats for your next gathering.
