Grilled cheese sandwiches evoke a sense of warmth and comfort that’s hard to match. Whether it’s a chilly evening or a cozy lunch with loved ones, this snack is pure joy. The delightful gooeyness of melted cheese paired with crispy, buttery bread makes for a culinary hug that is impossible to resist.
This Mummy Grilled Cheese Sandwich Snack brings a playful twist to a classic favorite. Using 8 slices of perfectly toasted white or sourdough bread, layered with 8 slices of mild cheddar or Monterey Jack cheese, you’re creating a fun and engaging dish. The addition of mozzarella cheese cut into strips serves as the “bandages” to transform these sandwiches into mummies, while little pieces of black olives provide the eyes. Served warm with a side of ketchup for dipping, it’s a flavor explosion that will make both kids and adults smile.
The best part? This recipe is incredibly simple and quick to prepare. With just a 10-minute prep time and a 10-minute cooking time, you can whip up four delicious sandwiches in just 20 minutes. Perfect for a quick snack or lunch, these sandwiches are as easy to make as they are delightful to eat.
Imagine serving these to your grandchildren for a magical Halloween afternoon or during a fun family gathering. They’re an excellent conversation starter and a surefire way to make memories around the dinner table.
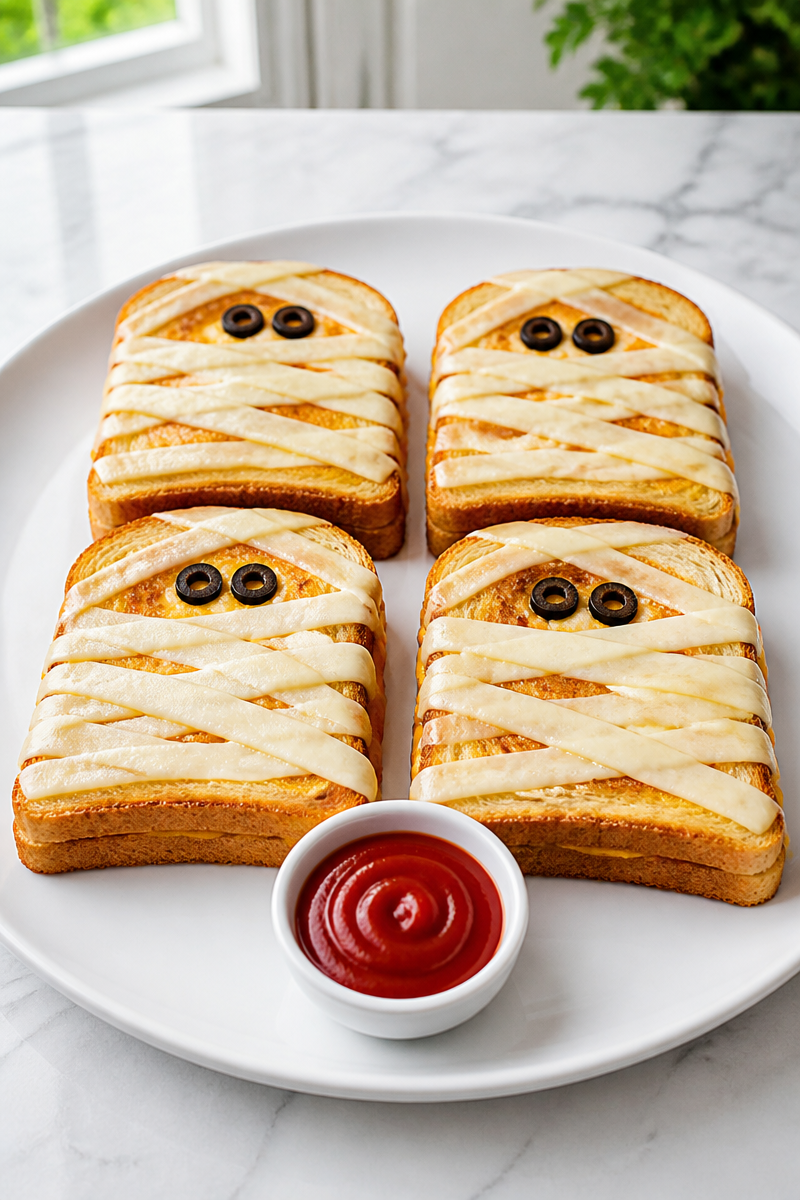
Why You’ll Love This Mummy Grilled Cheese Sandwich Snack
- Quick: Ready in just 20 minutes.
- Simple Ingredients: Easily found in your kitchen or local grocery store.
- Comfort Food: The perfect blend of crispy bread and melted cheese.
- Fun Presentation: Ideal for making snack time special, especially for kids.
- Family-Friendly: A recipe that everyone will enjoy and remember.
Cheese Tips
Choosing the right cheese can make or break your grilled cheese experience. For this recipe, mild cheddar or Monterey Jack provides a creamy, gentle flavor that holds up well to heat. You want to ensure that your cheese is of good quality, as it melts more smoothly and tastes better. Feel free to experiment with your favorite cheese varieties, such as gouda or pepper jack, but stick to ones that melt well.
Options for Substitutions
- Swap the white or sourdough bread for whole grain or gluten-free options.
- Substitute unsalted butter with olive oil or a dairy-free butter alternative for a different flavor profile.
- Use pepper jack or sharp cheddar cheese for an added kick.
- Replace black olives with small slices of cherry tomatoes or green bell peppers for a burst of color.
- Try homemade marinara sauce instead of ketchup for dipping.
- For a healthier twist, add spinach or arugula inside the sandwich before grilling.
Watch Out for These Mistakes
One common mistake is not allowing enough time for the cheese to melt properly. If you rush this step, you might wind up with a sandwich that’s not as gooey as it can be. A low and slow approach keeps everything deliciously melted.
Another pitfall is burning the bread while trying to cook the cheese perfectly. Keep the heat at medium-low and check often. If you see the bread browning too quickly, turn the heat down or remove the sandwich for a moment to adjust.
Finally, don’t add the olive eyes until the sandwich is ready to serve. If you put them on too soon, they might heat up too much and lose their shape. Wait until the sandwich is off the heat for that perfect presentation!
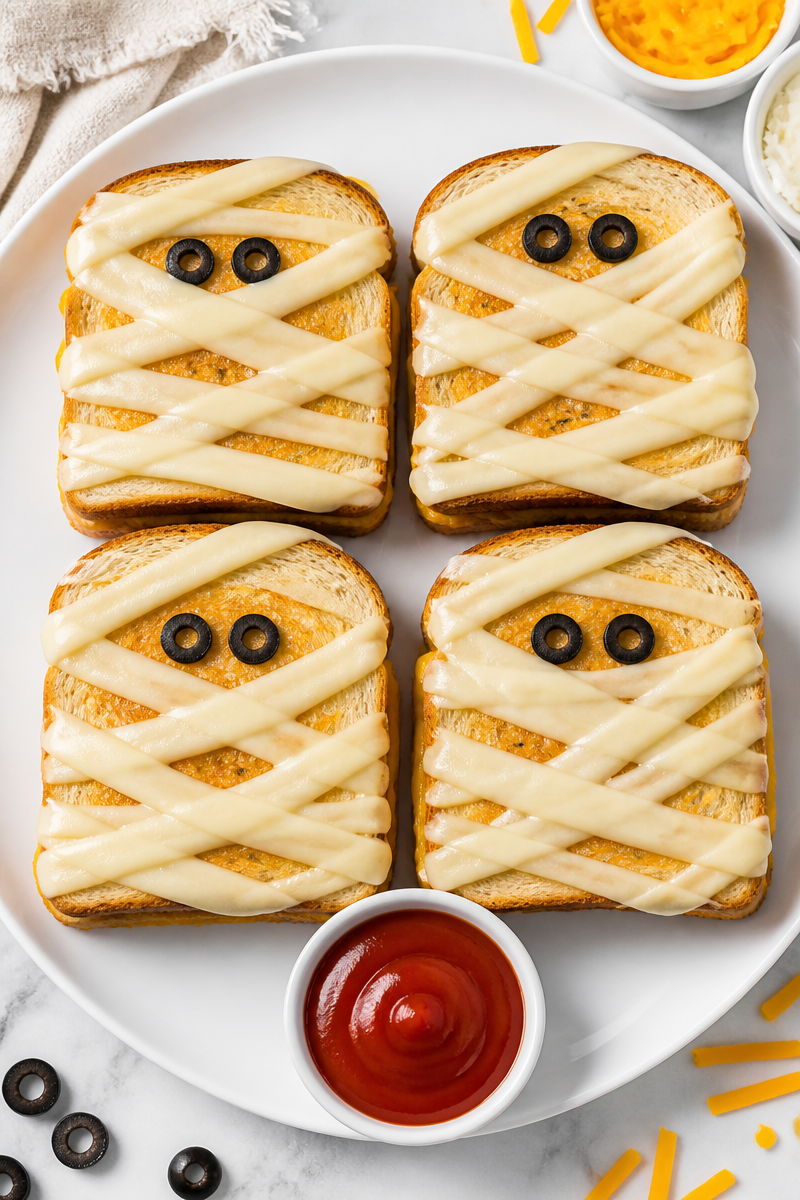
What to Serve With Mummy Grilled Cheese Sandwich Snack?
These sandwiches pair wonderfully with a simple side salad to balance the richness of the cheese. A light cucumber and tomato salad drizzled with a vinaigrette can brighten the meal. Alternatively, consider serving with carrot sticks or sweet potato fries for a fun crunch. For a comforting finish, a warm bowl of tomato soup is always a classic choice.
Storage Instructions
Store: Keep leftovers in the refrigerator for up to 2 days.
Freeze: You can freeze ungrilled sandwiches for up to 1 month. Just assemble without grilling, wrap tightly, and place in a freezer bag.
Reheat: For best results, reheat in a skillet over low heat to maintain crispness. If using a microwave, be mindful that this may soften the bread.
Recipe Info
- Preparation Time: 10 minutes
- Cooking Time: 10 minutes
- Total Time: 20 minutes
- Level of Difficulty: Easy
- Servings: 4 servings
Estimated Nutrition
Estimated nutrition for the whole recipe (without optional ingredients):
- Calories: 1520 kcal
- Protein: 56-60g
- Fat: 88-92g
- Carbohydrates: 105-110g
Ingredients
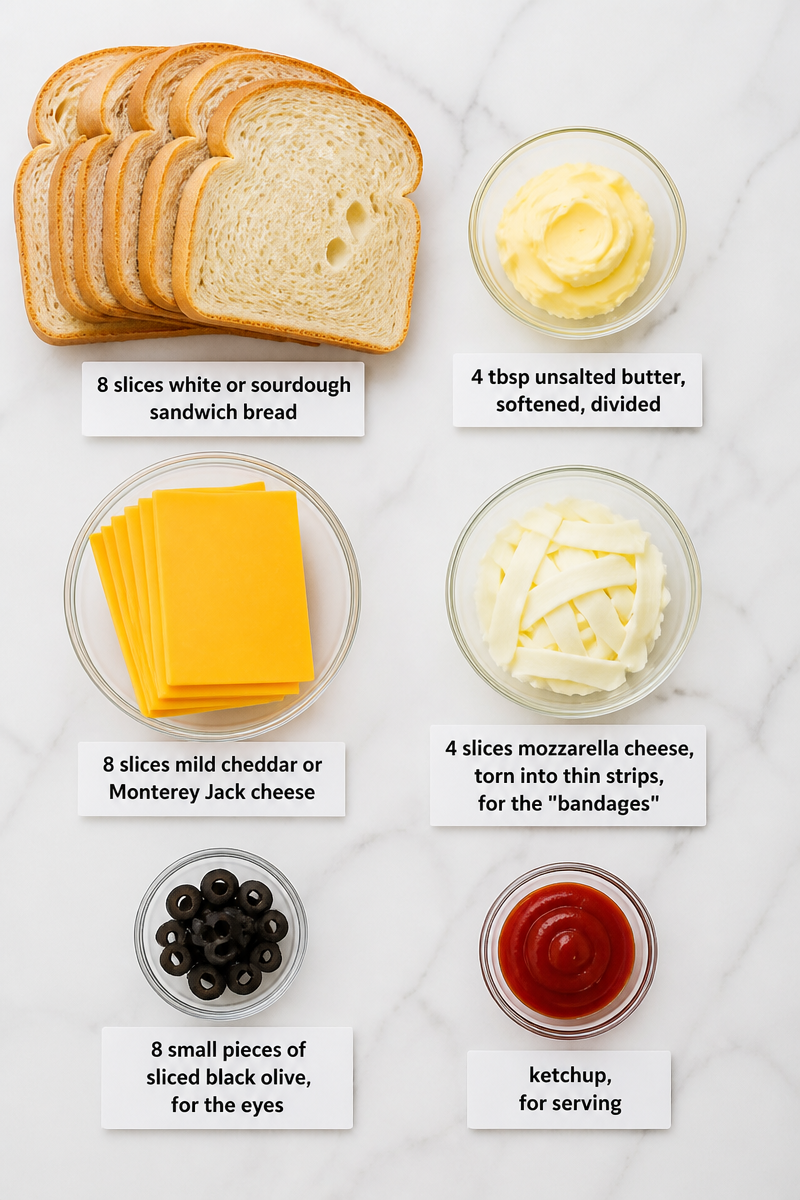
- 8 slices white or sourdough sandwich bread
- 4 tbsp unsalted butter, softened, divided
- 8 slices mild cheddar or Monterey Jack cheese
- 4 slices mozzarella cheese, torn into thin strips, for the “bandages”
- 8 small pieces of sliced black olive, for the eyes
- ketchup, for serving
Step-by-Step Instructions
Step 1: Butter the Bread
Spread a thin, even layer of softened butter on one side of each of the 8 bread slices. This will ensure that your sandwiches turn beautifully golden and crisp once cooked.
Step 2: Assemble the Base Sandwich
Place 4 slices of bread, buttered-side down, on a cutting board. Layer 2 slices of cheddar cheese on each, making sure to cover the bread evenly. Top with the remaining 4 slices of bread, buttered-side up.
Step 3: Cook the First Side
Heat a large nonstick skillet over medium-low heat. Place 2 sandwiches in the skillet and cook for 3-4 minutes until the bottom is golden brown and the cheese has started to melt.
Step 4: Flip and Add the Mozzarella Wrap
Carefully flip the sandwiches. While the second side cooks, drape thin strips of torn mozzarella diagonally across the top of each sandwich at random angles. Leave small gaps between strips, and hold back a bare spot at one end for the face. Cook for another 3-4 minutes until the bottom is golden and the mozzarella strips have softened.
Step 5: Melt Fully
If the mozzarella strips need more time to melt, reduce the heat to low and cover the skillet for 1-2 minutes. Check frequently to ensure the bread doesn’t burn.
Step 6: Add the Eyes
Remove the sandwiches from the skillet. While still warm, press 2 small pieces of black olive into the bare face area of each sandwich to create the eyes.
Conclusion
In just a few easy steps, you’ve created a delightful Mummy Grilled Cheese Sandwich Snack. This recipe is sure to make snack time feel special and fun, whether it’s just you or a group of family and friends. I encourage you to try this recipe, relishing every gooey, crispy bite. Don’t forget to share your thoughts or explore similar recipes—you never know what delicious creation you might discover next!
