One of the joys of baking is how it brings people together. The Orange Velvet Whoopie Pie Bites are a perfect treat that offers pure comfort and makes any gathering feel special. They are warm, inviting, and just the right size to enjoy a sweet moment. With their rich flavors and unique appearance, these whoopie pies can be enjoyed after lunch or as a delightful dessert after dinner.
The key components of these whoopie pie bites are an inviting blend of rich cocoa and zesty orange flavors. The cakes are made from all-purpose flour, cocoa powder, butter, brown sugar, and buttermilk. The vibrant orange color comes from food coloring, while vinegar helps to activate the baking soda. The luscious cream cheese filling, sweetened with powdered sugar and brightened with vanilla and orange zest, provides a delightful contrast to the rich chocolate flavor of the cake. Together, these ingredients create a treat that is not only delicious but also visually stunning.
Making these whoopie pies is simpler than one might expect. With a prep time of just 25 minutes, followed by a cooking time of 12 minutes, you’ll have a total time of about 37 minutes before serving. The process involves preparing the cake batter, piping it onto baking sheets, baking until just springy, and then whipping up the filling to combine the two halves. This recipe yields 14 whoopie pies, perfect for sharing with family and friends.
Orange Velvet Whoopie Pie Bites are wonderful for various occasions. They are perfect for chilly nights when you’re looking for a cozy dessert. These bites work well for potlucks or family gatherings, bringing a touch of homemade warmth to any event.
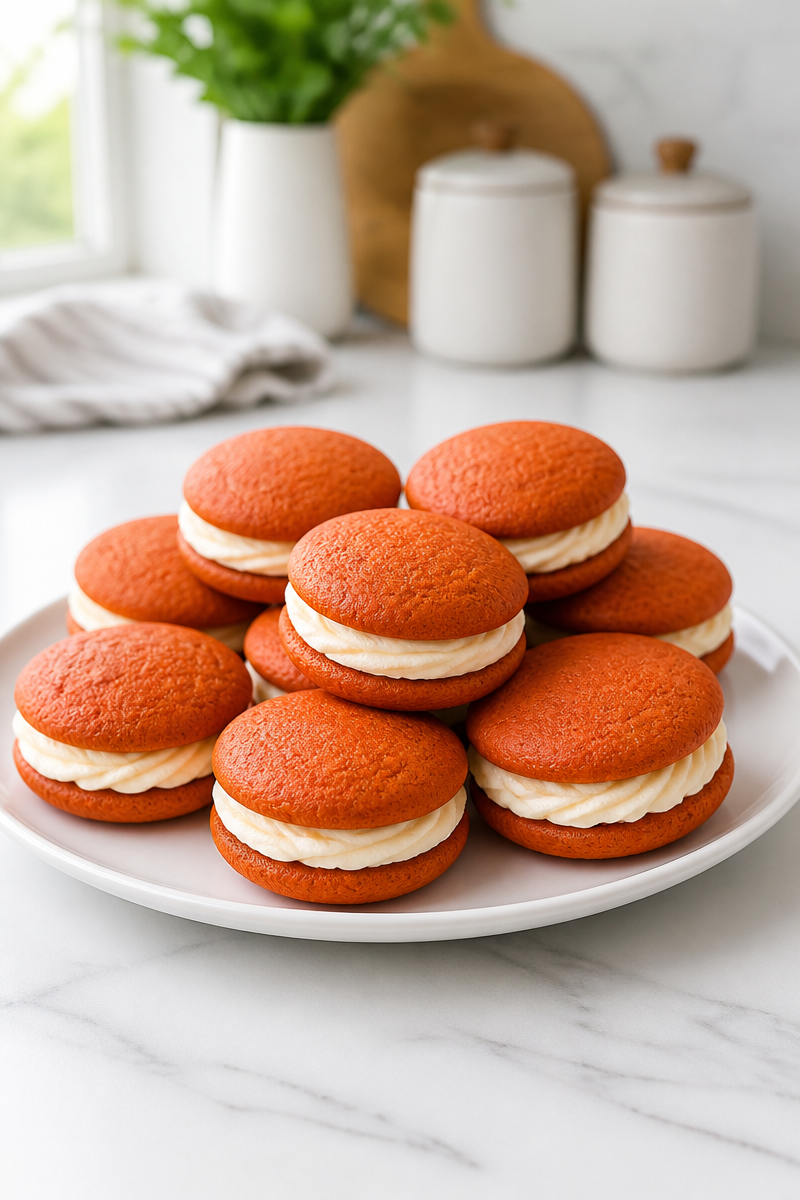
Why You’ll Love This Orange Velvet Whoopie Pie Bite
- Quick: The recipe takes less than an hour from start to finish.
- Simple Ingredients: Common pantry staples make this easy to prepare.
- Comfort Food: Rich flavors provide a delightful treat for all ages.
- Perfectly Sized: Bite-sized portions make them easy to enjoy and share.
- Visually Stunning: The vibrant orange against the cocoa gives an eye-catching appeal.
Flour Tips
When selecting flour for your Orange Velvet Whoopie Pie Bites, it’s best to use high-quality all-purpose flour that’s been properly measured. Spoon and level the flour to avoid compacting it in the measuring cup, which can lead to dry, dense cakes. If possible, use fresh flour to ensure the best texture and flavor.
Options for Substitutions
- Gluten-Free Flour: Substitute all-purpose flour with a gluten-free blend.
- Cocoa Powder: Use Dutch-processed cocoa for a richer flavor.
- Brown Sugar: You may substitute with granulated sugar, although the flavor will differ slightly.
- Butter: Use margarine or a vegan butter substitute for a dairy-free option.
- Cream Cheese: Substitute with vegan cream cheese for a dairy-free filling.
- Buttermilk: Combine regular milk with a tablespoon of vinegar to create a buttermilk alternative.
Watch Out for These Mistakes
One common pitfall is overmixing the batter. Mixing too much can lead to tough whoopie pies rather than tender ones. Make sure to mix until just combined after adding the dry ingredients.
Another mistake to avoid is incorrect piping technique. Be sure to space the mounds about 2 inches apart; if they’re too close together, they will spread and merge on the baking sheet, resulting in misshapen pies.
Lastly, remember to cool the cakes adequately before assembling them. If they are too warm, the filling will melt and ooze out, making quite a mess. Allowing them to cool for at least 30 minutes ensures the filling remains intact.
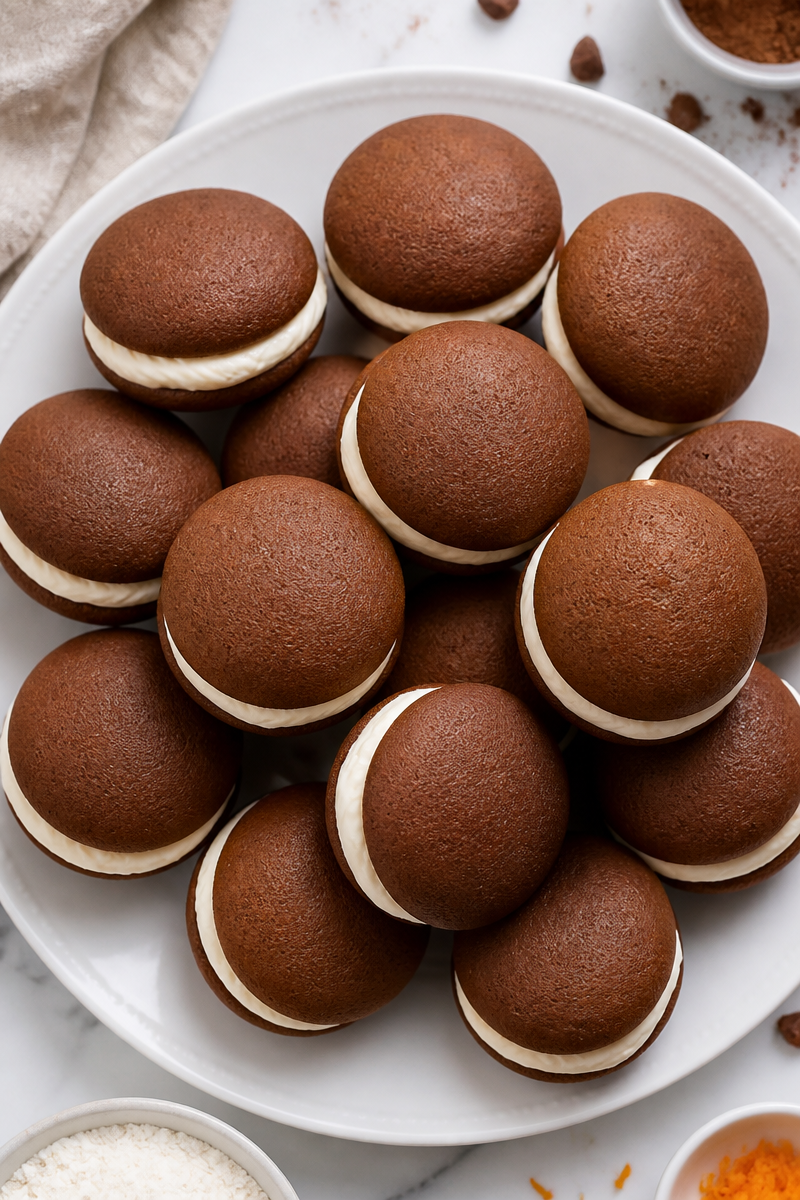
What to Serve With Orange Velvet Whoopie Pie Bite?
These delightful whoopie pies pair wonderfully with a cold glass of milk or a steaming cup of coffee. You might also consider serving them alongside a light fruit salad or some whipped cream for added sweetness. For a more festive touch, a scoop of vanilla ice cream makes an excellent companion to these treats.
Storage Instructions
Store: Place the whoopie pies in an airtight container in the refrigerator for up to 5 days. Allow them to sit at room temperature for about 10 minutes before serving to soften the filling.
Freeze: You can also freeze the whoopie pies. They will maintain their quality for about 2-3 months when properly stored in an airtight container.
Reheat: If you prefer them warm, place the pies in the microwave for about 10-15 seconds. For a crispier texture, reheat them in the oven at 350°F for about 5 minutes.
Recipe Info
- Preparation Time: 25 minutes
- Cooking Time: 12 minutes
- Total Time: 37 minutes
- Level of Difficulty: Easy
- Servings: 14 servings
Estimated Nutrition
Estimated nutrition for the whole recipe (without optional ingredients):
- Calories: 3360 – 3720
- Protein: 12 – 14 g
- Fat: 130 – 150 g
- Carbohydrates: 550 – 580 g
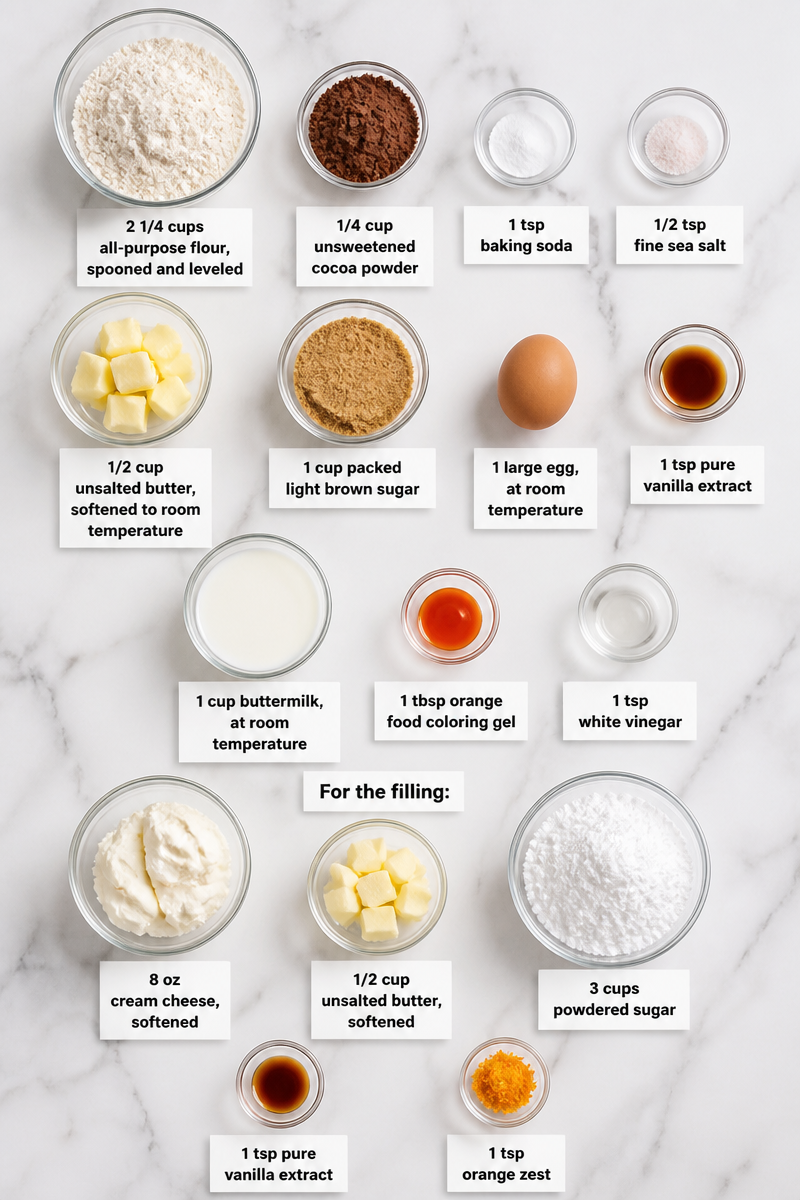
Ingredients
- For the cakes:
- 2 1/4 cups all-purpose flour, spooned and leveled
- 1/4 cup unsweetened cocoa powder
- 1 tsp baking soda
- 1/2 tsp fine sea salt
- 1/2 cup unsalted butter, softened to room temperature
- 1 cup packed light brown sugar
- 1 large egg, at room temperature
- 1 tsp pure vanilla extract
- 1 cup buttermilk, at room temperature
- 1 tbsp orange food coloring gel
- 1 tsp white vinegar
- For the filling:
- 8 oz cream cheese, softened
- 1/2 cup unsalted butter, softened
- 3 cups powdered sugar
- 1 tsp pure vanilla extract
- 1 tsp orange zest
Step-by-Step Instructions
Step 1: Preheat Oven and Prep Pan
Preheat your oven to 350°F. Line two baking sheets with parchment paper so the whoopie pies do not stick.
Step 2: Whisk Dry Ingredients
In a medium bowl, whisk together the all-purpose flour, cocoa powder, baking soda, and salt. This will ensure even distribution of the leavening agent.
Step 3: Cream Butter and Sugar
In a large bowl, use a hand mixer to beat the softened butter and brown sugar on medium speed for 2-3 minutes, until the mixture is light and fluffy. Add the egg and vanilla extract, mixing until well combined.
Step 4: Color the Buttermilk
In a small bowl, whisk together the orange food coloring gel and vinegar into the buttermilk. This mixture should be evenly colored and will add both flavor and moisture to the cakes.
Step 5: Alternate Adding Ingredients
With the mixer on low speed, gradually add the flour mixture to the butter mixture in three additions, alternating with the orange buttermilk in two additional parts. Begin and end with the flour mixture, mixing gently until just combined. This will create the “orange velvet” look.
Step 6: Pipe the Cakes
Transfer the batter to a piping bag or a large zip-top bag with the corner snipped. Pipe 28 mounds about 1 1/2 inches wide onto the prepared baking sheets, spacing them 2 inches apart for even cooking.
Step 7: Bake
Place the baking sheets in the preheated oven and bake for 10-12 minutes. The cakes should spring back lightly when touched. Once baked, allow them to cool on the baking sheet for 5 minutes before transferring to a wire rack to cool completely, approximately 30 minutes.
Step 8: Make the Filling
While the cakes cool, make the filling. In a bowl, beat together the softened cream cheese and butter until smooth. Gradually add the powdered sugar, mixing well after each addition. Finally, add in the vanilla and orange zest, mixing until the filling is light and fluffy.
Step 9: Assemble the Whoopie Pies
Once the cakes are completely cooled, pair them based on size. Spread or pipe about 2 tablespoons of filling onto the flat side of one cake, then top with a second cake, flat-side down. Gently press until the filling reaches the edges.
Step 10: Serve and Enjoy
The whoopie pies are now ready to be served! You may enjoy them at room temperature or chilled in the refrigerator.
Step 11: Store Properly
Store any leftovers in an airtight container in the refrigerator for up to 5 days.
In conclusion, Orange Velvet Whoopie Pie Bites are a delightful treat filled with flavor and fun. They offer a wonderful balance between chocolate and citrus, making them a favorite for both kids and adults. I encourage you to try this recipe, share your experiences, and explore similar delicious desserts on my blog. Happy baking!
