There’s something so comforting about the classic combination of waffles and ice cream. When you introduce pumpkin into the mix, it transforms into a delightful seasonal treat. I find that making Pumpkin Waffle Ice Cream Sandwiches is a cozy activity that can bring a smile to anyone’s face. Whether it’s a chilly fall evening or a gathering of friends and family, these sandwiches embody pure comfort.
The key components of this recipe are so simple yet so rich in flavor. You’ll use either homemade or store-bought pumpkin waffles, which you will toast and let cool. Next, you will layer in your choice of vanilla or cinnamon ice cream that’s been slightly softened for easy spreading. To give it an extra touch of decadence, there’s a drizzle of caramel sauce and a delightful crunch from crushed graham crackers that coat the edges. Together, they create a dreamy symphony of flavors and textures.
What I love about this recipe is its sheer ease. In just 15 minutes of prep time, plus a little time in the freezer, you can whip up a treat that feels special without extensive effort. Each serving is around 380 kcal. It’s simple enough for anyone to tackle—just cool your waffles, scoop the ice cream, assemble, and freeze. After 4 hours waiting in the freezer, you’ll have a treat that’s perfectly chilled and ready to impress.
These Pumpkin Waffle Ice Cream Sandwiches are fantastic for many occasions. Imagine a cozy fall gathering with family, where each bite of these sandwiches invites warmth and joy. They’re also great for kids’ birthday parties, where fun desserts are a must. If you’re looking for something sweet yet comforting for a potluck, these sandwiches are sure to be a hit among guests of all ages.
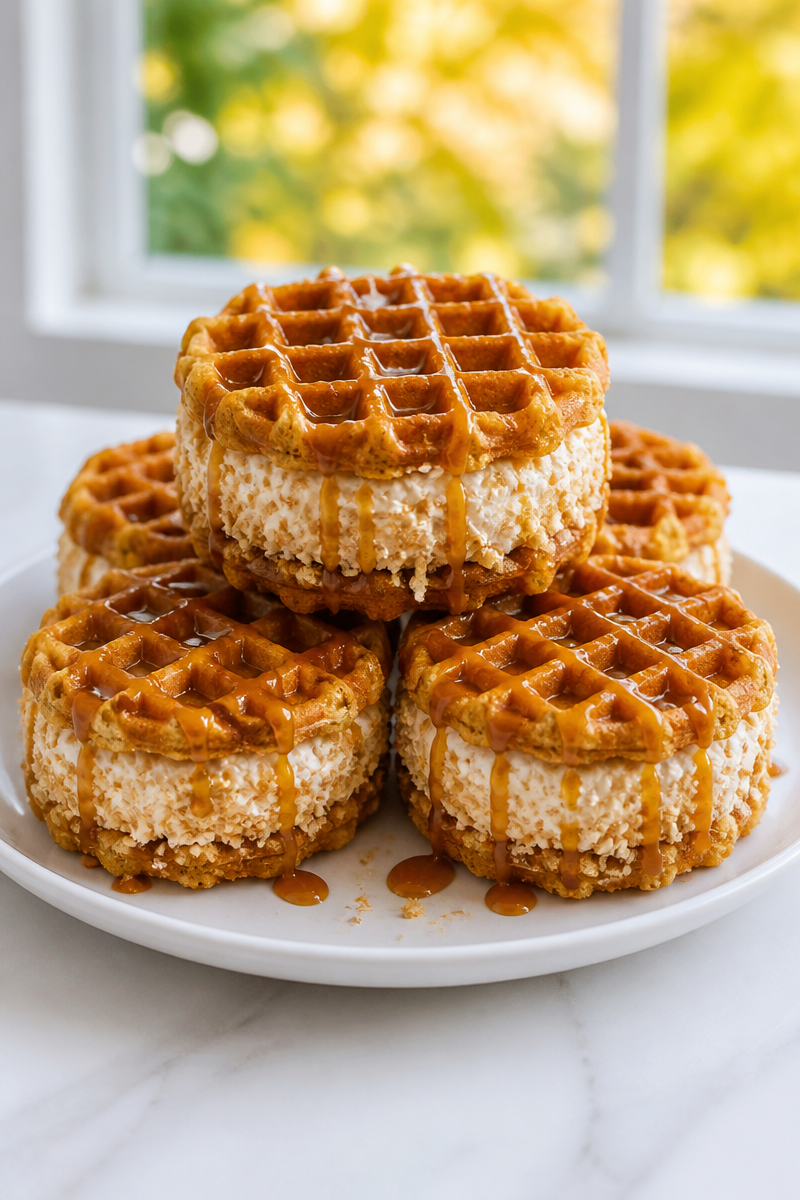
Why You’ll Love This Pumpkin Waffle Ice Cream Sandwich
- Quick to Make: Only 15 minutes of prep time.
- Simple Ingredients: Use basic items you might already have.
- Comfort Food: A perfect blend of warm waffles and cold ice cream.
- Versatile: Adaptable for different ice cream flavors and toppings.
- Fun to Assemble: Perfect for getting kids involved in the kitchen.
Pumpkin Waffle Tips
When selecting your pumpkin waffles, if you decide to make them from scratch, opt for a recipe that uses real pumpkin puree. This enhances the natural sweetness and provides moisture that is vital for great texture. If you prefer store-bought, look for waffles with minimal additives. They should have a rich pumpkin flavor and a soft yet crisp texture once toasted. The right waffle will serve as the perfect canvas to highlight the deliciousness of the ice cream.
Options for Substitutions
- Substitute gluten-free waffles if you require a gluten-free option.
- Use chocolate or coffee ice cream instead of vanilla or cinnamon for a unique flavor twist.
- Replace the caramel sauce with chocolate sauce if chocolate is more your style.
- Try using cinnamon graham crackers in place of regular ones for added flavor.
- Consider adding a splash of pumpkin spice to the ice cream for more pumpkin flavor.
- Use sugar-free syrup if you’re watching your sugar intake.
Watch Out for These Mistakes
One common pitfall is not allowing the pumpkin waffles to fully cool. If they’re even slightly warm, they will melt the ice cream too quickly, making a gooey mess instead of a delightful sandwich. Be patient and let them rest until at room temperature.
Another mistake is overfilling your ice cream sandwiches. While it’s tempting to add a big scoop of ice cream, too much can cause the ice cream to spill out as you press the top waffle down. A generous, but controlled scoop will create a more pleasant eating experience.
Also, avoid skimping on the freezing time. You must freeze the assembled sandwiches for at least 4 hours. This time is crucial for ensuring that the ice cream firms up properly, allowing you to enjoy them like a true sandwich.
Finally, be careful when rolling the edges in graham crackers. Pressing too hard can break the waffles, leading to potential disasters later on. Gently coat the sides to keep everything intact.
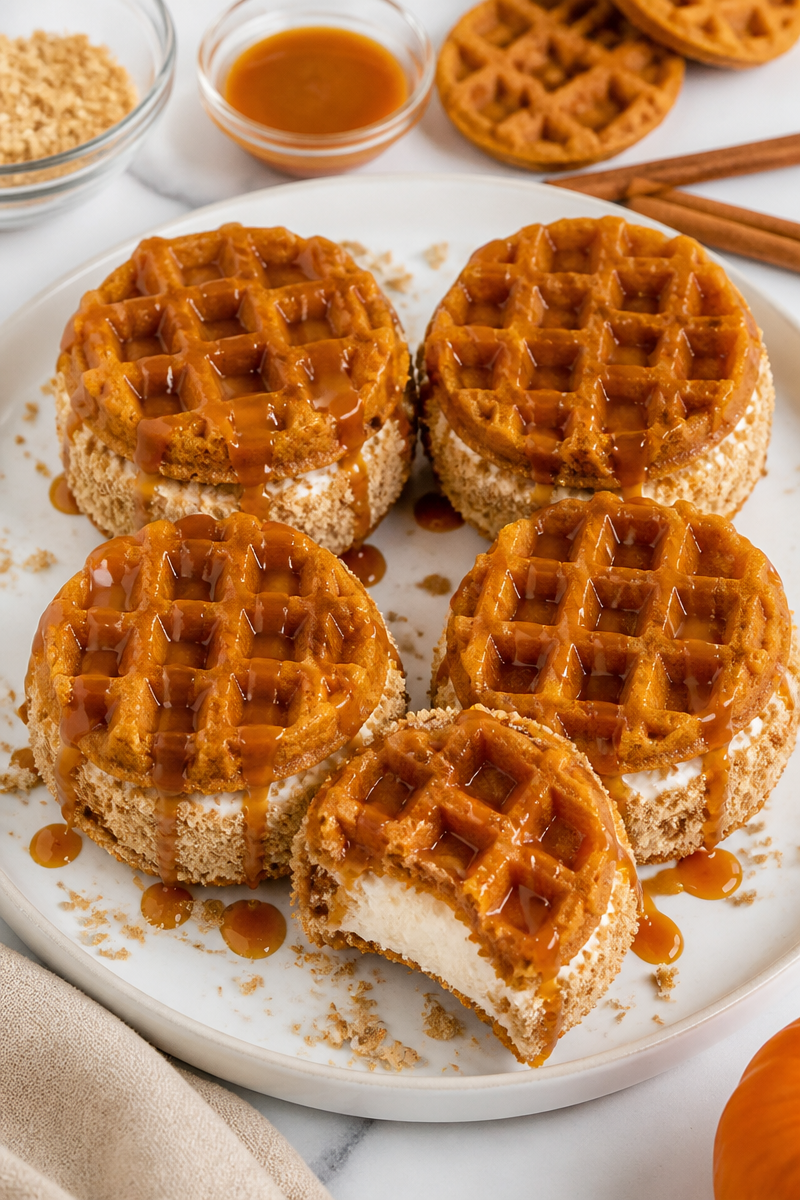
What to Serve With Pumpkin Waffle Ice Cream Sandwich?
These delightful treats can be complemented with various side dishes for an enjoyable dessert experience. Consider serving them with a warm spiced apple cider to enhance the fall flavors. A side of whipped cream can also add a delightful creaminess. For a refreshing contrast, fresh fruit such as apples or pears can balance the sweetness of the ice cream. Lastly, a sprinkle of cinnamon on top might just take it to the next level.
Storage Instructions
Store: Keep the assembled sandwiches individually wrapped in plastic wrap in the freezer for up to 1 month.
Freeze: These sandwiches will maintain their quality for quite some time, but aim to consume them within a month for the best taste.
Reheat: There’s no need to reheat these sandwiches, as they are meant to be served cold. If you’d like to soften just a bit before serving, let them sit at room temperature for about 5 minutes.
Recipe Info
- Preparation Time: 15 minutes, plus 4 hours freezing
- Cooking Time: 0 minutes
- Total Time: 15 minutes, plus 4 hours freezing
- Level of Difficulty: Easy
- Servings: 4 servings
Estimated Nutrition
Estimated nutrition for the whole recipe (without optional ingredients):
Calories: 1400-1600
Protein: 20-30 grams
Fat: 50-60 grams
Carbohydrates: 200-220 grams
Ingredients
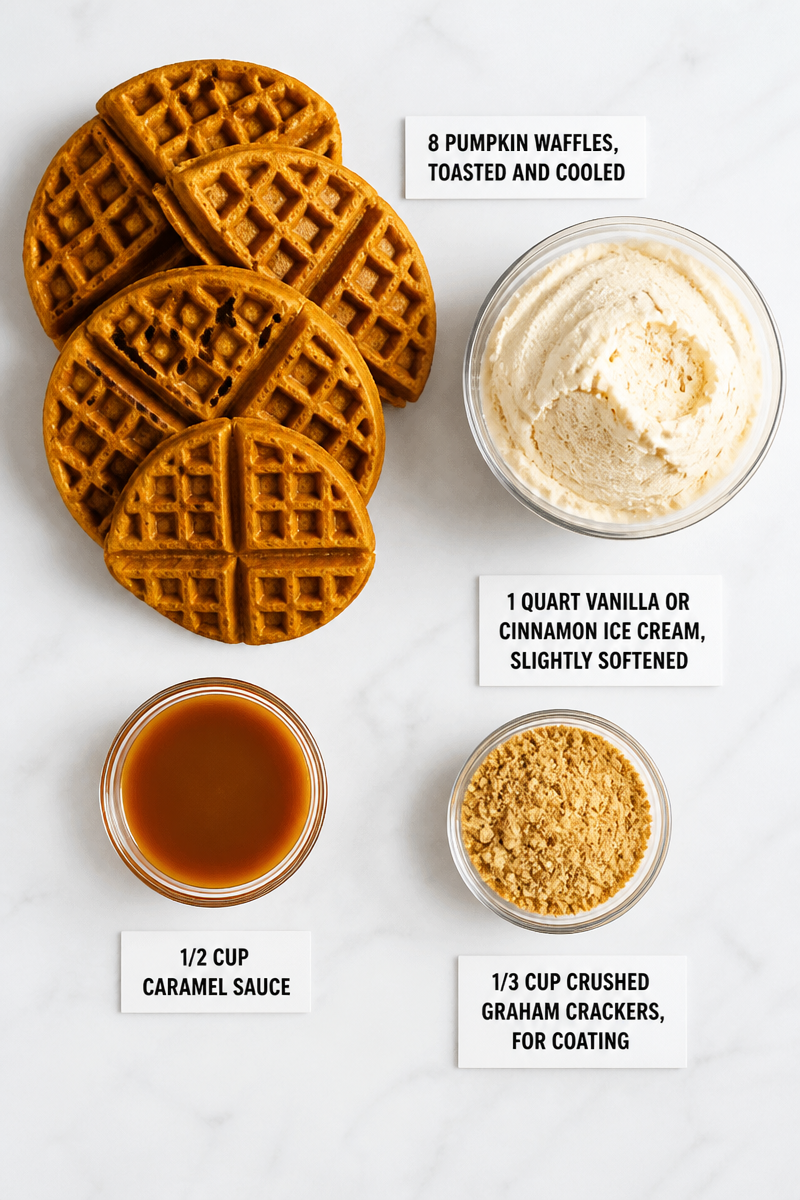
- 8 pumpkin waffles (homemade or store-bought), toasted and cooled
- 1 quart vanilla or cinnamon ice cream, slightly softened
- 1/2 cup caramel sauce
- 1/3 cup crushed graham crackers, for coating
Step-by-Step Instructions
Step 1: Cool the Waffles Completely
After toasting your pumpkin waffles, let them rest until they reach room temperature. This step is crucial because warm waffles can melt your ice cream during assembly, leading to a less-than-ideal sandwich.
Step 2: Assemble Your Sandwiches
Take one waffle and place a generous scoop of your slightly softened ice cream on the flat side. Top with another waffle, flat-side down, gently pressing to help spread the ice cream evenly toward the edges.
Step 3: Coat the Edges
Roll the sides of the exposed ice cream in crushed graham crackers. This not only adds flavor but also a delightful crunch to each bite. Make sure to coat them well for the best texture.
Step 4: Freeze the Sandwiches
Once assembled, place your waffle sandwiches on a parchment-lined tray and put them in the freezer. Make sure they freeze for at least 4 hours or until firm. This helps them hold their shape when it’s time to eat.
Step 5: Wrap for Storage
After freezing, wrap each sandwich individually in plastic wrap for easy storage. This prevents them from getting freezer burn and allows for easy grab-and-go treats later.
Step 6: Serve with Caramel Sauce
When you’re ready to serve, drizzle some caramel sauce over the top of each sandwich. Let them sit at room temperature for about 5 minutes to soften slightly, making them easier to enjoy.
In conclusion, these Pumpkin Waffle Ice Cream Sandwiches are not only delicious but also easy to make and perfect for various gatherings. I encourage you to give this recipe a try and share your thoughts! Enjoy creating these delightful sandwiches, and don’t hesitate to explore similar recipes for more kitchen fun!
Pumpkin Waffle Ice Cream Sandwiches
Ingredients
Method
- After toasting your pumpkin waffles, let them rest until they reach room temperature.
- Take one waffle and place a generous scoop of your slightly softened ice cream on the flat side. Top with another waffle, flat-side down, gently pressing to help spread the ice cream evenly toward the edges.
- Roll the sides of the exposed ice cream in crushed graham crackers for added flavor and crunch.
- Once assembled, place your waffle sandwiches on a parchment-lined tray and freeze for at least 4 hours or until firm.
- After freezing, wrap each sandwich individually in plastic wrap for easy storage.
- When ready to serve, drizzle caramel sauce over each sandwich and let them sit at room temperature for about 5 minutes to soften slightly.
