Red Velvet Cheesecake for Christmas

Affiliate disclosure: This post may contain affiliate links. I may earn a small commission at no extra cost to you. See our Privacy Policy for details HERE.
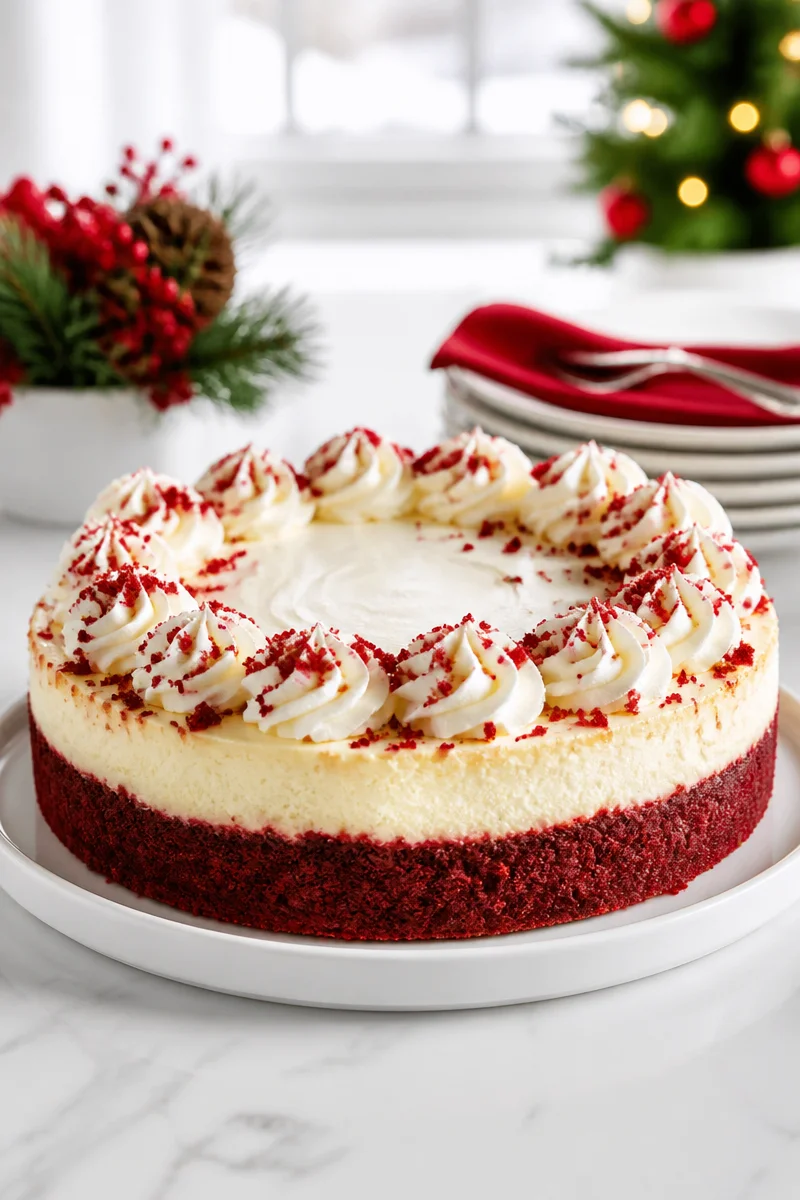
Red velvet cheesecake for Christmas brings two beloved desserts together in one festive, creamy treat. I love how its deep red cake and smooth cheesecake look special on the holiday table, yet the familiar flavors make every slice feel like pure comfort. It is a lovely choice when you want a dessert that feels made for sharing.
The base starts with a box of red velvet cake mix, prepared according to its package directions. On top goes a rich cheesecake filling made with cream cheese, sugar, eggs, sour cream, flour, vanilla, and salt. Finally, a soft homemade whipped topping adds a light finish. Together, the layers offer mild cocoa notes, tangy cream cheese, and a sweet, airy topping.
Although this dessert has several layers, the method is straightforward. First, bake and cool the red velvet cake layer. Next, mix the cheesecake filling, bake it until the center jiggles just a little, and freeze it briefly to firm it up. Then add freshly whipped cream and cake crumbs. Plan for about 20 minutes of preparation plus 1 hour of freezing, 1 hour 30 minutes of baking, and 2 hours 50 minutes total. The recipe serves 12, with about 573 calories per serving.
Serve this red velvet cheesecake for Christmas after a cozy holiday dinner, or bring it to a potluck where its bright layers will stand out. It also makes a welcoming dessert for a family gathering, a chilly night, or any occasion when you want a little holiday color.
Why You’ll Love This Red Velvet Cheesecake for Christmas
- Festive appearance: The red cake, pale filling, and whipped topping make a beautiful holiday centerpiece.
- Two desserts in one: Each slice combines red velvet cake and creamy cheesecake.
- Easy-to-find ingredients: A boxed cake mix keeps the cake layer simple, while the cheesecake uses familiar baking staples.
- Make-ahead friendly: Bake the layers ahead, then add the whipped topping closer to serving time.
- Made for sharing: The recipe yields 12 slices, so it works well for family meals and holiday parties.
Cream Cheese Tips
Cream cheese is the main ingredient in the cheesecake layer, so choose full-fat block cream cheese for the richest, most reliable texture. Let it soften at room temperature before mixing. As a result, it will blend more smoothly with the sugar and leave fewer lumps in the filling. Avoid using whipped cream cheese or cream cheese spread, since those products have a different texture and may not set the same way. Also, use softened cream cheese rather than warming it in the microwave, which can make it too loose.
Options for Substitutions
- Cake mix: Use another brand of red velvet cake mix. Follow that package’s directions for the ingredients needed to prepare the batter.
- Sour cream: Replace the sour cream with the same amount of plain, full-fat Greek yogurt. The filling will still have a pleasant tang.
- Flour: Substitute an equal amount of cornstarch if needed. Mix it thoroughly into the filling to prevent small lumps.
- Vanilla extract: Use vanilla bean paste in the same amount for a stronger vanilla note and tiny vanilla specks.
- Whipped topping: Use a store-bought whipped topping instead of making the cream topping. Add it shortly before serving for the best look.
- Garnish: Replace red velvet crumbs with chocolate curls, festive sprinkles, or a light dusting of cocoa powder.
Watch Out for These Mistakes
First, do not pour all the red velvet batter into the pan without checking the amount. The recipe notes that you may not need all of it, so fill the pan only to a safe level. Also, bake the cake layer until it is done, then let it cool briefly before removing it. A warm cake can break more easily when you level or move it.
Next, avoid overmixing the cheesecake filling after adding the eggs. Beat the cream cheese and sugar until fluffy, then add each egg one at a time and mix just until combined. Too much mixing can add extra air, which may cause the cheesecake to puff and then sink as it cools.
Watch the cheesecake closely near the end of its baking time. The center should remain slightly jiggly, not liquid, when you take it from the oven. Because ovens vary, begin checking around the 55-minute mark. Baking it until the center is completely firm can make the texture dry.
Finally, chill the cheesecake layer before placing it on the cake, and stop whipping the cream once soft peaks form. If the cream is overwhipped, it can turn grainy and lose its smooth finish. Keep the finished dessert refrigerated until serving.
What to Serve With Red Velvet Cheesecake for Christmas?
Because this cheesecake is rich and sweet, pair it with lighter sides and drinks. Fresh berries or a citrus fruit salad add a bright, tart contrast, while a small bowl of strawberries or raspberries looks festive beside each slice. For drinks, serve coffee, black tea, or hot chocolate. If you are serving a full holiday meal, keep the other desserts simple so this layered cheesecake can be the star.
Storage Instructions
Store: Cover the cheesecake and keep it in the refrigerator for up to 4 days. Use a cake cover or an airtight container to help protect the whipped topping from absorbing fridge odors. For the neatest slices, chill the cake before cutting and wipe the knife between cuts.
Freeze: For best results, freeze the cheesecake without the whipped topping. Wrap the chilled cake securely in plastic wrap, then cover it with foil or place it in a freezer-safe container. Freeze for up to 2 months. Thaw it overnight in the refrigerator, then make and add the whipped topping. If you freeze slices with the topping already on, expect the decoration to soften after thawing.
Reheat: This is a chilled dessert and does not need reheating. Do not warm it on the stovetop or in the microwave, as heat can melt the filling and whipped topping. Let slices sit at room temperature for about 10 minutes before serving if you prefer a softer texture.
Recipe Info
- Preparation Time: 20 minutes, plus 1 hour freezing
- Cooking Time: 1 hour 30 minutes
- Total Time: 2 hours 50 minutes
- Level of Difficulty: Medium
- Servings: 12
- Calories: About 573 kcal per serving
Estimated Nutrition
Estimated nutrition for the whole recipe (without optional ingredients):
These are approximate estimates per serving, based on 12 servings. The exact amounts can vary with the cake mix brand and the ingredients listed on its package.
- Calories: 550-650
- Protein: 8-12 g
- Fat: 35-45 g
- Carbohydrates: 50-70 g
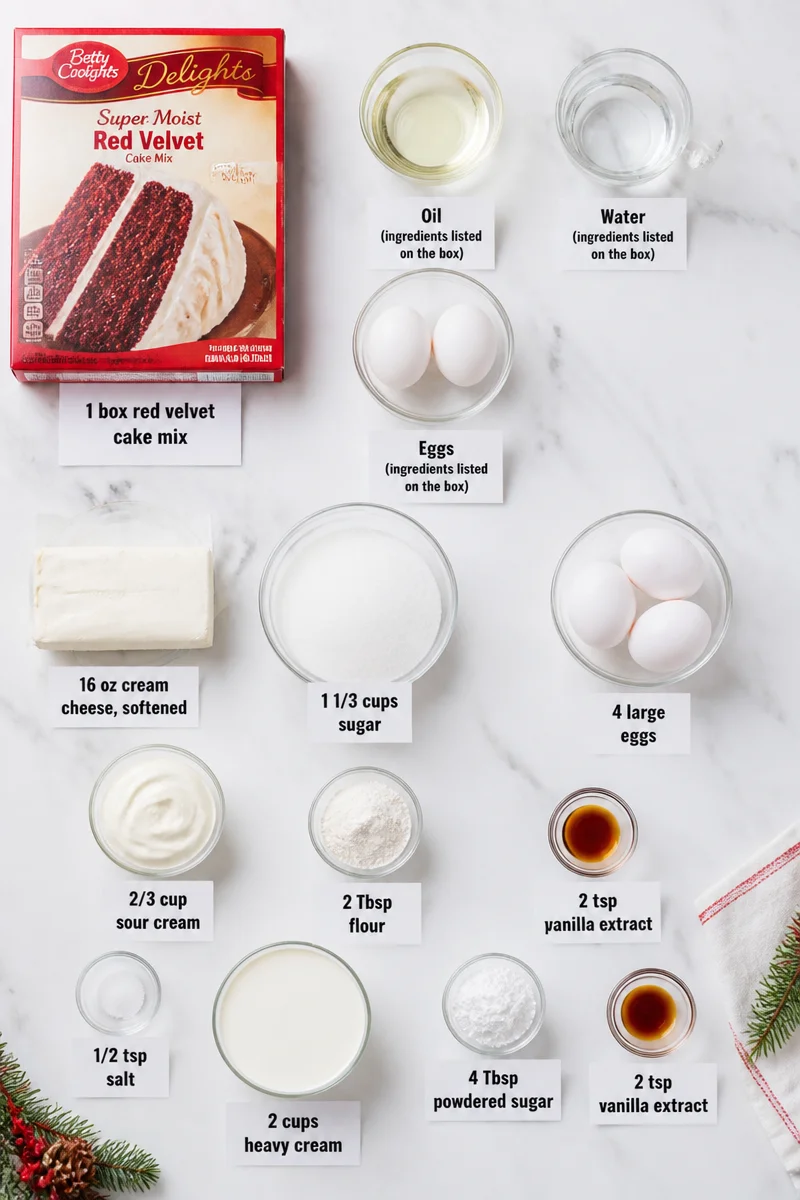
Ingredients
- For the red velvet layer:
- 1 box red velvet cake mix, plus the ingredients listed on the box
- For the cheesecake layer:
- 16 oz cream cheese, softened
- 1 1/3 cups sugar
- 4 large eggs
- 2/3 cup sour cream
- 2 Tbsp flour
- 2 tsp vanilla extract
- 1/2 tsp salt
- For the whipped topping:
- 2 cups heavy cream
- 4 Tbsp powdered sugar
- 2 tsp vanilla extract
Step-by-Step Instructions
Step 1: Heat the Oven and Prepare the Pan
Heat the oven to 350°F. Prepare a 9-inch springform pan, making sure it is assembled securely. Follow the cake mix package directions to mix the red velvet batter. Then pour enough batter into the pan for the cake layer. You may not need all of the batter, so do not force it into the pan.
Step 2: Bake and Cool the Red Velvet Layer
Bake the cake layer for 30 to 32 minutes, or until it is baked through. Let it cool briefly in the pan, then remove it carefully. If the top is uneven, level it gently once the cake is cool enough to handle. Set the cake layer aside while you prepare the filling.
Step 3: Mix the Cheesecake Filling
Beat the softened cream cheese and sugar for about 3 minutes, until fluffy. Add the eggs one at a time, mixing after each addition. Then mix in the sour cream, flour, vanilla extract, and salt. Scrape the sides of the bowl as needed so the filling is even and smooth.
Step 4: Bake and Firm the Cheesecake Layer
Pour the cheesecake filling into the prepared springform pan. Bake at 350°F for 55 to 65 minutes, until the edges are set and the center is only slightly jiggly. Cool the cheesecake slightly, then freeze it for about 1 hour to help it firm up. Level the top if desired, then set the cheesecake layer on top of the red velvet cake.
Step 5: Whip and Add the Topping
Whisk the heavy cream, powdered sugar, and vanilla by hand for about 5 minutes, until soft peaks form. Stop as soon as the cream holds soft peaks, because continued whisking can make it overwhipped. Spread the whipped cream over the cheesecake. If you like, pipe dollops around the edge with a decorator tip.
Step 6: Garnish and Serve
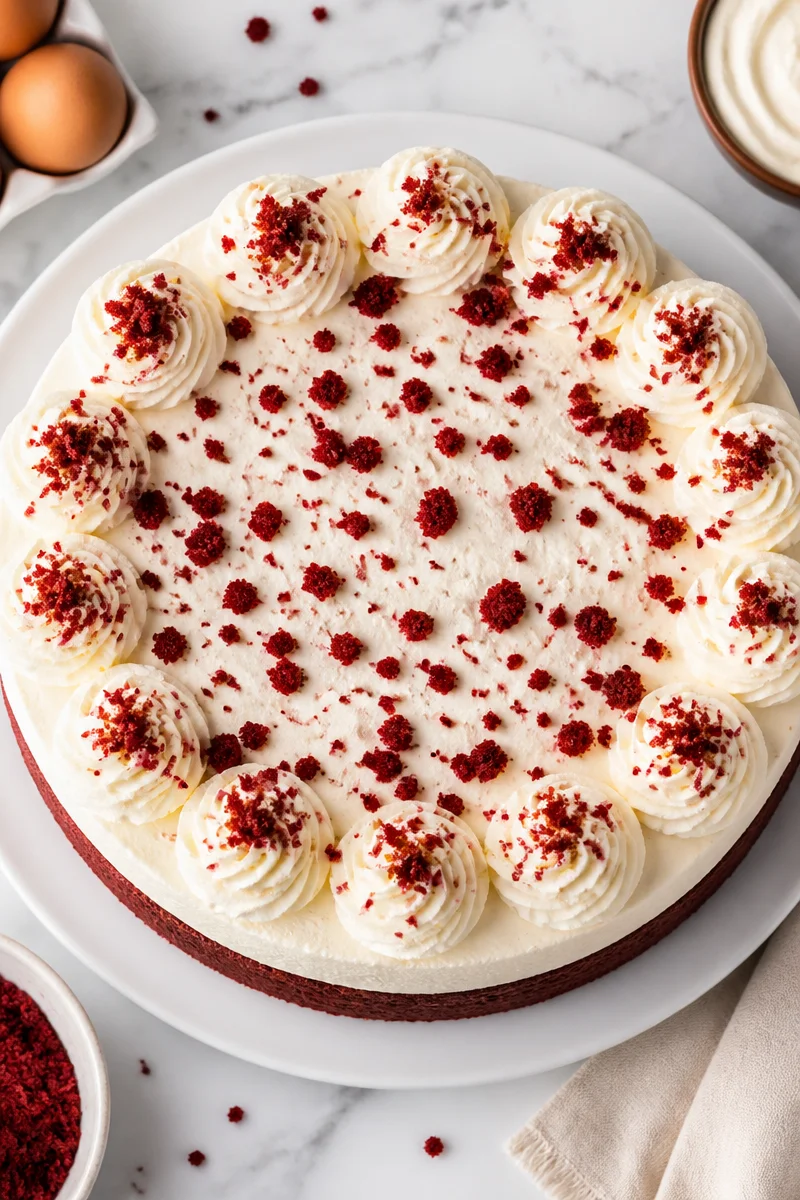
Crumble a little red velvet cake over the top for a simple, colorful garnish. Keep the finished cheesecake chilled until it is time to serve. Then cut it into 12 slices with a clean knife, wiping the blade between cuts for tidy layers.
Conclusion
This red velvet cheesecake for Christmas pairs a tender red velvet cake base with a smooth, tangy cheesecake layer and a soft whipped topping. Although it looks impressive, the steps are simple: bake the cake, prepare and bake the filling, chill it briefly, and finish with whipped cream and cake crumbs. Make it for your holiday table, then share how it turned out in the comments. If you enjoy festive desserts, explore more layered cakes and cheesecakes for your next gathering.
