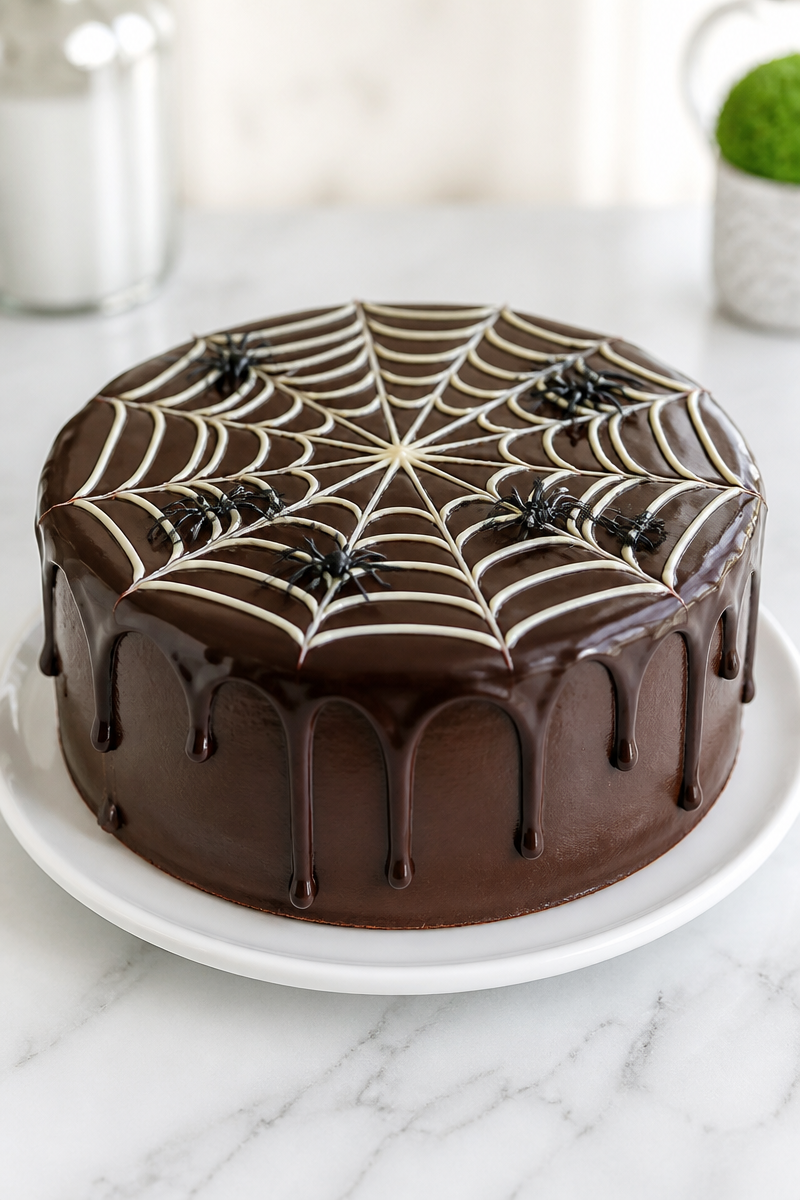
Baking is an act of love. It’s a way to fill our homes with warmth and sweetness, a comforting hug on a plate. With Halloween around the corner, our thoughts turn to spooky treats that bring smiles to both kids and adults alike. That’s why I’m excited to share this delightful recipe for a chocolate drip cake adorned with a spiderweb design. It’s pure comfort food and the perfect centerpiece for any Halloween gathering.
The heart of this cake begins with a simple box of chocolate cake mix, which ensures a moist and indulgent base. Layer this with creamy chocolate ganache for a rich, decadent experience, and top it off with a delicate drizzle of melted white chocolate to create the beautiful spiderweb. To add that delightful Halloween twist, don’t forget the plastic spider rings that complete the eerie look without the creepiness of real spiders!
The steps to create this cake are straightforward and perfect for bakers of all levels. Simply bake the cake according to the box instructions in two 9-inch pans. After they cool, you’ll stack them with ganache in between, frost the outside, and use extra ganache for a dramatic drip effect. A piping bag will help you create the lovely spiderweb design, and, at the end, you can place plastic spider rings on top for the ultimate Halloween touch. It’s as fun to make as it is to eat!
This cake is great for any fun-filled Halloween party or family gathering. Imagine serving this beautifully decorated cake at your next get-together, bringing joy and spooky delight to everyone. It’s a wonderful way to add sweetness to chilly autumn nights or to share with neighbors and friends.
Why You’ll Love This Spiderweb Chocolate Drip Cake Halloween
- Quick: You can whip this cake up in no time with a box mix, making it a stress-free baking experience.
- Simple Ingredients: The recipe uses common ingredients, making it easy to gather what you need.
- Comfort Food: Rich chocolate flavors paired with creamy ganache lead to a truly indulgent treat.
- Customizable: Enjoy the basic cake or personalize it with your favorite toppings or decorations.
- Family Fun: Gathering in the kitchen to decorate the cake is a great way to spend time with loved ones.
Chocolate Cake Tips
When it comes to selecting your chocolate cake mix, go for a high-quality brand that you enjoy. This choice makes all the difference in the flavor of the cake. Look for mixes that include cocoa powder for an extra rich chocolate taste. Check the package for recommendations on the best ingredients to add, like eggs and oil, to ensure you’re on the path to a moist and fluffy cake!
Options for Substitutions
- Use vanilla cake mix for a lighter cake foundation if chocolate isn’t your preference.
- Substitute milk chocolate ganache for a sweeter flavor instead of dark chocolate.
- Use coconut milk instead of regular milk for a unique twist.
- Try almond bark in place of white chocolate for an interesting flavor.
- Use gummy spiders instead of plastic ones for a playful touch.
- Swap out the plastic spider rings with edible decorations like chocolate spiders for a more delightful surprise.
Watch Out for These Mistakes
When baking your cake, one common pitfall is overbaking. Keep an eye on the cake as it bakes and perform the toothpick test to ensure it’s done. Overbaking can lead to a dry texture, which we want to avoid!
Another mistake can happen while frosting the cake. Make sure your ganache has cooled to the right consistency. If it’s too warm, it will slide off instead of maintaining its position.
When drizzling warmed ganache for a drip effect, avoid using too much ganache or pouring it too quickly down the sides. It’s best to start slow and use just enough for a single, beautiful drip.
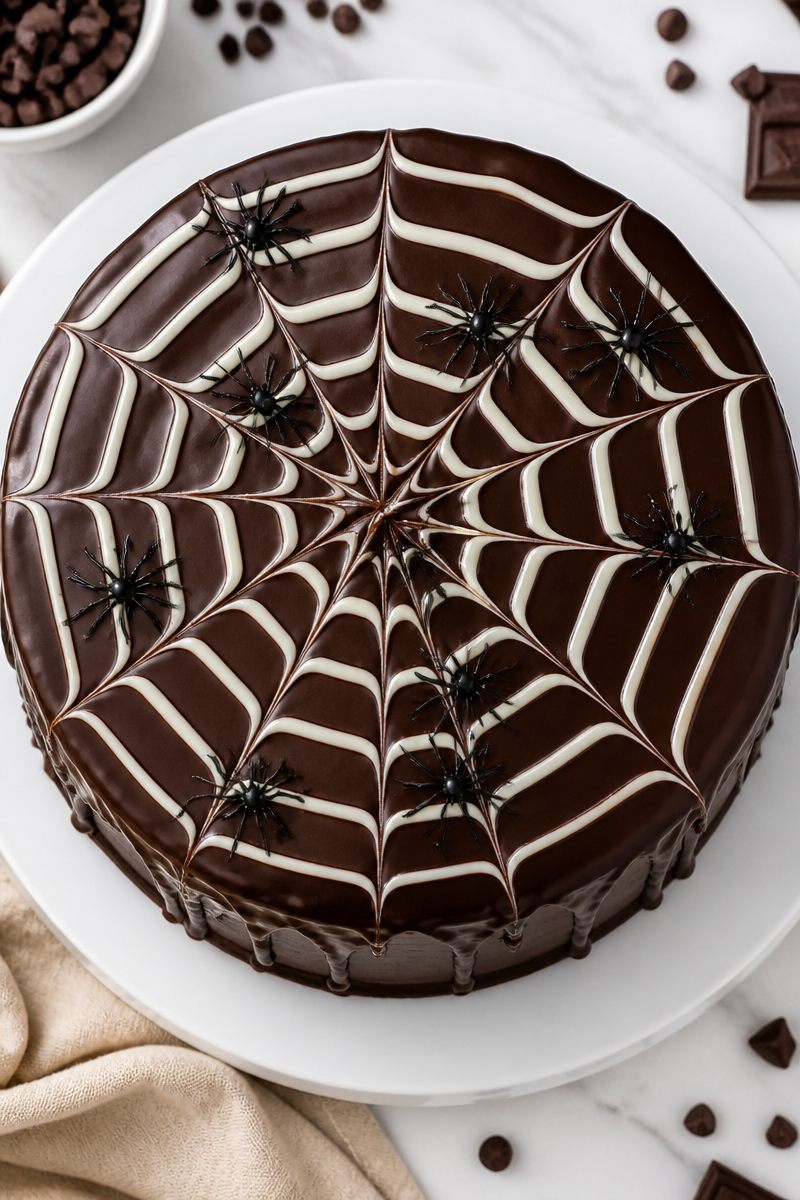
Lastly, when you’re making the spiderweb design, not dragging your toothpick evenly may create uneven lines. Practice gentle, even pressure as you pull the toothpick from the center outward.
What to Serve With Spiderweb Chocolate Drip Cake Halloween?
This decadent cake pairs wonderfully with a cup of freshly brewed coffee or tea. It can also be served alongside warm apple cider or hot cocoa for a delightful autumn experience. For a light contrast, consider a simple mixed green salad topped with apples and nuts. This balance of flavors will keep your guests coming back for more.
Storage Instructions
Store: Keep the cake in the fridge, covered, to maintain freshness for up to 5 days.
Freeze: If you want to save it for later, you can freeze the cake for up to 2 months. Just make sure it’s well-wrapped to avoid freezer burn.
Reheat: You can reheat individual slices in the microwave for about 10-15 seconds or warm them slightly on the stovetop in a pan.
Recipe Info
Preparation Time: 15 minutes
Cooking Time: 30 minutes
Total Time: 45 minutes
Level of Difficulty: Easy
Servings: Approximately 12 servings
Estimated Nutrition
Estimated nutrition for the whole recipe (without optional ingredients):
Calories: 3200-3500
Protein: 40-50 g
Fat: 150-170 g
Carbohydrates: 450-500 g
Ingredients
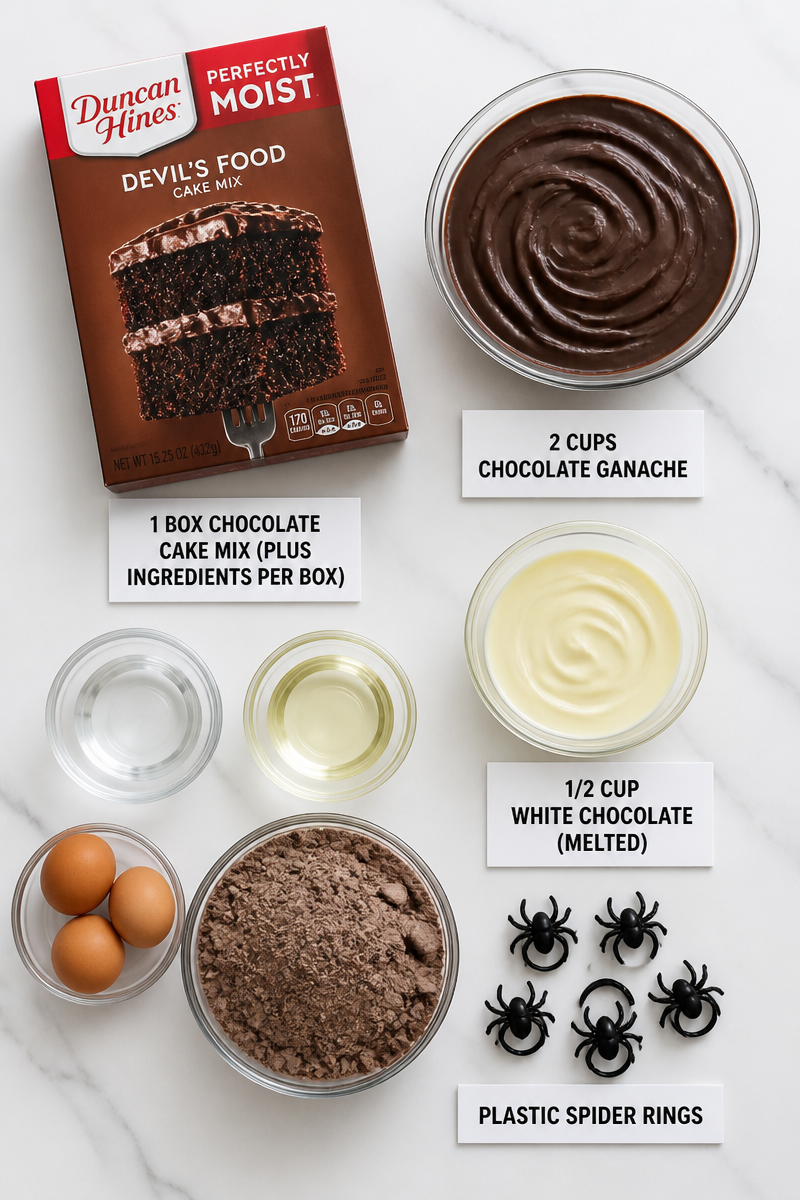
- 1 box chocolate cake mix (plus ingredients per box)
- 2 cups chocolate ganache
- 1/2 cup white chocolate (melted)
- Plastic spider rings
Step-by-Step Instructions
Step 1: Bake the Cake
Preheat your oven according to the instructions on your cake mix box. Grease and flour two 9-inch cake pans. Pour the prepared cake batter evenly into each pan. Bake the cake as directed until a toothpick comes out clean. Once baked, allow the cakes to cool completely in the pans before transferring them to a wire rack.
Step 2: Stack with Ganache
Once the cakes are completely cooled, place one cake layer on a serving plate. Spread a generous amount of chocolate ganache over the top. Place the second layer on top and press down gently to secure.
Step 3: Frost the Cake
Using the remaining ganache, spread it smoothly around the sides and over the top of the cake. Make sure to cover it completely for a neat finish. If the ganache is too thick, you can slightly warm it to achieve a smoother consistency.
Step 4: Create the Drip Effect
To make the cake visually stunning, warm a small portion of extra ganache in the microwave. Using a spoon or a squeeze bottle, drizzle it over the edges of the cake, allowing some to drip down the sides.
Step 5: Drizzle White Chocolate
Fill a piping bag with the melted white chocolate. Start at the center of the cake, and carefully drizzle it in a spiral pattern outward. This will form the base of your spiderweb design.
Step 6: Finish with a Spiderweb Design
Using a toothpick or skewer, gently drag it from the center of the cake out towards the edges, creating lines to mimic a spiderweb. Finally, place your plastic spider rings in different spots on top of the cake for a fun Halloween finish.
In summary, this Spiderweb Chocolate Drip Cake is an easy and exciting way to celebrate Halloween. It combines rich flavors and playful decorations that will surely delight your family and friends. I encourage you to give it a try, and do share your thoughts or variations! Enjoy every sweet bite and have a spooktacular time baking!
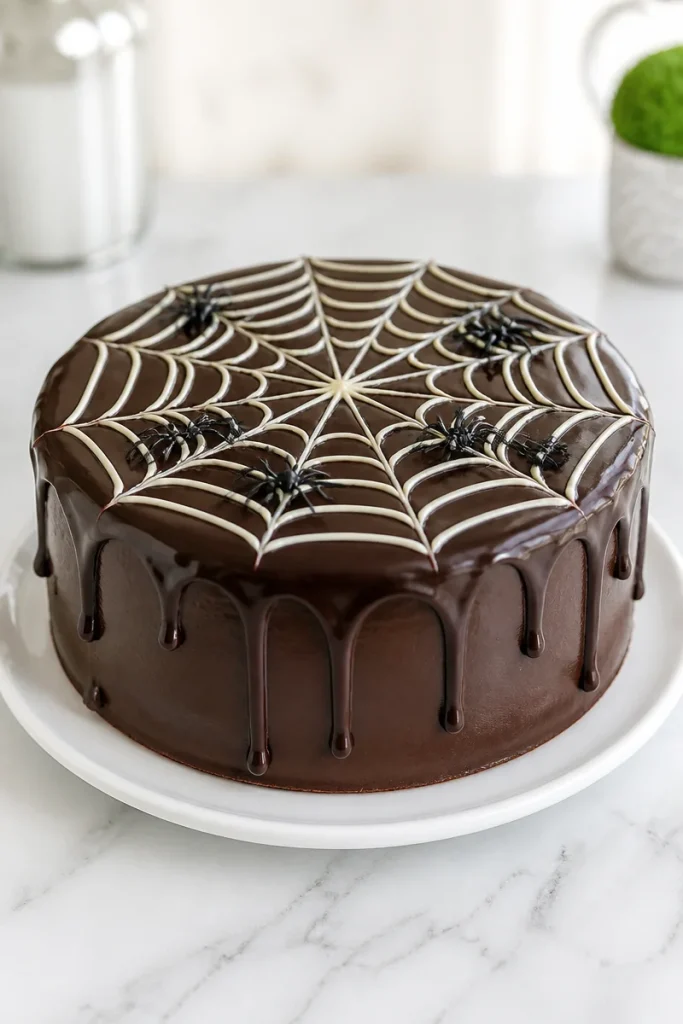
Spiderweb Chocolate Drip Cake
Ingredients
Method
- Preheat your oven according to the instructions on your cake mix box. Grease and flour two 9-inch cake pans. Pour the prepared cake batter evenly into each pan. Bake the cake as directed until a toothpick comes out clean. Once baked, allow the cakes to cool completely in the pans before transferring them to a wire rack.
- Once the cakes are completely cooled, place one cake layer on a serving plate. Spread a generous amount of chocolate ganache over the top. Place the second layer on top and press down gently to secure.
- Using the remaining ganache, spread it smoothly around the sides and over the top of the cake. Make sure to cover it completely for a neat finish. If the ganache is too thick, you can slightly warm it to achieve a smoother consistency.
- To make the cake visually stunning, warm a small portion of extra ganache in the microwave. Using a spoon or a squeeze bottle, drizzle it over the edges of the cake, allowing some to drip down the sides.
- Fill a piping bag with the melted white chocolate. Start at the center of the cake, and carefully drizzle it in a spiral pattern outward. This will form the base of your spiderweb design.
- Using a toothpick or skewer, gently drag it from the center of the cake out towards the edges, creating lines to mimic a spiderweb. Finally, place your plastic spider rings in different spots on top of the cake for a fun Halloween finish.
