This warm pear crisp is pure comfort in a baking dish. It is the kind of dessert that feels right on a cool evening, and yet it is simple enough for any day of the week. I love recipes like this because they bring that cozy, homemade feeling without a lot of work. Plus, the smell of pears, cinnamon, and butter baking together is hard to beat.
At the center of this pear crisp are 6 medium ripe pears, light brown sugar, cornstarch, cinnamon, and a small pinch of salt. Then, the topping brings in old-fashioned oats, all-purpose flour, more brown sugar, chopped pecans or walnuts, and melted butter. As a result, you get a soft, juicy fruit layer under a crisp, golden top. The flavor is gently sweet, warmly spiced, and slightly nutty, so every bite feels balanced and satisfying.
The method is wonderfully easy, too. First, you heat the oven to 350°F and prepare an 8×8-inch baking dish. Next, you toss the pear filling together, mix the oat topping until crumbly, and scatter it over the fruit. Then, you bake it for about 28 to 30 minutes until the top browns and the juices bubble. Best of all, this warm pear crisp is ready in about 45 minutes total, with 8 servings and about 385 calories per serving.
This dessert is especially nice for chilly nights, family dinners, or holiday gatherings. It also works well for potlucks because it travels easily and tastes great warm or at room temperature. If you want a cozy dessert that feels homemade and welcoming, this pear crisp is a smart choice.
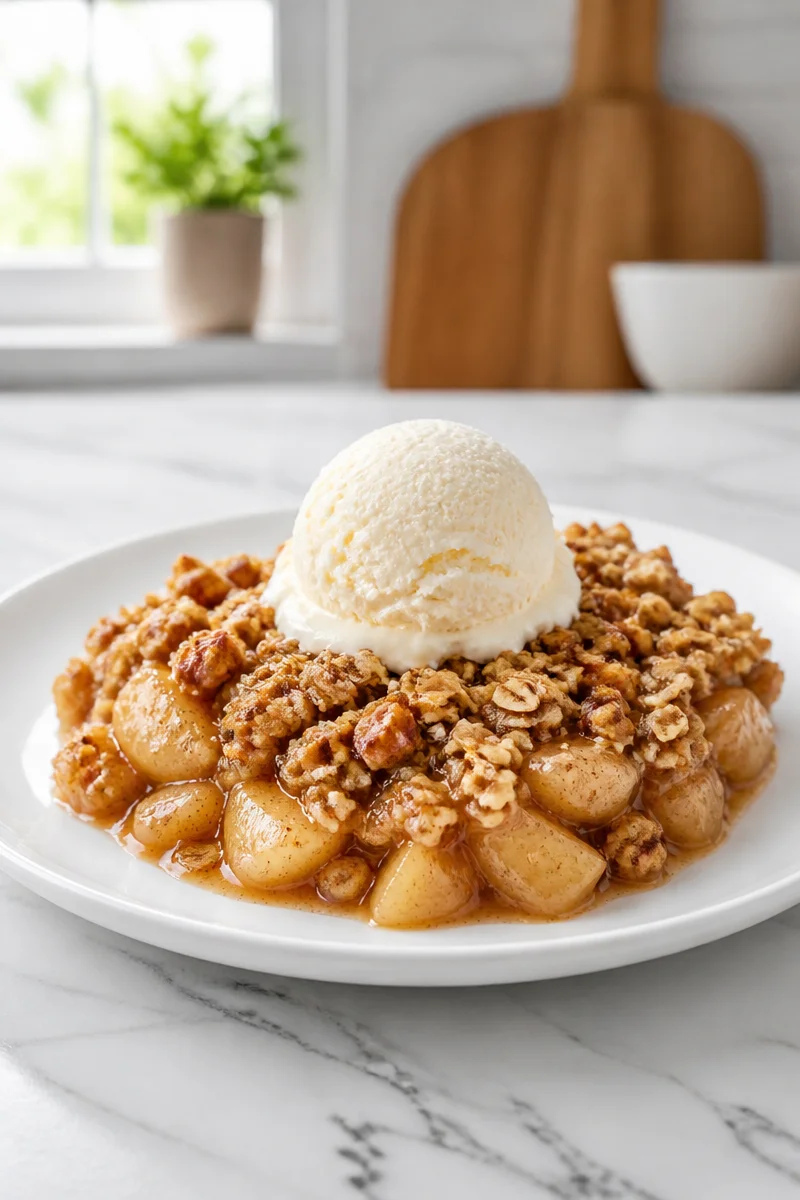
Why You’ll Love This Warm Pear Crisp with Oat Topping
- It uses simple, easy-to-find ingredients, so you may already have most of them in your kitchen.
- It comes together fast, which makes it perfect for busy weeknights or last-minute guests.
- The flavor is classic and cozy, with sweet pears, cinnamon, and a buttery oat topping.
- It is easy to serve, since you can spoon it into bowls and top it with ice cream or whipped cream.
- It is flexible, so you can use different pear varieties and adjust the sweetness as needed.
Pear Tips
Pears are the star of this recipe, so choosing the right ones makes a big difference. Bartlett pears are a great pick because they turn tender and sweet as they bake. However, Bosc and Anjou also work well, so use what you find at the store. In general, you want pears that are ripe but not mushy. They should feel slightly soft near the stem, yet still hold their shape when cut.
Also, try to cut the pears into even 1/2-inch pieces. That way, they bake at the same rate and create a soft, spoonable filling. If your pears are very sweet, you can reduce the brown sugar in the filling to 1/4 cup. On the other hand, if they are not quite ripe, the full amount of sugar helps round out the flavor and brings out the natural sweetness.
Options for Substitutions
- Use Bosc pears or Anjou pears instead of Bartlett pears if that is what you have.
- Swap walnuts for pecans, or use the nut you like best.
- Replace light brown sugar with dark brown sugar for a deeper caramel flavor.
- Use gluten-free flour in place of all-purpose flour if you need a gluten-free version.
- Add a pinch of nutmeg or cardamom for a slightly different warm spice note.
- Use cold cubed butter instead of melted butter if you prefer a more chunky topping texture, though the original recipe works best as written.
Watch Out for These Mistakes
One common mistake is using pears that are too firm or too soft. If they are too firm, the filling may stay a little crisp in the center. If they are too soft, they can turn mushy in the oven. So, choose pears that are ripe, but still hold their shape. That balance gives you the best texture.
Another issue is adding too much liquid or not enough thickener. Since pears release juice as they bake, the cornstarch helps the filling set up. Therefore, do not skip it. Also, stir the filling gently so the pears stay in nice pieces instead of breaking down too much.
The topping can also go wrong if the butter is not mixed in evenly. If you leave dry spots, the crisp topping may bake unevenly. Instead, use a fork and work until crumbs form. That way, the oats, flour, sugar, and nuts all get coated and bake into a golden layer.
Finally, do not overbake the crisp. You want the topping browned and the juices bubbling, but you do not want the pears to cook down too far. As soon as the top looks golden and the fruit is bubbling around the edges, take it out. Then let it rest a few minutes before serving so the filling can settle.
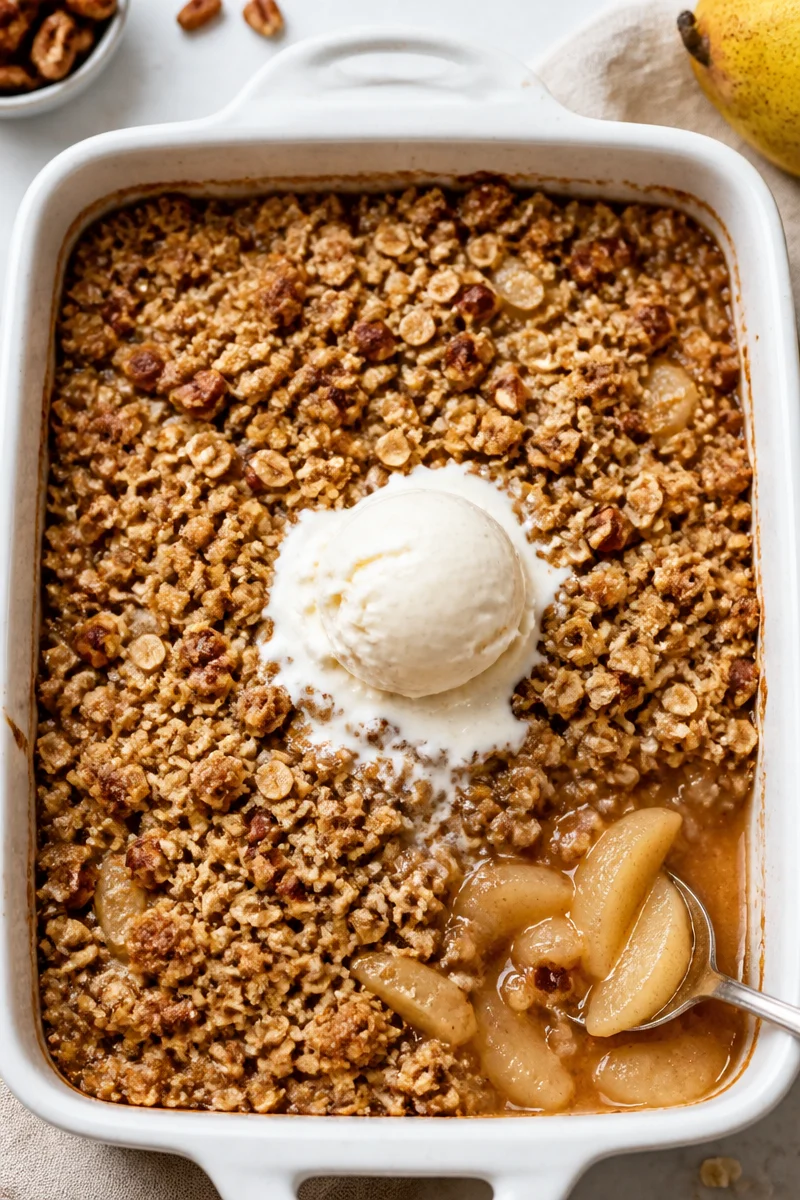
What to Serve With Warm Pear Crisp with Oat Topping?
This pear crisp tastes wonderful with vanilla ice cream, because the cold cream melts into the warm fruit and topping. If you want something lighter, try whipped cream or a spoonful of plain Greek yogurt for a tangy contrast. For a cozy dessert spread, it also pairs nicely with a mug of coffee, black tea, or warm spiced cider. If you are serving it after a holiday meal, a simple cheese plate or a few shortbread cookies can round out the table without much extra work.
Storage Instructions
Store: Keep leftovers covered in the refrigerator for up to 4 days. For the best texture, let the crisp cool first, then cover the baking dish tightly or move portions to an airtight container.
Freeze: You can freeze pear crisp for up to 3 months. Wrap it well, or place it in a freezer-safe container. For best results, freeze it after baking and cooling completely.
Reheat: To reheat on the stovetop, warm a portion in a small skillet over low heat, covered, until heated through. For the microwave, heat individual servings in short bursts of 30 to 45 seconds until warm. If the topping softens, that is normal, but it will still taste delicious.
Recipe Info
Preparation Time: 15 minutes
Cooking Time: 30 minutes
Total Time: 45 minutes
Level of Difficulty: Easy
Servings: 8
Estimated Nutrition
Estimated nutrition for the whole recipe (without optional ingredients):
Calories: about 3,000 to 3,150 total
Protein: about 25 to 30 grams total
Fat: about 145 to 160 grams total
Carbohydrates: about 410 to 435 grams total
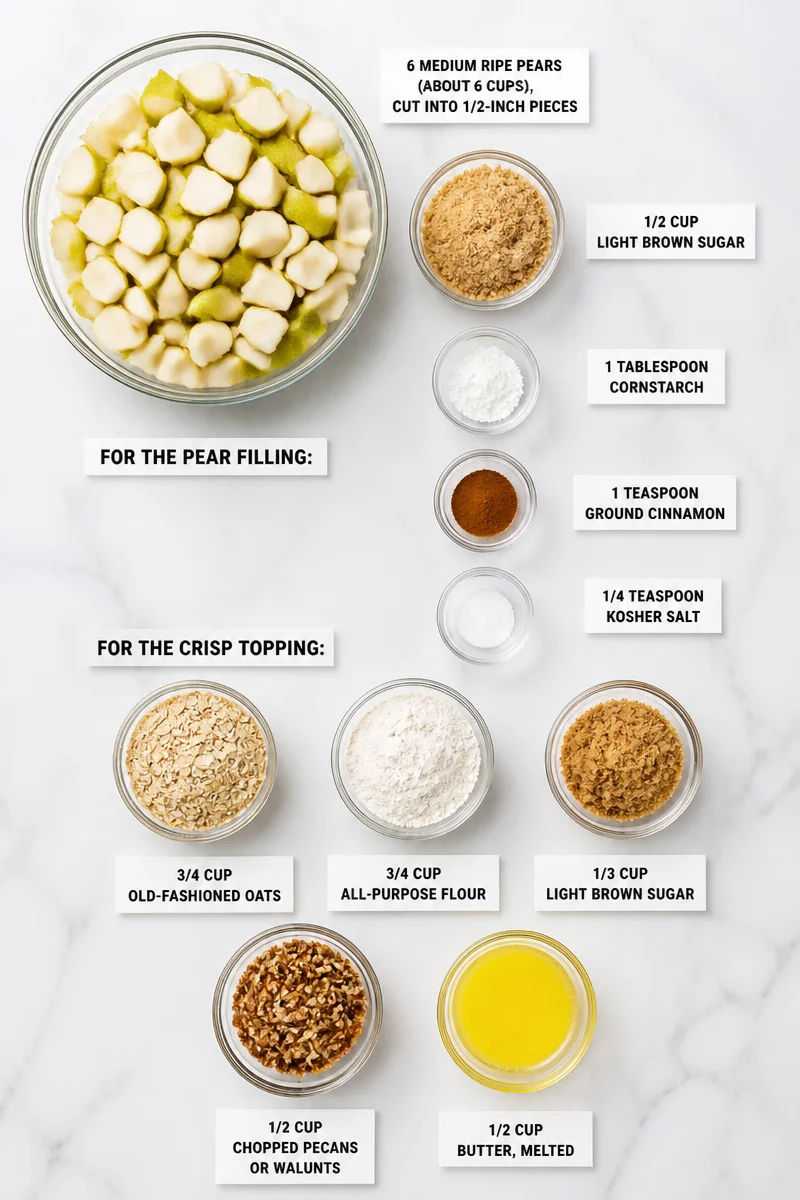
Ingredients
-
For the pear filling:
- 6 medium ripe pears (about 6 cups), cut into 1/2-inch pieces
- 1/2 cup light brown sugar
- 1 tablespoon cornstarch
- 1 teaspoon ground cinnamon
- 1/4 teaspoon kosher salt
-
For the crisp topping:
- 3/4 cup old-fashioned oats
- 3/4 cup all-purpose flour
- 1/3 cup light brown sugar
- 1/2 cup chopped pecans or walnuts
- 1/2 cup butter, melted
Step-by-Step Instructions
Step 1: Prepare the Baking Dish and Pears
Heat the oven to 350°F and butter an 8×8-inch baking dish. Core the pears and cut them into 1/2-inch pieces. Peeling is optional, so you can leave the skins on if you like a little extra texture and color. Place the pears in the baking dish, then add the brown sugar, cornstarch, cinnamon, and salt. Stir gently so the pears are evenly coated.
Step 2: Mix the Crisp Topping
In a separate bowl, combine the oats, flour, brown sugar, and nuts. Then add the melted butter and stir with a fork until crumbs form. You want the mixture to look damp and crumbly, not dry or pasty. After that, scatter the topping evenly over the pears.
Step 3: Bake Until Bubbling and Golden
Place the dish in the oven and bake for 28 to 30 minutes. Watch for a browned topping and bubbling juices around the edges. That is your sign that the filling is cooked and the crisp is ready. If the top browns quickly, you can loosely cover it near the end of baking, but usually this recipe finishes nicely on its own.
Step 4: Rest and Serve Warm
Remove the crisp from the oven and let it rest for a few minutes before serving. This short rest helps the juices settle a bit, so the filling is easier to scoop. Then serve it warm, plain, or with vanilla ice cream or whipped cream. Either way, it tastes rich, cozy, and deeply satisfying.
Conclusion
This warm pear crisp with oat topping brings together tender pears, cinnamon, brown sugar, oats, and butter in one easy dessert. Because it is simple to make and full of classic flavor, it is a recipe you can return to all fall and winter long. It is also flexible, so you can use different pears or adjust the sweetness to fit your taste. If you try it, share your thoughts in the comments or save it for your next family meal. And if you enjoy cozy desserts like this, be sure to explore more easy fruit crisp recipes next.
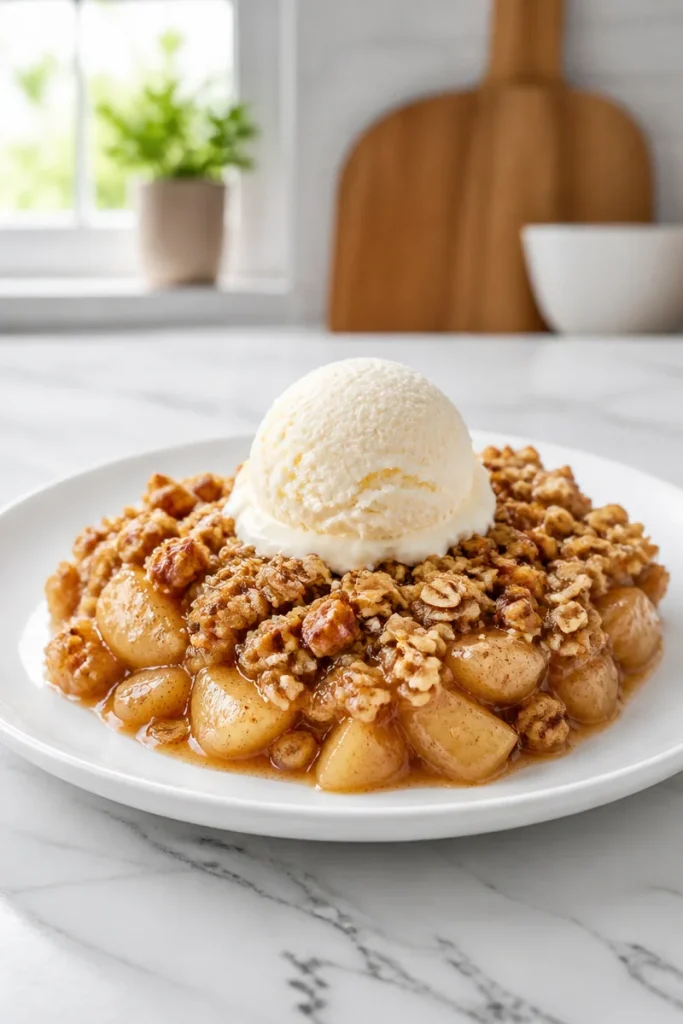
Warm Pear Crisp
Ingredients
Method
- Heat the oven to 350°F and butter an 8x8-inch baking dish.
- Core the pears and cut them into 1/2-inch pieces. Peeling is optional.
- Place the pears in the baking dish and add the brown sugar, cornstarch, cinnamon, and salt. Stir gently.
- In a separate bowl, combine oats, flour, brown sugar, and nuts. Add melted butter and stir until crumbs form.
- Scatter the topping evenly over the pears.
- Place dish in the oven and bake for 28 to 30 minutes until the topping is browned and juices are bubbling.
- Remove from oven and let it rest for a few minutes before serving warm, either plain or with vanilla ice cream or whipped cream.
