The charm of a homemade snack often lies in its simplicity and the joy it brings when shared. These Witch Finger Pretzel Snack Sticks are a perfect example of this kind of treat. They combine the crunch of pretzels with the smooth sweetness of candy coating and the nutty finish of almonds, creating a balance that is comforting yet playful. I love how this recipe turns ordinary ingredients into something festive and fun, especially during the spooky season or a cozy gathering. It’s the kind of snack that sparks smiles and invites everyone to join in the making.
At the heart of this recipe, you’ll find 24 thick pretzel rods that provide a satisfying crunch. They’re dipped in 12 oz of green candy melting wafers, giving that bright, eye-catching color and a smooth, creamy texture coating the pretzels perfectly. Each pretzel finger is decorated with almond halves, placed carefully to resemble creepy fingernails. Lastly, a thin line of red gel food coloring adds an eerie touch, drawing knuckle lines and a little blood-like detail to make these snacks both spooky and delicious. The flavors mingle beautifully: salty pretzels, sweet candy coating, and a delicate almond crunch.
The method to make these Witch Finger Pretzel Snack Sticks is straightforward and rewarding. First, line a baking sheet with parchment paper for easy cleanup. Next, you melt your green candy wafers in short bursts in the microwave, stirring until smooth and ready for dipping. You dip pretzels until three-quarters coated, tap to remove excess, and press an almond half onto the tip to look like a fingernail. With a toothpick, you draw knuckle lines on the candy coating while it’s still wet. Adding red food coloring at the base of the almond nail creates a striking, gory effect. After a brief 20-minute rest at room temperature, the candy coating sets fully, and your snack sticks are ready!
These pretzel sticks are ideal for chilly autumn nights, Halloween parties, or any gathering where fun food can boost the mood. They are great for potlucks or a simple family movie night treat. Not only are they visually fun, but they also offer that perfect sweet and salty bite that everyone loves. Plus, with simple storage instructions, you can prepare them ahead and enjoy them throughout the week.
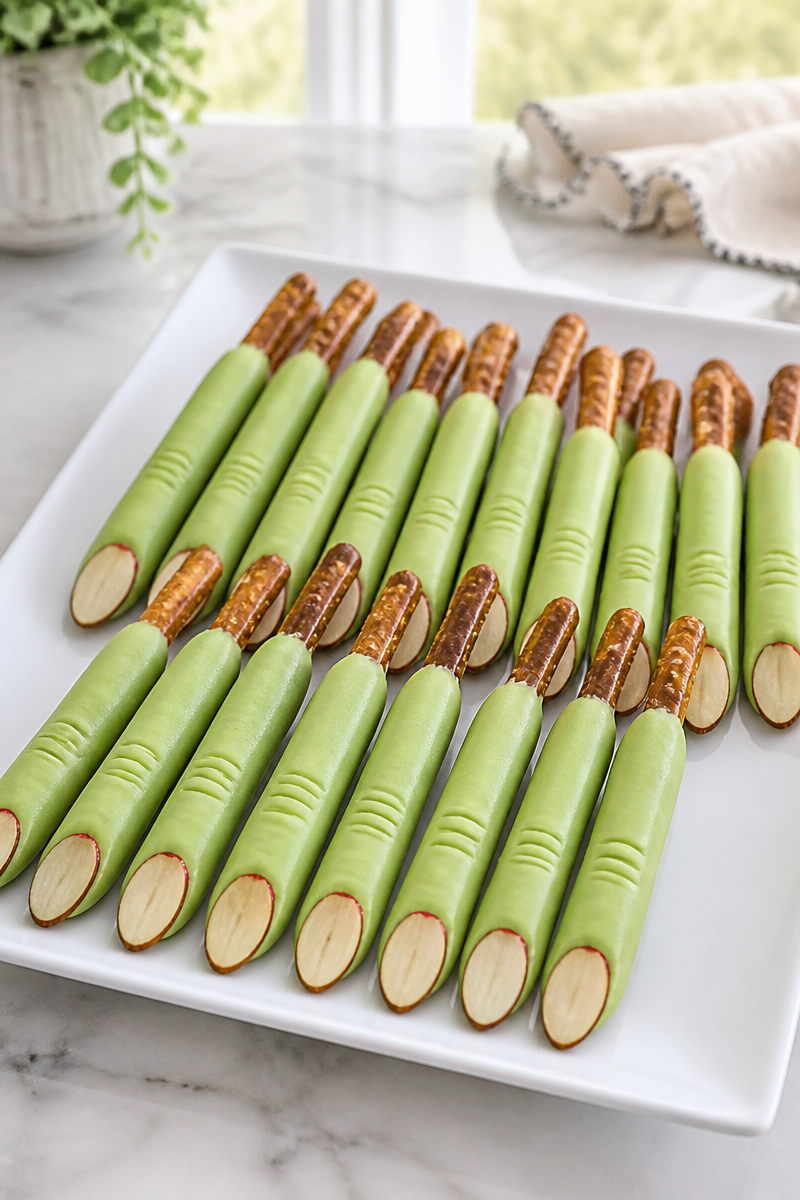
Why You’ll Love This Witch Finger Pretzel Snack Sticks
- Quick and easy to make: Requires minimal ingredients and simple steps, ideal for beginner cooks or busy schedules.
- Perfect balance of salty and sweet: Pretzels provide the saltiness while the candy coating adds sweetness, making each bite delightful.
- Fun and festive presentation: The spooky finger look is sure to be a hit at Halloween parties or fall-themed events.
- Snack-friendly and sharable: These sticks are easy to hold and pass around, perfect for gatherings.
- Long shelf life at room temperature: You can store them in an airtight container and enjoy for up to a week without losing taste or texture.
Green Candy Melting Wafers Tips
When it comes to green candy melting wafers, quality matters. Choose smooth, evenly colored wafers that melt easily without clumping. These wafers are designed specifically for coating and molding, making them ideal for dipping and smooth finishes. To prevent the coating from becoming grainy or hard to work with, melt the wafers slowly in 30-second intervals, stirring thoroughly each time. If you overheat, the candy can become thick and unusable. Also, using a microwave-safe bowl ensures even heating. If you can’t find green wafers, you can melt white wafers and add green gel food coloring gradually, stirring well to keep the color even. This ingredient is key to the look and texture, so handle the melting process with some patience.
Options for Substitutions
- Swap pretzel rods for breadsticks or cookie sticks for a slightly different texture.
- Replace green candy melting wafers with white melting wafers dyed with green gel food coloring.
- Use pumpkin seeds or pumpkin-shaped candies instead of almonds for a seasonal twist.
- Substitute red gel food coloring with orange or purple for a different spooky effect.
- For a nut-free version, omit almonds or use small pieces of green-tinted candy melts as nails.
- Try adding edible glitter or sprinkles on the candy coating for extra decoration and texture.
Watch Out for These Mistakes
One common mistake is not preparing your baking sheet properly. Using parchment paper helps prevent the pretzels from sticking once dipped, so don’t forget this step. If you skip it, your snack sticks may be difficult to remove, risking breaking the almond fingernails.
When melting the candy wafers, overheating can cause the molten candy to seize up or become grainy. Make sure you heat the wafers in short 30-second bursts, stirring well between each interval. If you heat them too long, the candy will thicken too much and become hard to dip into. Proper melting is essential for smooth and even coating.
Be gentle when pressing the almond “nail” onto the wet coating. Pressing too hard may crack the candy or break the pretzel rod. It should be a light touch to ensure the almond sticks but does not damage the coating or break the base.
Finally, don’t rush the setting process. Let the pretzels sit untouched for at least 20 minutes at room temperature to firm up. Moving them too soon can smudge the decoration or cause pieces to fall off. Patience will pay off with perfectly set witch fingers.
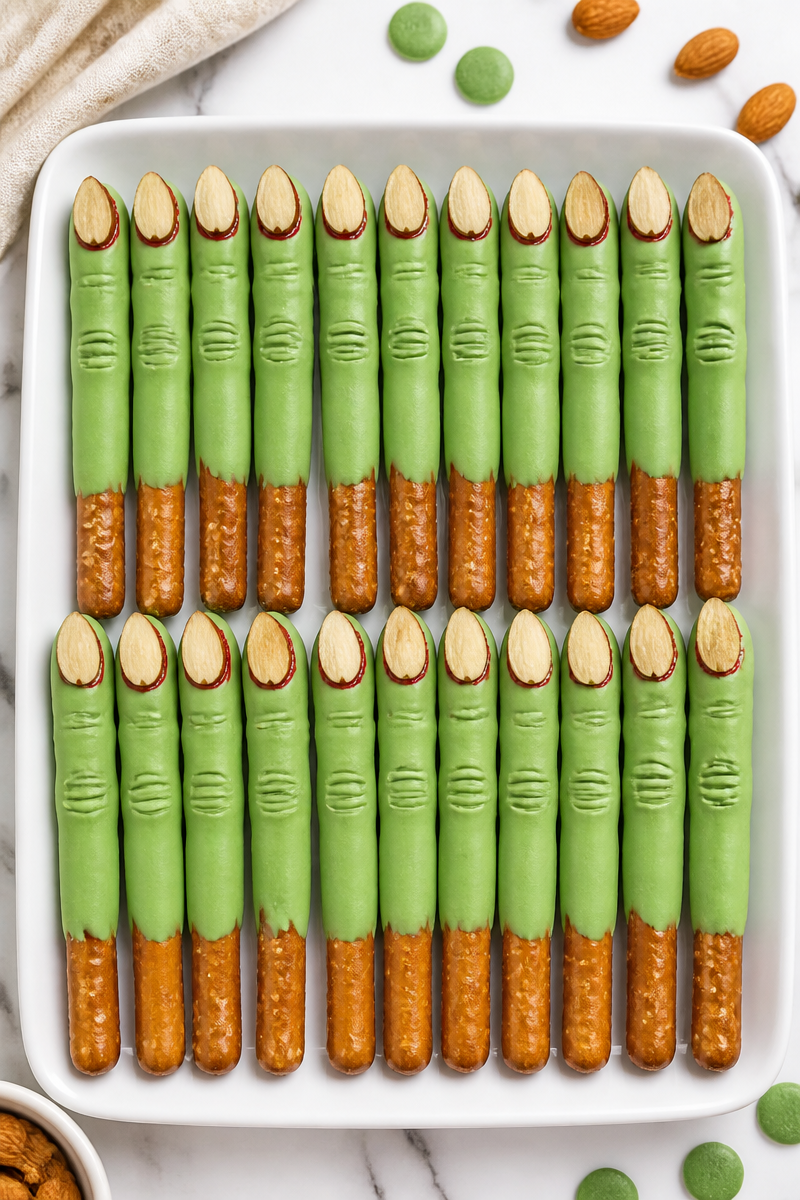
What to Serve With Witch Finger Pretzel Snack Sticks?
These witch finger pretzels pair wonderfully with a handful of easy-to-prepare sides. Consider serving them alongside a rich, warm bowl of tomato soup or a spicy pumpkin chili to complement the sweet and salty flavors. A fresh green salad with a tangy vinaigrette can also balance the indulgence. For beverages, hot apple cider or a chilled sparkling punch makes a festive drink pairing that keeps the mood light and fun.
Storage Instructions
Store your Witch Finger Pretzel Snack Sticks in an airtight container at room temperature for up to 1 week. This keeps the candy coating from softening and the pretzels crunchy. Avoid storing them in the refrigerator, as the moisture could make the pretzels lose their crispness.
Freezing is not recommended because the moisture can cause the candy coating to crack and the almonds to become soggy once thawed.
If you want to reheat the pretzels slightly, place them in a warm oven at a low temperature (around 200°F) for a few minutes to refresh that crunch. Avoid microwaving, as this melts the candy coating and can ruin the texture.
Recipe Info
Preparation Time: 15 minutes
Cooking Time: 5 minutes for melting and dipping plus 20 minutes setting time
Total Time: 40 minutes
Level of Difficulty: Easy
Servings: 24 pretzel sticks
Estimated Nutrition
Estimated nutrition for the whole recipe (without optional ingredients):
- Calories: 1,200 – 1,400 calories
- Protein: 30 – 35 grams (mainly from almonds and pretzels)
- Fat: 65 – 75 grams (mostly from candy wafers and almonds)
- Carbohydrates: 140 – 160 grams (from pretzels and candy coating)
Keep in mind these are approximate values and can vary with brand and portion size.
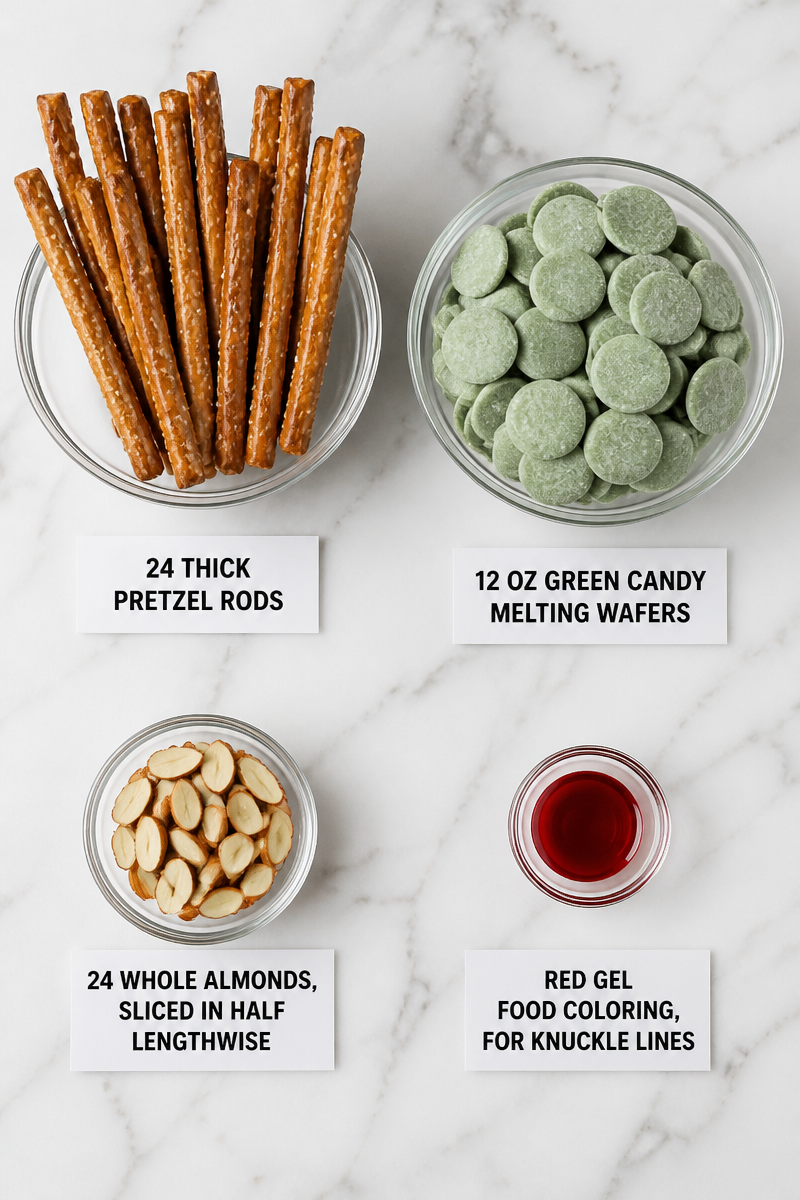
Ingredients
- 24 thick pretzel rods
- 12 oz green candy melting wafers
- 24 whole almonds, sliced in half lengthwise
- Red gel food coloring, for knuckle lines
Step-by-Step Instructions
Step 1: Prepare Your Baking Sheet
Begin by lining a baking sheet with parchment paper. This makes cleanup easier and prevents the pretzel sticks from sticking once dipped. Set the sheet aside; it’s ready for when you start coating your pretzels.
Step 2: Melt the Green Candy Wafers
Place the 12 oz of green candy melting wafers in a microwave-safe bowl. Heat them in 30-second bursts, stirring after each interval. Continue this process until the wafers are completely melted and the mixture is smooth and pourable. Be careful not to overheat or burn them.
Step 3: Dip the Pretzel Rods
Holding a pretzel rod, dip it into the melted candy coating, submerging about three-quarters of the rod. Gently tap off any excess coating back into the bowl. Place the dipped pretzel on the prepared baking sheet. Repeat until all pretzels are dipped.
Step 4: Add Almond Nails and Knuckle Lines
While the coating is still wet, press an almond half flat-side down onto the tip of each pretzel to resemble a fingernail. Use a toothpick to drag 2 or 3 short horizontal lines on the coating a little way down the pretzel stick to create knuckles. For a spooky effect, dip a clean toothpick in red gel food coloring and add a thin line at the base of the almond nail.
Step 5: Let the Pretzels Set
Leave the coated pretzels at room temperature for about 20 minutes. This allows the candy coating to harden and hold its shape. Once set, the pretzel fingers are ready to serve or store.
Step 6: Store Properly
Store the finished pretzel sticks in an airtight container at room temperature. They will stay fresh for up to a week, making them great to prepare ahead for a party or event.
Conclusion
These Witch Finger Pretzel Snack Sticks are an easy, fun, and delicious way to bring a little spooky spirit to your kitchen. With just a few simple ingredients and straightforward steps, you can create a snack that looks amazing and tastes even better. Whether you’re sharing with family, friends, or neighbors, these pretzels are sure to be a crowd-pleaser. Give the recipe a try, and don’t forget to come back and share your experience or explore more festive treats right here!
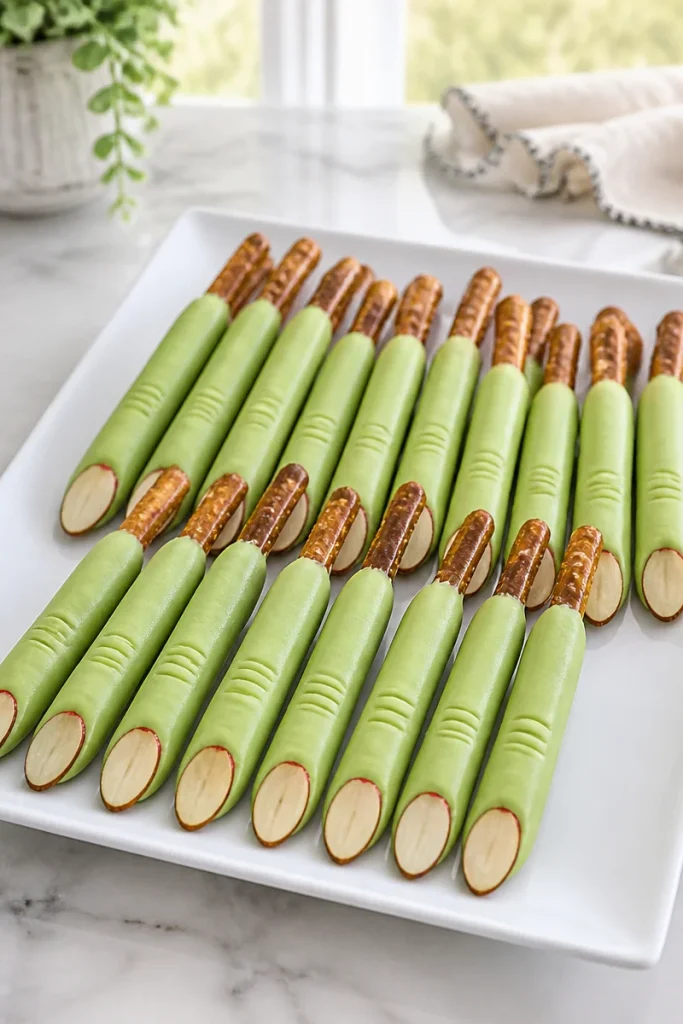
Witch Finger Pretzel Snack Sticks
Ingredients
Method
- Begin by lining a baking sheet with parchment paper to prevent sticking.
- Place the green candy melting wafers in a microwave-safe bowl and heat in 30-second intervals, stirring until smooth.
- Dip the pretzel rods into the melted candy coating until about three-quarters coated, tapping off excess.
- Place the dipped pretzel onto the prepared baking sheet.
- While the coating is still wet, press an almond half onto the tip of each pretzel.
- Use a toothpick to draw knuckle lines on the candy coating and add red gel food coloring at the base of the almond.
- Let the coated pretzels set at room temperature for about 20 minutes until hardened.
- Store finished pretzel sticks in an airtight container at room temperature for up to a week.
