This homemade Japanese onigiri rice balls recipe is pure comfort to me. It is the kind of food that feels simple, filling, and a little special at the same time. Moreover, it works just as well for a quiet lunch at home as it does for a packed family picnic.
At the heart of this recipe is 2 1/4 cups uncooked Japanese short-grain white rice cooked with 2 1/2 cups water, then shaped with a light touch of salt. After that, you can finish each rice ball with nori, a little furikake, and your choice of filling. For flavor, you can go with quick salted salmon, okaka made from bonito flakes and soy sauce, tuna mayo, or umeboshi for a bright, tangy bite. As a result, every onigiri feels a little different, but each one stays cozy and satisfying.
The method is simple, too. First, rinse and soak the rice, then cook it until tender. Meanwhile, prepare the fillings so everything is ready when the rice is warm. Next, wet your hands, add a pinch of salt, and shape the rice around the filling into neat triangles. Finally, wrap with toasted nori right before eating for the best texture. Because the process is so straightforward, even first-time cooks can do it with confidence.
This recipe is perfect for lunch boxes, road trips, after-school snacks, or a light dinner with soup. In addition, it is a smart choice for seniors and anyone who wants soft, comforting food without a lot of fuss. If you enjoy Japanese home cooking, this one is a keeper.
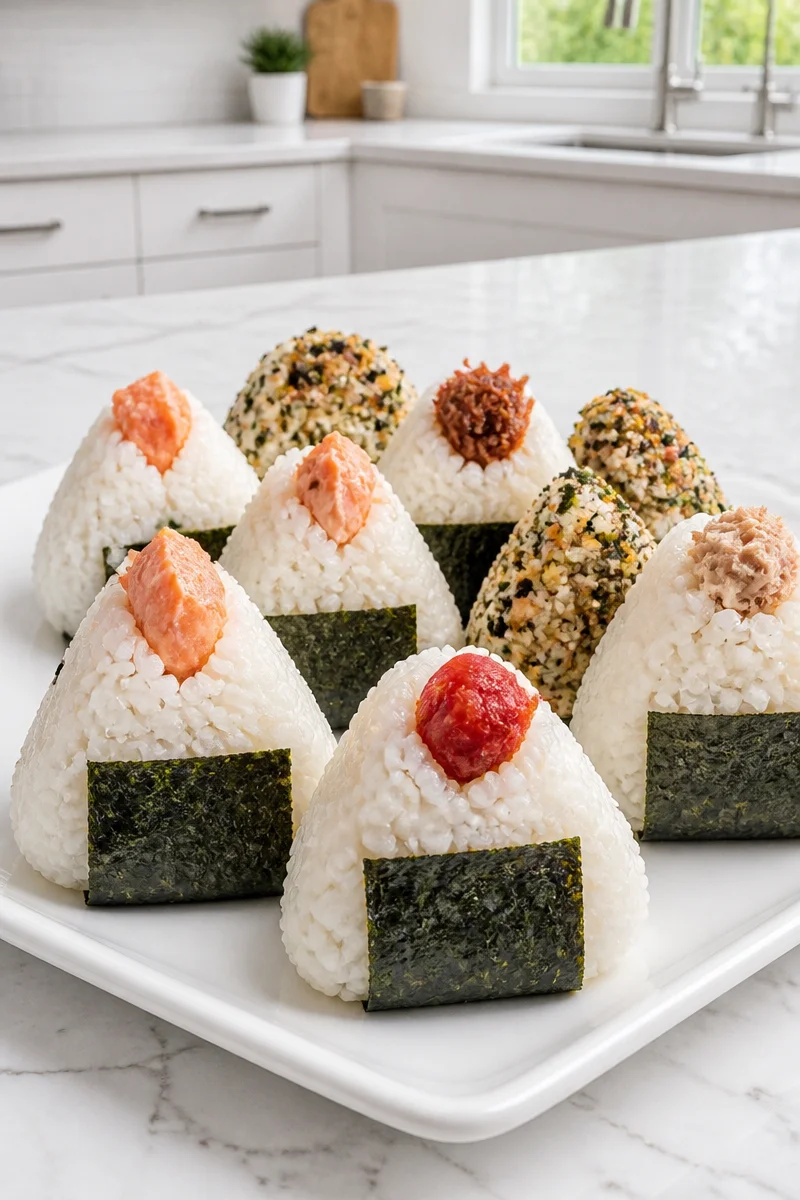
Why You’ll Love This Homemade Japanese Onigiri Rice Balls
- Simple ingredients make this recipe easy to shop for and easy to plan.
- Flexible fillings let you use what you already have in the pantry or fridge.
- Great for meal prep because onigiri can be made ahead for lunch or snacks.
- Comforting texture comes from warm, seasoned rice wrapped around a savory center.
- Family-friendly and budget-friendly since one batch makes several rice balls without much effort.
Japanese Short-Grain Rice Tips
The most important part of great onigiri is the rice. For the best texture, use Japanese short-grain white rice because it becomes tender, sticky, and easy to shape. Long-grain rice will not hold together as well, so it is not the best choice here. Also, rinse the rice gently until the water looks mostly clear. This helps remove extra starch so the rice tastes clean, not gummy.
Soaking matters, too. A 20 to 30 minute soak helps the grains cook evenly and gives you softer rice with a better bite. Then, after cooking, let the rice cool until it feels warm and comfortable to handle. If it is too hot, it will be hard to shape. If it is too cold, it can become stiff and less easy to mold. So, aim for that warm middle ground.
Options for Substitutions
- Use sushi rice if you cannot find Japanese short-grain rice, since it has a similar sticky texture.
- Swap nori for sesame seeds if you want a lighter finish, although the rice balls will not have the same classic wrap.
- Replace furikake with toasted sesame seeds and a little salt for a simple coating.
- Try smoked salmon instead of salted salmon if you want a softer, ready-to-use filling.
- Use Greek yogurt mixed with tuna if you want a lighter creamy filling than Japanese mayonnaise.
- Swap umeboshi with chopped pickles or another salty, tangy ingredient if you want a different flavor profile.
Watch Out for These Mistakes
First, do not skip the rice rinse and soak. If you rush this part, the rice may cook unevenly or turn too sticky. Also, too much starch on the surface can make shaping harder. Therefore, give the rice a proper rinse and a short soak before cooking.
Next, avoid using rice that is too hot. When the rice is steaming hot, it is difficult to handle and can fall apart in your hands. On the other hand, if it cools too much, it can dry out and crack. So, let it rest until it is warm, soft, and easy to shape.
Also, be careful with the filling amount. It is tempting to add more, but overfilling can break the rice ball apart. A little filling goes a long way here. For that reason, stick to about 1 to 2 teaspoons per onigiri unless you are using a larger mold.
Finally, do not wrap the nori too early. If the seaweed sits on the rice for too long, it loses its crisp bite and turns soft. Instead, keep the nori separate and wrap it just before eating. That way, you get the best mix of textures.
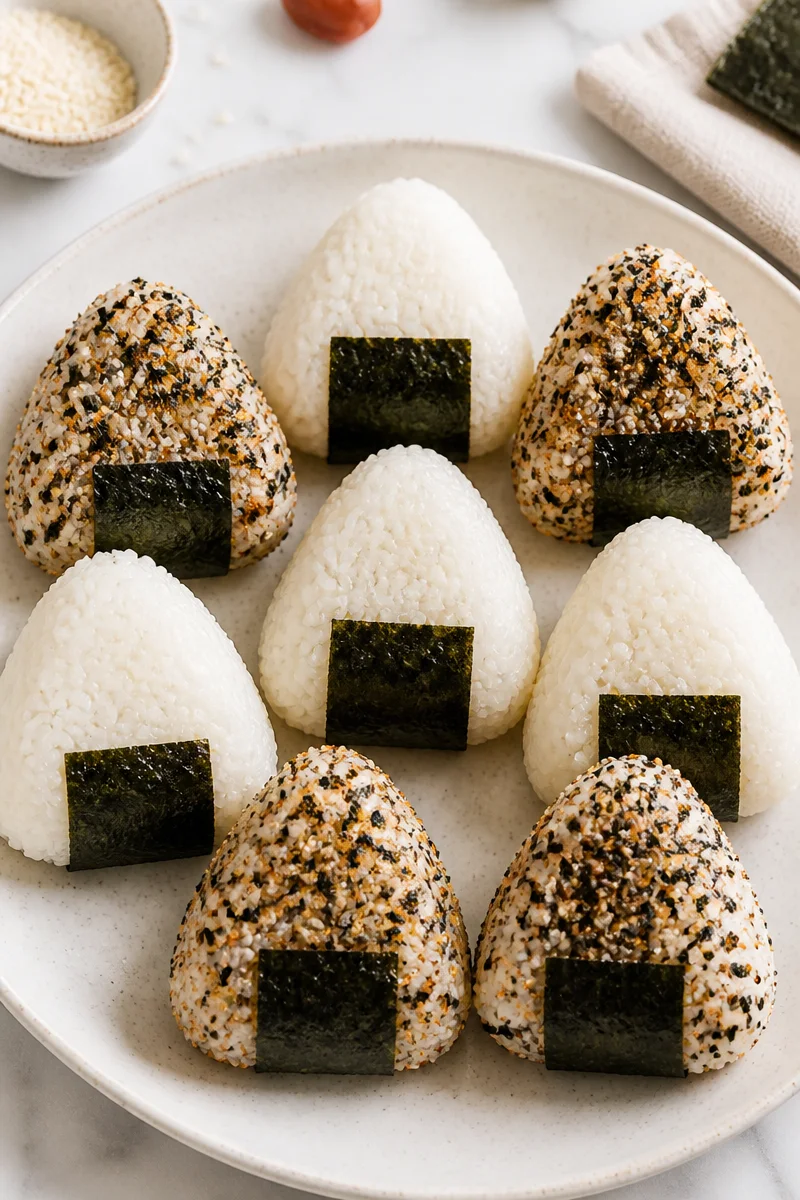
What to Serve With Homemade Japanese Onigiri Rice Balls?
Homemade Japanese onigiri rice balls pair nicely with a warm bowl of miso soup, a small cucumber salad, or a simple side of steamed edamame. In addition, they go well with pickled vegetables, a light bowl of broth, or even a fruit cup for a balanced lunch. Because onigiri are mild and comforting, they work well with fresh, salty, or tangy sides that brighten the meal.
Storage Instructions
Store: Keep onigiri at cool room temperature and eat within 6 hours if packed for lunch. If you need to store them a little longer, wrap them well and keep them in the refrigerator for up to 1 day, but know the rice will firm up. For the best texture, avoid long fridge storage.
Freeze: Onigiri can be frozen for up to 1 month. Wrap each rice ball tightly in plastic wrap, then place them in a freezer bag. However, nori should be kept separate, because it will not stay crisp after freezing.
Reheat: For the stovetop, warm frozen onigiri gently in a covered pan over low heat until heated through. For the microwave, wrap the rice ball in a slightly damp paper towel and heat in short bursts until soft and warm. Then add nori after reheating so it stays crisp.
Recipe Info
Preparation Time: 30 minutes plus 30 minutes soaking
Cooking Time: 30 minutes
Total Time: 1 hour 30 minutes
Level of Difficulty: Easy
Servings: 9
Calories: 174 kcal per serving
Estimated Nutrition
Estimated nutrition for the whole recipe (without optional ingredients):
- Calories: about 1,500 to 1,700 kcal total
- Protein: about 24 to 35 g total
- Fat: about 2 to 10 g total
- Carbohydrates: about 330 to 360 g total
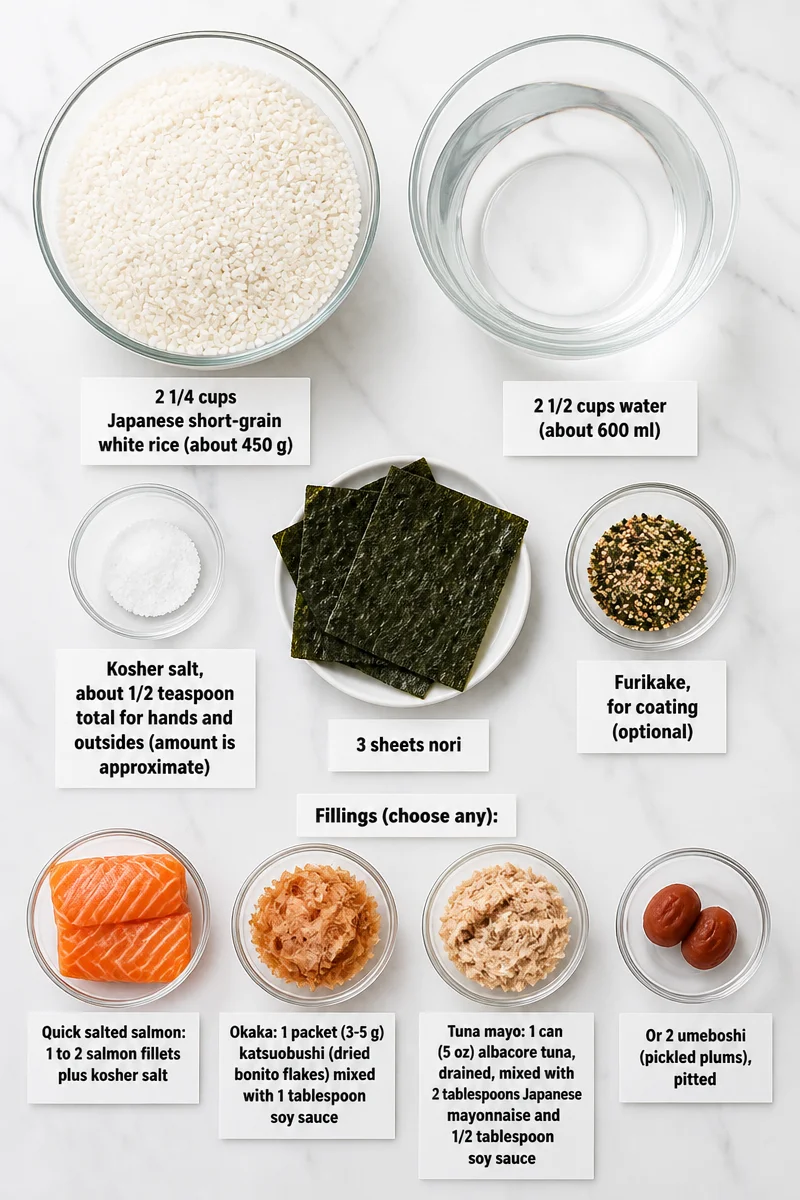
Ingredients
- 2 1/4 cups uncooked Japanese short-grain white rice (about 450 g)
- 2 1/2 cups water (about 600 ml)
- Kosher salt, about 1/2 teaspoon total for hands and outsides (amount is approximate)
- 3 sheets nori
- Furikake, for coating (optional)
- Quick salted salmon: 1 to 2 salmon fillets plus kosher salt
- Okaka: 1 packet (3-5 g) katsuobushi (dried bonito flakes) mixed with 1 tablespoon soy sauce
- Tuna mayo: 1 can (5 oz) albacore tuna, drained, mixed with 2 tablespoons Japanese mayonnaise and 1/2 tablespoon soy sauce
- Or 2 umeboshi (pickled plums), pitted
Step-by-Step Instructions
Step 1: Rinse, Soak, and Cook the Rice
Rinse the rice in a bowl or strainer, swirling and draining until the water runs mostly clear. Then soak it for 20 to 30 minutes. After that, cook the rice with the measured water in a rice cooker or covered pot. When done, you should have about 6 2/3 cups of cooked rice.
Step 2: Prepare the Fillings
While the rice cooks, get the fillings ready. If you are using salmon, salt the fillets and broil or bake them at 425°F for 10 to 20 minutes, until fully cooked and dry, then flake the fish. If you are making okaka, toss the bonito flakes with soy sauce. For tuna mayo, mix the tuna, Japanese mayonnaise, and soy sauce. If you chose umeboshi, remove the pits and set the flesh aside.
Step 3: Cool the Rice Slightly
Once the rice is done, let it cool until it is warm and comfortable to handle. This step is important because rice that is too hot will stick to your hands and make shaping harder. Meanwhile, keep your fillings ready nearby so you can work smoothly.
Step 4: Shape the Onigiri
Dampen your hands, then rub a pinch of salt over them. Scoop about 2/3 cup, or about 110 g, of rice for each onigiri. Press a small hollow into the rice, add 1 to 2 teaspoons of filling, and fold the rice over to seal it inside.
Step 5: Form the Triangle
Press and rotate the rice into a triangle, using your cupped hand to shape the corners. Add a light sprinkle of salt to the outside if you like. If you want very even shapes, a mold works well, especially for beginners or for lunch prep.
Step 6: Finish With Nori or Furikake
If you want extra flavor, roll the sides of the rice balls in furikake. Then lightly toast the nori over a flame, cut each sheet into thirds, and wrap a strip around each onigiri just before eating. For the best texture, keep the nori separate until the last minute.
Conclusion
Homemade Japanese onigiri rice balls are simple, cozy, and easy to customize. With short-grain rice, a little salt, and a filling you love, you can make a snack or meal that feels both practical and special. Plus, this recipe is flexible enough for busy weekdays, lunch boxes, or relaxed weekends at home.
If you try this recipe, I would love to hear which filling you chose. Leave a comment, share your results, or explore more easy Japanese-inspired recipes for your next meal.
Japanese Onigiri Rice Balls
Ingredients
Method
- Rinse the rice in a bowl or strainer, swirling and draining until the water runs mostly clear.
- Soak the rice for 20 to 30 minutes.
- Cook the rice with the measured water in a rice cooker or covered pot.
- Prepare the fillings while the rice cooks: salt and broil or bake salmon, prepare okaka, mix tuna with mayonnaise and soy sauce, or pit umeboshi.
- Cool the rice until it is warm and comfortable to handle.
- Dampen your hands, rub a pinch of salt over them, and scoop 2/3 cup of rice for each onigiri.
- Press a small hollow into the rice, add 1 to 2 teaspoons of filling, and fold the rice over to seal it.
- Form the rice into a triangle using your cupped hand.
- Optionally sprinkle salt on the outside.
- Roll the rice balls in furikake if desired and wrap with toasted nori just before eating.
