A Melted Snowman Cookie with Marshmallow Head is pure comfort in cookie form. It is playful, sweet, and just the kind of treat that brings a smile to a cold day. I love recipes like this because they look special, yet they are still easy enough for a home baker to manage. In fact, this is the sort of cookie that makes a winter afternoon feel cozy right away.
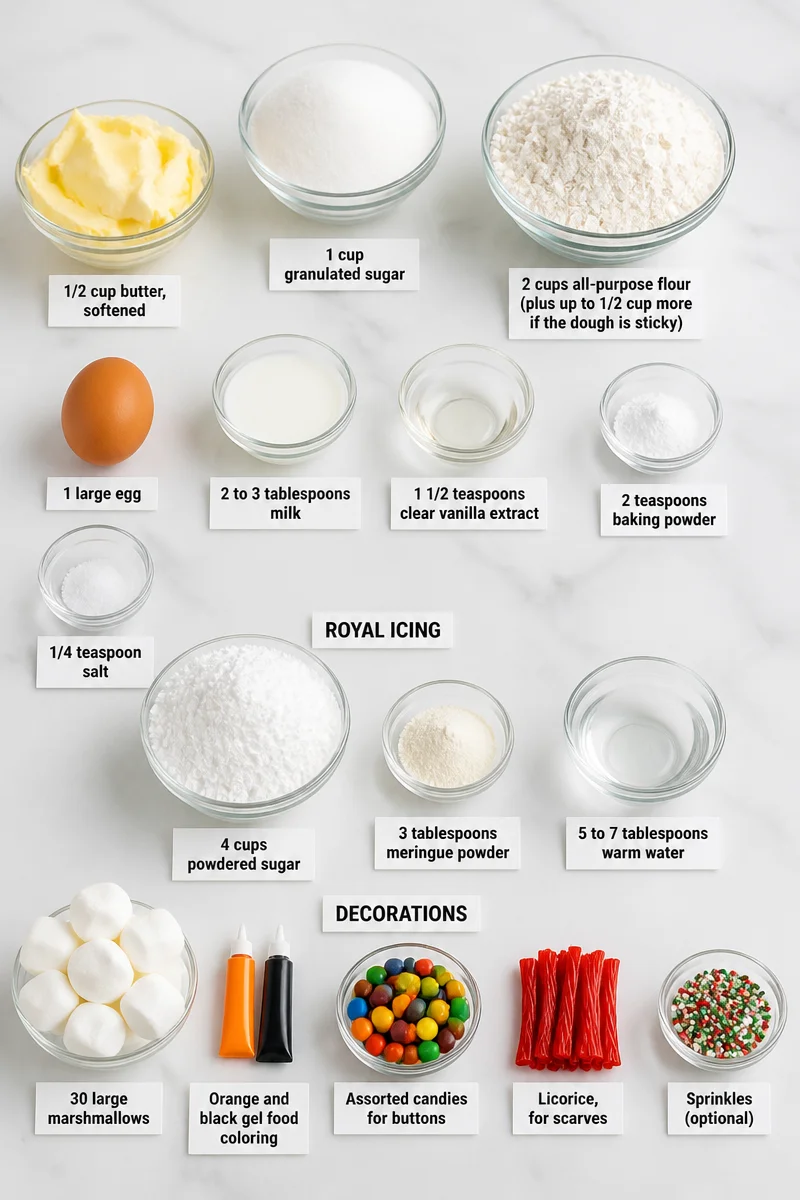
At the heart of this Melted Snowman Cookie with Marshmallow Head are simple baking staples, and that is part of its charm. The cookie dough uses 1/2 cup butter, softened, 1 cup granulated sugar, 1 large egg, 2 to 3 tablespoons milk, 1 1/2 teaspoons clear vanilla extract, 2 cups all-purpose flour plus a little more if needed, 2 teaspoons baking powder, and 1/4 teaspoon salt. Then the royal icing comes together with 4 cups powdered sugar, 3 tablespoons meringue powder, and 5 to 7 tablespoons warm water. For the fun part, you will use 30 large marshmallows, orange and black gel food coloring, assorted candies for buttons, licorice for scarves, and optional sprinkles. The flavor is sweet, buttery, and lightly vanilla-forward, while the decorations add a soft marshmallow finish and a cheerful holiday look.
The method is straightforward, too. First, you beat the butter, sugar, egg, milk, and vanilla together. Then you mix in the dry ingredients, chill the dough, roll it out, and bake the cookies until just lightly golden. After that, you make the royal icing, spread it so it looks like a melted snow puddle, and press a marshmallow into the wet icing for the snowman head. Finally, you add the candy details, let everything dry, and store the cookies when needed. The total time is about 3 hours 55 minutes, including chilling and drying, so plan ahead a little and the process stays very manageable.
This Melted Snowman Cookie with Marshmallow Head is perfect for chilly nights, school parties, cookie exchanges, and family baking days. It also makes a very sweet gift because the cookies travel well once the icing has set. So, if you want a winter treat that is fun, festive, and easy to share, this recipe is a lovely choice.
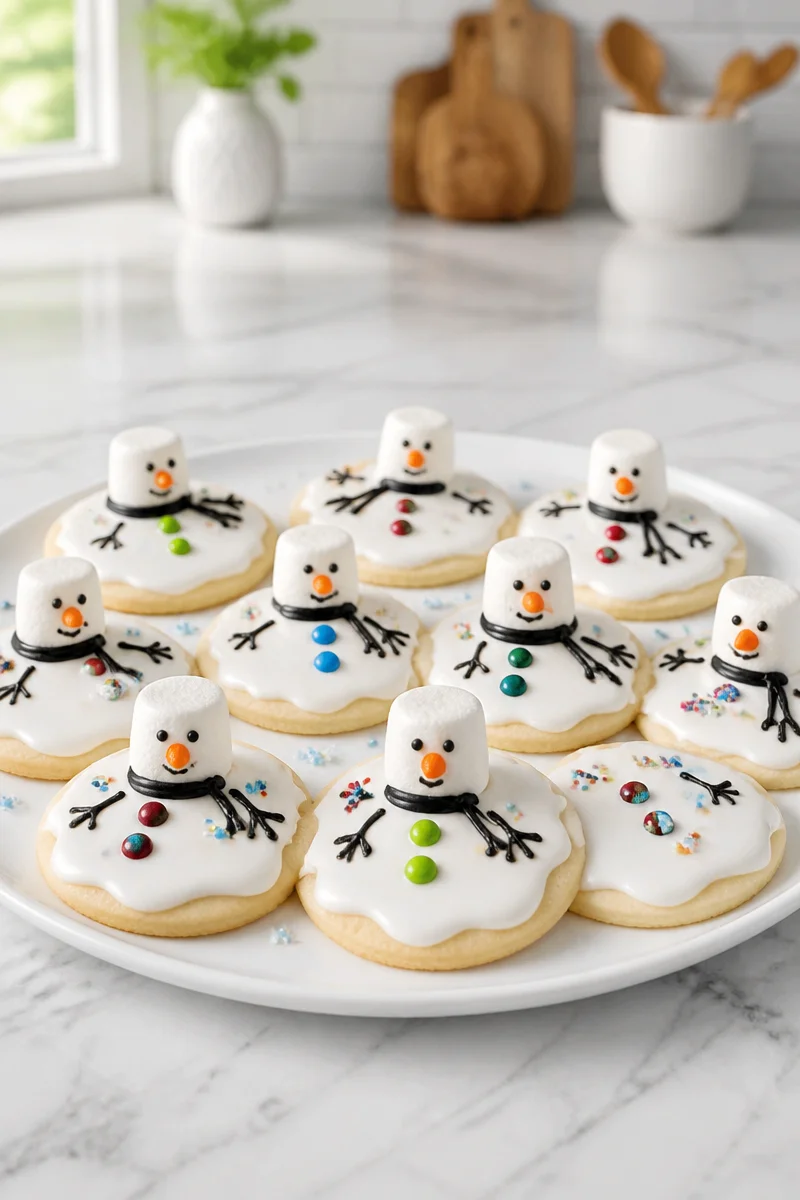
Why You’ll Love This Melted Snowman Cookie with Marshmallow Head
- It uses everyday ingredients, so you do not need a long shopping list.
- The cookies are soft, sweet, and buttery, with a pleasant vanilla flavor.
- The decorating is simple, and the “melted” look is fun even if each cookie turns out a little different.
- The recipe is great for kids, grandkids, and family baking time.
- It makes a big batch, so it works well for parties, gifts, and holiday trays.
Butter Tips
Butter is the base that gives this Melted Snowman Cookie with Marshmallow Head its rich taste and tender crumb. For the best results, use softened butter, not melted butter, so the dough blends smoothly and holds its shape. If the butter is too hard, let it sit at room temperature for a bit before mixing. On the other hand, if it is too warm, the dough may spread too much in the oven. So, aim for butter that presses easily with a finger, but still keeps its shape.
Options for Substitutions
- Use salted butter instead of unsalted or regular butter, but reduce the added salt slightly if needed.
- Swap whole milk for 2 percent milk if that is what you have on hand.
- Use pure vanilla extract instead of clear vanilla extract for a warmer vanilla color and flavor.
- Replace some of the all-purpose flour with gluten-free 1-to-1 baking flour if needed.
- If you do not have meringue powder, use a store-bought vanilla cookie icing for decorating.
- Use mini marshmallows instead of large marshmallows if you want smaller snowman heads.
Watch Out for These Mistakes
One common mistake is skipping the chilling step. The dough needs time to firm up, or else the cookies may spread too much in the oven. So, if the dough feels soft or sticky, give it the full hour in the fridge. That small wait helps the cookies keep their round shape.
Another problem is adding too much flour at once. The dough should be smooth, but it should not feel dry or stiff. Therefore, add extra flour only if the dough is very sticky, and do it a little at a time. Too much flour can make the cookies dense instead of tender.
Also, do not overbake the cookies. They should be just lightly golden at the edges, and they will finish setting as they cool. If you bake them too long, they may become hard, which makes decorating less pleasant and eating less enjoyable.
Finally, make sure the cookies are fully cool before you add the icing. Warm cookies can melt the royal icing and make the marshmallow head slide around. So, let the cookies cool on racks first, then decorate once they are ready.

What to Serve With Melted Snowman Cookie with Marshmallow Head?
These cookies pair nicely with a warm mug of hot cocoa, a glass of cold milk, or a simple cup of tea. For a fuller dessert spread, serve them with peppermint bark, sugar cookie bars, or a bowl of fresh berries for a little balance. In addition, they work well on a holiday tray beside other winter treats, since their cute look makes them stand out right away.
Storage Instructions
Store: Keep the Melted Snowman Cookie with Marshmallow Head in an airtight container at room temperature for up to 5 days. If your kitchen is very warm, a cool pantry spot is best.
Freeze: Freeze the cookies for up to 3 months. First, let the icing dry fully. Then place the cookies in a single layer or separate layers with parchment paper.
Reheat: For a soft cookie texture, warm a cookie briefly in the microwave for about 5 to 8 seconds. If you prefer, you can also let it sit at room temperature after freezing. A stovetop method is not needed for this recipe, since these are cookies, not a cooked filling or sauce.
Recipe Info
Preparation Time: 45 minutes, plus 1 hour chilling and 2 hours drying
Cooking Time: 10 minutes
Total Time: 3 hours 55 minutes
Level of Difficulty: Easy
Servings: 30 cookies
Estimated Nutrition
Estimated nutrition for the whole recipe (without optional ingredients):
Calories: 5,000 to 5,600
Protein: 35 to 50 g
Fat: 90 to 125 g
Carbohydrates: 900 to 1,050 g
Ingredients
- Cookies:
- 1/2 cup butter, softened
- 1 cup granulated sugar
- 1 large egg
- 2 to 3 tablespoons milk
- 1 1/2 teaspoons clear vanilla extract
- 2 cups all-purpose flour (plus up to 1/2 cup more if the dough is sticky)
- 2 teaspoons baking powder
- 1/4 teaspoon salt
- Royal icing:
- 4 cups powdered sugar
- 3 tablespoons meringue powder
- 5 to 7 tablespoons warm water
- Decorations:
- 30 large marshmallows
- Orange and black gel food coloring
- Assorted candies for buttons
- Licorice, for scarves
- Sprinkles (optional)
Step-by-Step Instructions
Step 1: Make the Cookie Dough
Beat the butter, sugar, egg, milk, and vanilla together in a medium bowl. Then add the flour, baking powder, and salt, and mix until the dough is smooth. If it feels very sticky, add a little extra flour.
Step 2: Chill and Prep the Dough
Divide the dough in two parts, wrap each one, and chill for about 1 hour until firm. Meanwhile, heat the oven to 375°F so it is ready when the dough is easy to roll.
Step 3: Roll and Cut the Cookies
Let the chilled dough sit for a few minutes so it rolls easily. Then roll it to 1/4 inch thick on a floured surface and cut circles with a 2 1/2-inch round cutter. Re-roll the scraps, and place the cookies about 2 inches apart on ungreased baking sheets.
Step 4: Bake and Cool
Bake the cookies for 7 to 10 minutes, and start checking at 5 minutes. The edges should look lightly golden. After baking, let the cookies cool completely on racks so the icing will set properly.
Step 5: Make the Royal Icing and Decorate
Sift the powdered sugar and meringue powder into a clean, grease-free bowl. Add 5 tablespoons of warm water and beat on high for about 10 minutes until the icing is thick but still slowly spreadable. If needed, add a few drops of water. Spoon the icing onto the center of each cookie and spread it outward so it looks like a melted snow puddle. Press a marshmallow into the wet icing for the head, add candy buttons right away, and let the icing dry for about 2 hours. Then tint a little icing black for eyes and arms, tint some orange for the nose, and finish with licorice scarves and sprinkles if you like.
Conclusion
This Melted Snowman Cookie with Marshmallow Head is a fun, festive recipe that brings together simple ingredients, easy decorating, and a cheerful winter look. The cookies are soft and sweet, the royal icing gives that melted snow effect, and the marshmallow head makes each one extra cute. Since the recipe makes 30 cookies, it is great for sharing with family, neighbors, or a holiday crowd. If you try this Melted Snowman Cookie with Marshmallow Head, I would love to hear how it turned out. You can also explore more cozy cookie recipes and winter desserts for your next baking day.
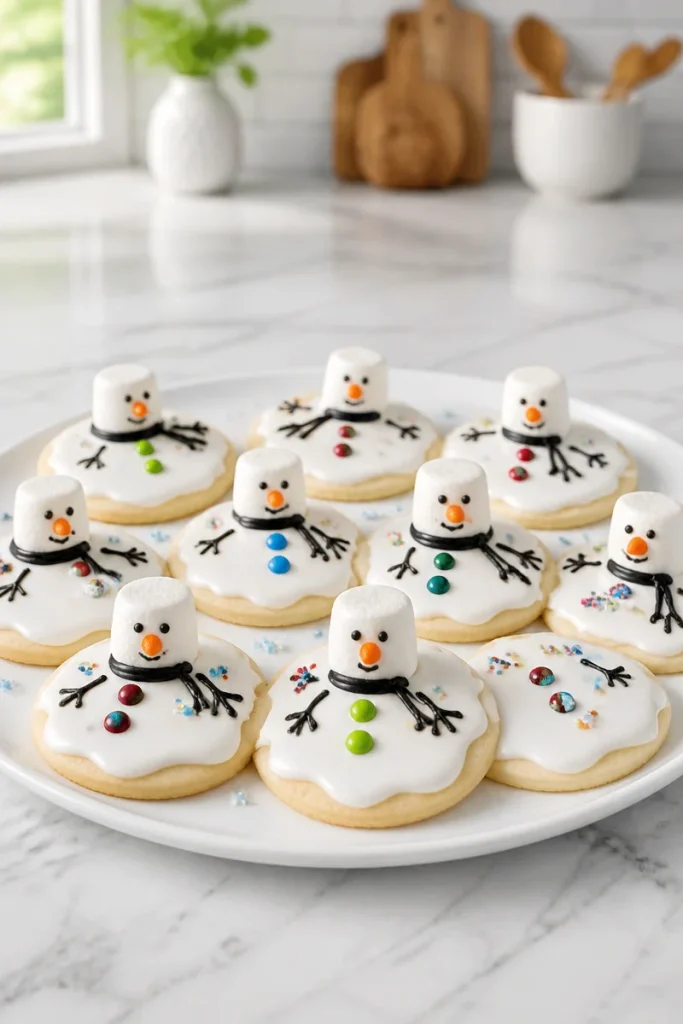
Melted Snowman Cookie with Marshmallow Head
Ingredients
Method
- Beat the butter, sugar, egg, milk, and vanilla together in a medium bowl.
- Add the flour, baking powder, and salt, and mix until the dough is smooth. If it feels very sticky, add a little extra flour.
- Divide the dough in two parts, wrap each one, and chill for about 1 hour until firm.
- Meanwhile, heat the oven to 375°F so it is ready when the dough is easy to roll.
- Let the chilled dough sit for a few minutes so it rolls easily.
- Roll it to 1/4 inch thick on a floured surface and cut circles with a 2 1/2-inch round cutter.
- Re-roll the scraps, and place the cookies about 2 inches apart on ungreased baking sheets.
- Bake the cookies for 7 to 10 minutes, starting to check at 5 minutes. The edges should look lightly golden.
- Let the cookies cool completely on racks so the icing will set properly.
- Sift the powdered sugar and meringue powder into a clean, grease-free bowl.
- Add 5 tablespoons of warm water and beat on high for about 10 minutes until the icing is thick but still slowly spreadable. If needed, add a few drops of water.
- Spoon the icing onto the center of each cookie and spread it outward to resemble a melted snow puddle.
- Press a marshmallow into the wet icing for the head, add candy buttons immediately, and let the icing dry for about 2 hours.
- Tint a little icing black for eyes and arms, tint some orange for the nose, and finish with licorice scarves and sprinkles if desired.
