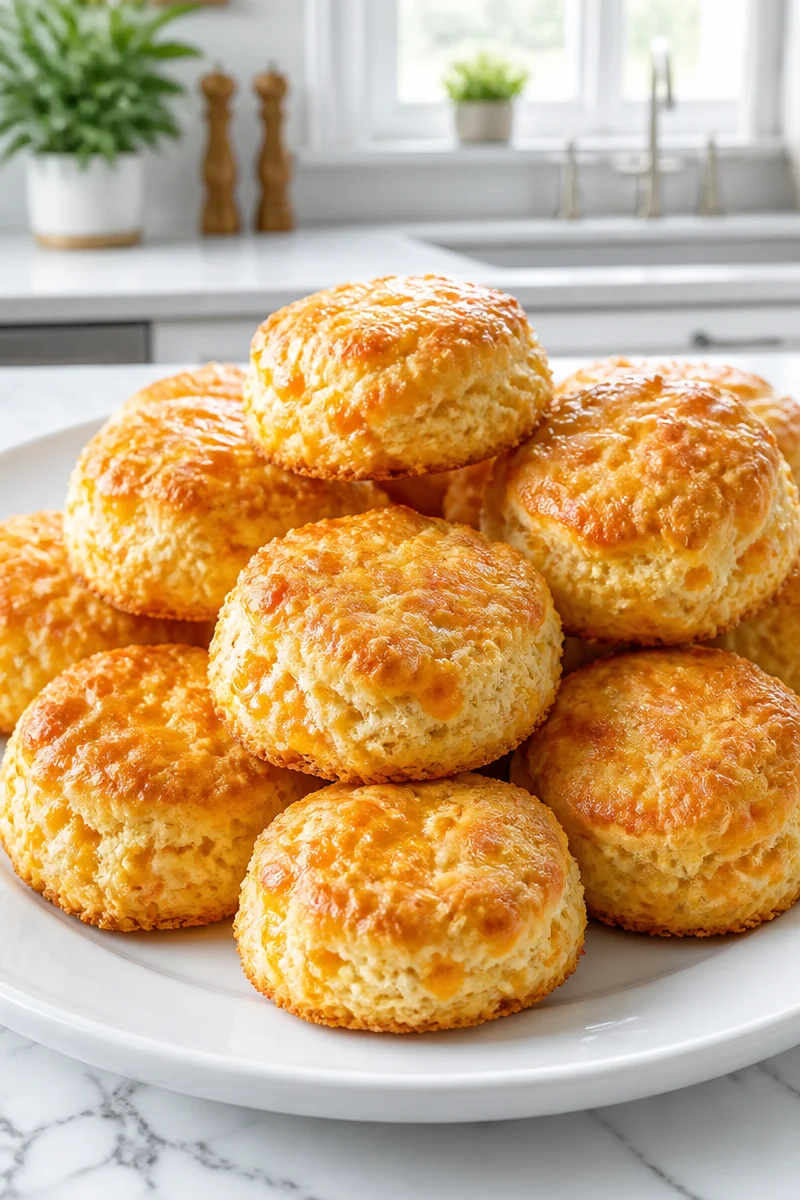
Warm, buttery, and full of sharp cheddar flavor, these biscuits are pure comfort in every bite. I love how they bring that old-fashioned, homemade feeling to the table without asking for much time or effort. In fact, Cheesy Cheddar Biscuits with Buttery Tops are the kind of recipe that makes an ordinary meal feel special.
What makes them shine is the simple mix of self-rising flour, kosher salt, cold butter, buttermilk, and plenty of grated cheddar cheese. Then, after baking, a brush of melted butter gives the tops a rich finish, while a little shortening, butter, or bacon fat on the baking sheet adds extra flavor and helps the bottoms brown nicely. As a result, the biscuits taste savory, tender, and a little crisp on the edges.
The method is easy, too. You cut the butter into the flour, stir in the buttermilk, fold in the cheese, shape the dough, and bake the biscuits in a hot oven at 475°F. Because the whole recipe takes just 22 minutes, it is a fast way to make a fresh homemade side without stress. Plus, the process is simple enough for newer bakers and still satisfying for experienced home cooks.
These Cheesy Cheddar Biscuits with Buttery Tops are perfect for chilly nights, family dinners, and busy weekends when you want something warm on the table fast. They also fit right in at potlucks, holiday meals, soup suppers, or even a relaxed Sunday breakfast. Since they are soft, cheesy, and full of buttery flavor, they tend to disappear quickly.
Why You’ll Love This Cheesy Cheddar Biscuits with Buttery Tops
- Quick to make: You can go from mixing bowl to table in about 22 minutes.
- Simple ingredients: Most of the items are pantry and fridge basics, so there is no long shopping list.
- Big comfort-food flavor: The cheddar gives each biscuit a savory, rich taste, while the butter adds warmth.
- Great texture: The biscuits are tender inside, lightly browned outside, and especially nice when served warm.
- Fits many meals: They work well for breakfast, lunch, dinner, snacks, and holiday spreads.
Self-Rising Flour Tips
In this recipe, the main base ingredient is self-rising flour, and that means quality matters. Look for flour that is fresh and not packed down too tightly. Since self-rising flour already includes leavening and salt, measure it carefully by spooning it into the cup and leveling it off. This helps keep the biscuits light instead of heavy. Also, if your flour has been in the pantry a long time, check the date before baking. Fresh flour gives better rise, and that matters with a recipe like these biscuits, where the texture should be soft, not dense.
Options for Substitutions
- Use all-purpose flour plus baking powder and salt if you do not have self-rising flour. However, measure carefully so the biscuits rise well.
- Swap buttermilk for regular milk mixed with a little lemon juice or vinegar. Then let it sit for a few minutes before using.
- Use sharp white cheddar instead of yellow cheddar for a slightly stronger flavor and a cleaner look.
- Try Monterey Jack, Colby, or a cheese blend if you want a milder biscuit.
- Replace shortening with butter or bacon fat for a different flavor in the baking pan.
- Brush the tops with garlic butter or herb butter instead of plain melted butter for extra flavor.
Watch Out for These Mistakes
One common mistake is overmixing the dough. Once you add the buttermilk, stir only until the mixture comes together. If you work it too much, the biscuits can turn tough instead of tender. So, keep the mixing gentle and stop as soon as the dough looks combined.
Another issue is using warm butter. For best results, the butter should stay cold until it goes into the flour. Cold butter helps create little pockets of steam in the oven, and that gives the biscuits a better rise. If the butter softens too much, the dough may spread instead of lifting up.
Also, do not skip the hot baking sheet step. Heating the shortening in the pan first helps the biscuit bottoms start sizzling right away, which adds color and flavor. If the pan is not hot, the biscuits may bake, but they will miss that nice browned bottom.
Finally, watch the baking time closely. These biscuits bake fast at 475°F, so a few extra minutes can change the texture. Pull them out when they are risen and lightly browned. Then brush on the butter right away so the tops soak up that rich finish.
What to Serve With Cheesy Cheddar Biscuits with Buttery Tops?
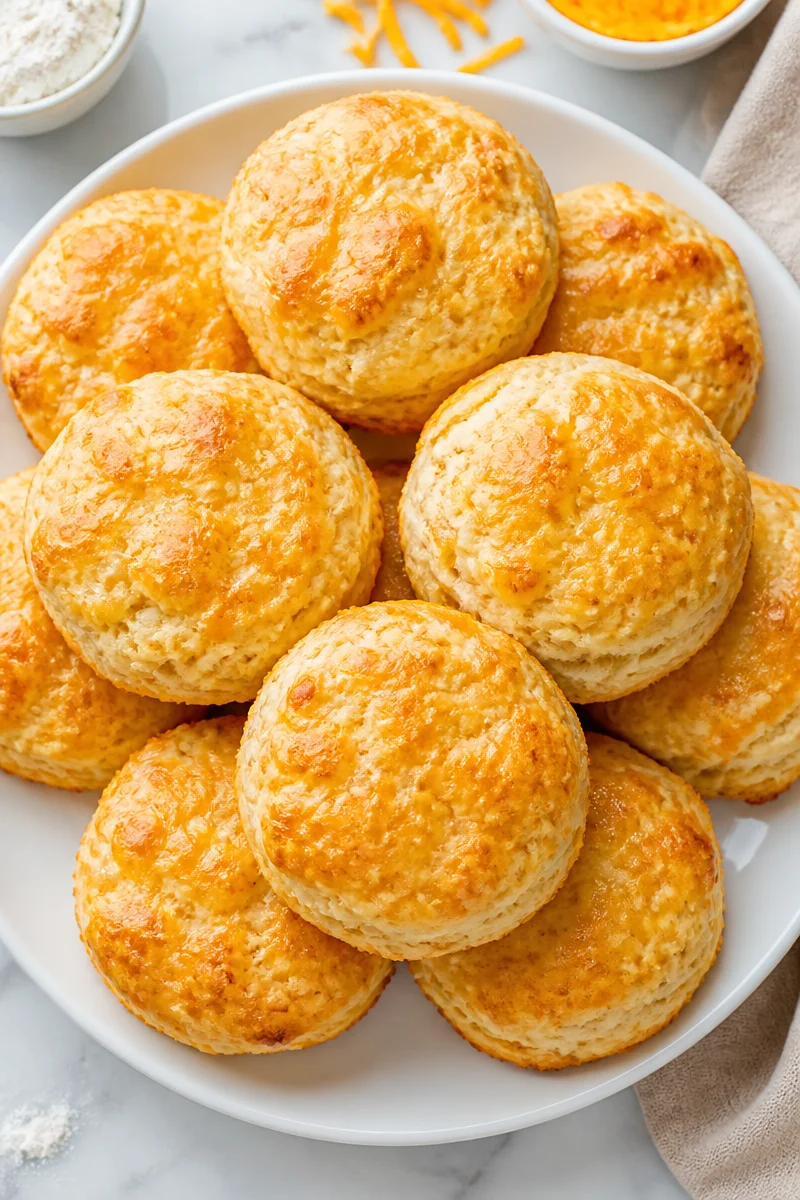
These biscuits pair beautifully with a bowl of soup, a plate of scrambled eggs, or a simple salad. They are also lovely beside chili, roast chicken, or ham, since the cheesy flavor adds comfort to almost any meal. If you want a cozy spread, serve them with tomato soup, creamy potato soup, or even eggs and fruit for breakfast. Because they are warm and savory, they work with both light and hearty dishes.
Storage Instructions
Store: Keep leftover biscuits in an airtight container in the fridge for up to 3 days.
Freeze: Freeze cooled biscuits in a freezer-safe bag or container for up to 2 months. For best results, wrap them well so they do not dry out.
Reheat: To reheat on the stovetop, warm them in a covered skillet over low heat for a few minutes until heated through. For the microwave, heat one biscuit at a time for about 15 to 25 seconds, depending on your microwave. If you want a softer crust, cover the biscuit with a damp paper towel.
Recipe Info
Preparation Time: 10 minutes
Cooking Time: 12 minutes
Total Time: 22 minutes
Level of Difficulty: Easy
Servings: 12 servings
Kcal: 201 kcal per serving
Estimated Nutrition
Estimated nutrition for the whole recipe (without optional ingredients):
Calories: 2,200 to 2,500
Protein: 55 to 70 g
Fat: 110 to 140 g
Carbohydrates: 180 to 220 g
Ingredients
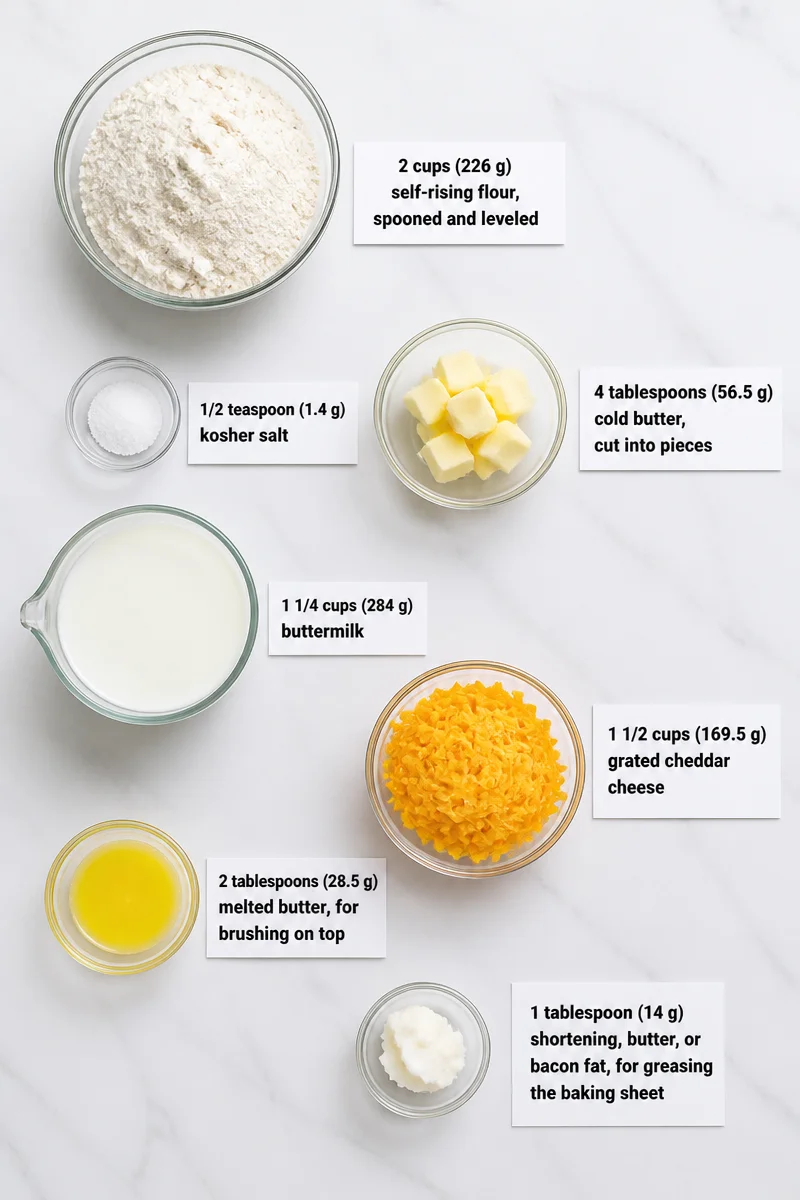
- 2 cups (226 g) self-rising flour, spooned and leveled
- 1/2 teaspoon (1.4 g) kosher salt
- 4 tablespoons (56.5 g) cold butter, cut into pieces
- 1 1/4 cups (284 g) buttermilk
- 1 1/2 cups (169.5 g) grated cheddar cheese
- 2 tablespoons (28.5 g) melted butter, for brushing on top
- 1 tablespoon (14 g) shortening, butter, or bacon fat, for greasing the baking sheet
Step-by-Step Instructions
Step 1: Heat the Oven and Prepare the Pan
Start by heating your oven to 475°F. While the oven warms, place the shortening on a baking sheet. Then put the pan in the oven for 2 to 3 minutes so the fat melts. Take the pan out carefully and tilt it so the bottom is coated evenly.
Step 2: Cut in the Butter
In a mixing bowl, combine the self-rising flour and kosher salt. Next, add the cold butter pieces. Use a pastry blender or fork to cut the butter into the flour until the mixture looks crumbly. This step helps create a tender biscuit texture.
Step 3: Add the Buttermilk and Cheese
Slowly stir in the buttermilk until the dough is just combined. After that, fold in the grated cheddar cheese. Be gentle here, because overmixing can make the biscuits dense. The dough should look shaggy but workable.
Step 4: Shape and Cut the Biscuits
Turn the dough onto a lightly floured surface. Pat it into a round about 1/2 inch thick. Then use a sharp metal cutter or glass cutter to cut out the biscuits. Try to press straight down without twisting, since twisting can keep them from rising as well.
Step 5: Bake Until Lightly Browned
Set the biscuits into the hot fat on the baking sheet. You should hear a little sizzle, and that is a good sign. Bake them for about 10 to 12 minutes, or until they are risen and lightly browned on top.
Step 6: Finish With Butter and Serve
Brush the tops with melted butter as soon as they come out of the oven. Then serve the biscuits warm for the best flavor and texture. They are especially good right after baking, while the cheese is still soft and the tops are glossy.
Conclusion
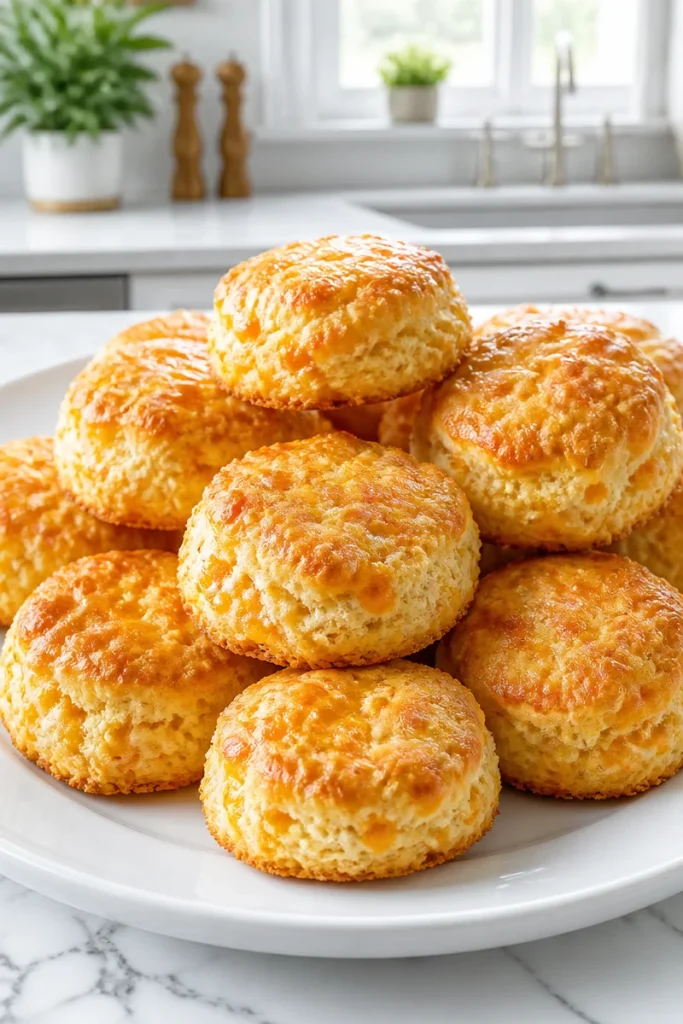
These Cheesy Cheddar Biscuits with Buttery Tops are quick, comforting, and full of rich homemade flavor. With simple ingredients, a short bake time, and a tender cheesy crumb, they are a dependable recipe for almost any day of the week. Plus, the buttery tops and lightly crisp bottoms make them feel a little extra special.
If you try this recipe, I would love for you to make it your own. Share how you served the biscuits, leave a note about your results, or explore more easy comfort food recipes for your next meal.
Cheesy Cheddar Biscuits with Buttery Tops
Ingredients
Method
- Preheat your oven to 475°F. While the oven warms, place shortening on a baking sheet and melt in the oven for 2 to 3 minutes.
- In a bowl, combine self-rising flour and kosher salt. Cut cold butter into the mixture until crumbly.
- Stir in buttermilk until just combined, then fold in grated cheddar cheese gently.
- Turn dough onto a floured surface, pat into a round about 1/2 inch thick and cut out biscuits.
- Place biscuits in the hot fat on the baking sheet and bake for 10 to 12 minutes until risen and lightly browned.
- Brush tops with melted butter immediately after baking and serve warm.
