Who doesn’t love a warm, comforting bite of pizza? Crispy Mummy Mini Pita Pizzas are the perfect blend of fun and flavor. These charming little pizzas will not only delight your taste buds but also capture the hearts of family and friends. They are wonderfully simple to prepare, making them a great choice for both novice cooks and seasoned enthusiasts alike. Even better, they fit seamlessly into busy weeknights or relaxed weekends spent with loved ones.
At the heart of these delicious bites is a delightful combination of mini pita breads, tangy pizza sauce, and gooey mozzarella cheese. To add character, we finish them off with slices of black olives and pepperoni to create the classic mummy face that appeals to kids and adults alike. A drizzle of olive oil contributes to that desired crispness, while a sprinkle of oregano elevates the flavor. The outcome is a fun, crispy, and cheesy delicacy that will leave everyone asking for seconds.
Now, let’s dive into how you can create these delightful pizzas with just a few easy steps. Start by preheating your oven, as everything can come together quite quickly. It’s simply about laying out the pita bread, adding the toppings, and allowing the oven to do the work. In under 15 minutes, you can emerge from the kitchen with a mouthwatering treat that’s sure to impress.
Picture this scene: It’s a chilly night, and you’re cozying up with loved ones. A platter of these crispy mummy pitas is perfect for sharing and kicking off conversations. Whether it’s Halloween, a gathering, or simply a movie night at home, these mini pizzas make every occasion just a bit more special.
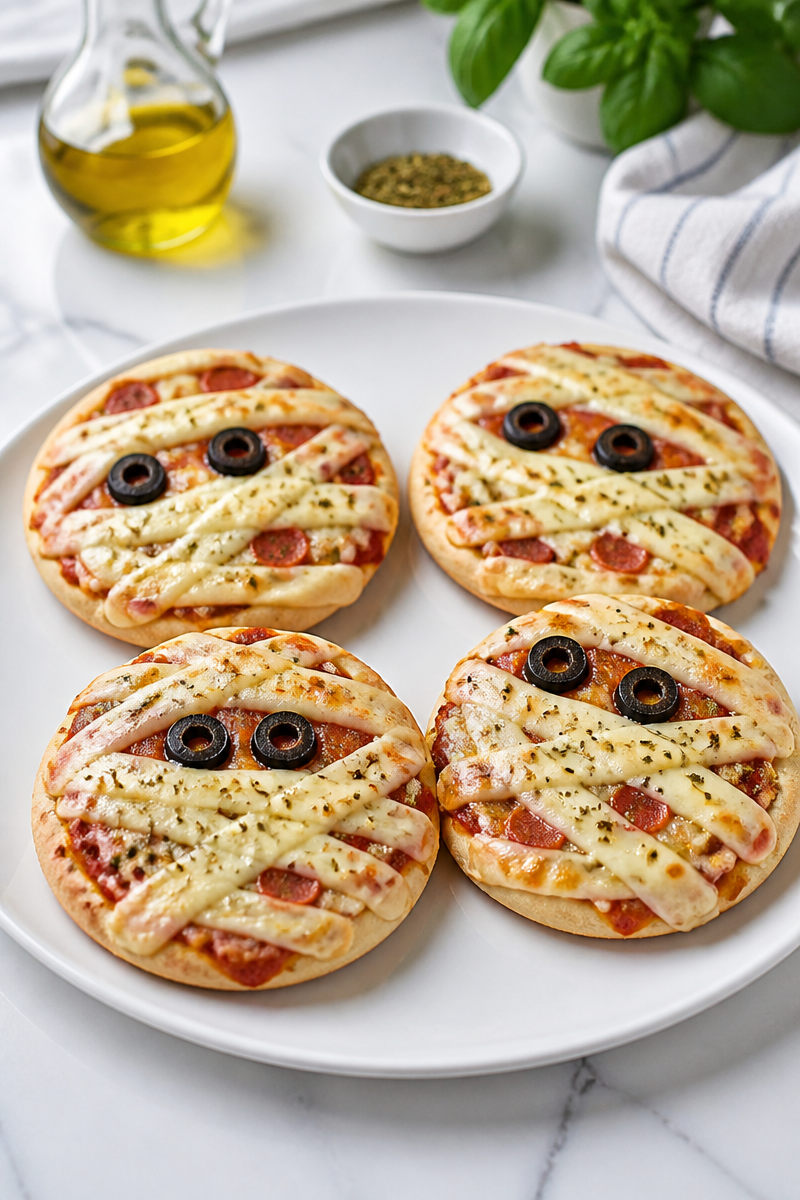
Why You’ll Love This Crispy Mummy Mini Pita Pizza
- Quick and Easy: This recipe comes together in no time, allowing even the busiest cooks to whip it up.
- Fun and Festive: The mummy theme makes these pizzas a hit, especially with kids during Halloween or any family gathering.
- Simple Ingredients: You likely have most of the ingredients on hand, making it easy to get started right away.
- Customizable: Everyone has personal preferences, and you can easily adjust toppings to suit different tastes.
- Comfort Food: Who can resist the goodness of gooey cheese and savory toppings on a crispy base? It’s pure comfort.
Mozzarella Cheese Tips
Mozzarella cheese is the star of this dish, providing that creamy, melty texture we all crave on a pizza. When choosing mozzarella, opt for fresh or part-skim varieties. Fresh mozzarella will give you a beautifully stretchy texture, perfect for melting. Look for mozzarella that is soft and moist, but not overly watery, which can affect the final dish. If you’re using pre-shredded mozzarella, be aware that it often contains anti-caking agents that can affect how it melts. In both cases, make sure to use a generous amount for those delightful, cheesy bites.
Options for Substitutions
- Mini Pita Breads: You can use naan or tortilla wraps for a different twist.
- Pizza Sauce: Marinara, pesto, or even a creamy garlic sauce can be great alternatives.
- Mozzarella Cheese: Cheddar or a dairy-free cheese can be used for different flavor profiles.
- Black Olives: Try green olives or omit them entirely if you prefer.
- Pepperoni: Turkey pepperoni or slices of salami are excellent substitutes for a lighter option.
- Oregano: Italian seasoning or fresh basil can add a nice herbal touch.
Watch Out for These Mistakes
One common mistake is not preheating the oven adequately. You want your pizza to start baking immediately to achieve that crispiness. If your oven isn’t hot enough, the pizzas can end up soggy. Additionally, be cautious not to overload your mini pitas with too many toppings. While it may be tempting, too much cheese and toppings can result in a messy pizza. Instead, stick to a thin layer of pizza sauce and a light sprinkle of toppings. Lastly, keep an eye on the baking time. Overcooking can lead to burnt edges, whereas undercooking might leave the cheese gooey instead of bubbly.
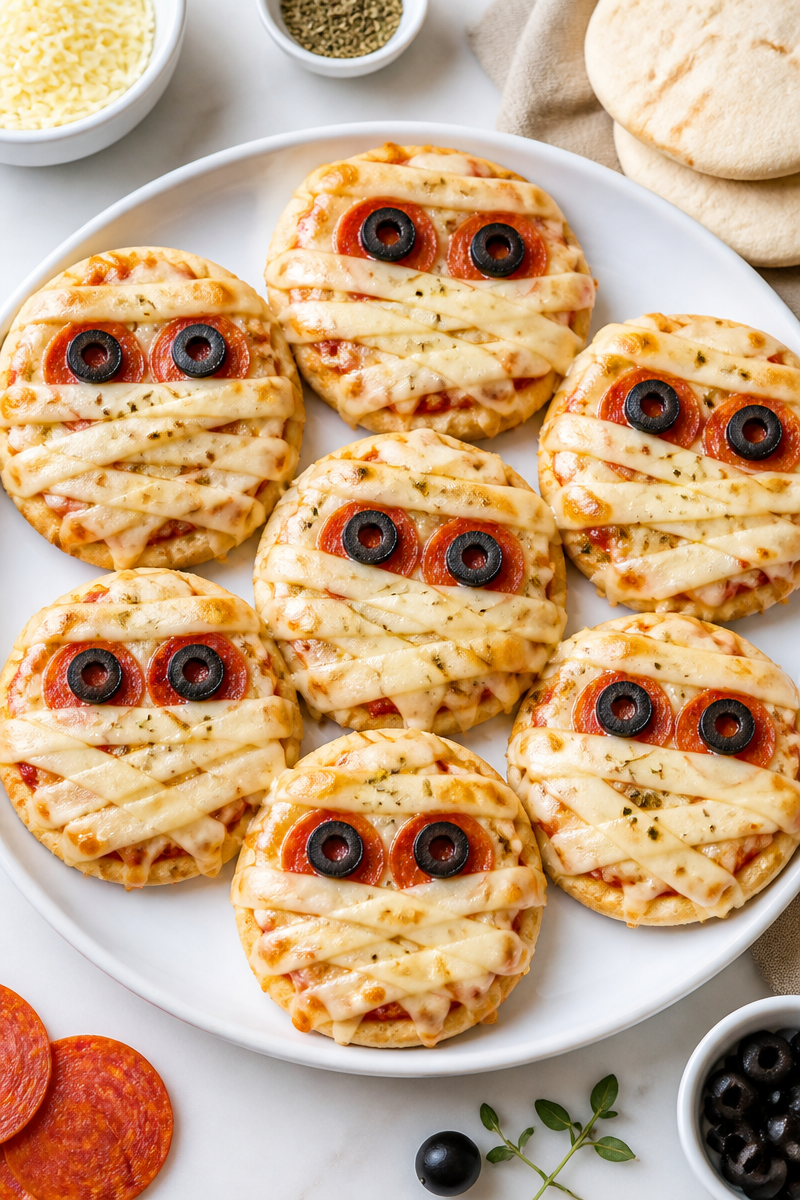
What to Serve With Crispy Mummy Mini Pita Pizza?
To round out the meal, consider serving a fresh garden salad to balance the richness of the cheese. A warm bowl of vegetable soup pairs beautifully as well, maintaining the comforting theme. For a snack, crispy carrot sticks or celery with ranch dressing can be a delightful crunch alongside these mini pizzas.
Storage Instructions
Store: If you have leftovers, keep them in an airtight container in the refrigerator for up to 3 days.
Freeze: You can freeze these mini pizzas for up to 2 months. Just make sure to wrap them well to prevent freezer burn.
Reheat: For the stovetop, warm them in a non-stick skillet over medium heat until heated through. If using a microwave, cover with a damp paper towel and heat for about 30 seconds or until warm.
Recipe Info
Preparation Time: 5 minutes
Cooking Time: 10-12 minutes
Total Time: 15-17 minutes
Level of Difficulty: Easy
Servings: Makes about 6 mini pizzas
Estimated Nutrition
Estimated nutrition for the whole recipe (without optional ingredients):
Calories: 600-700
Protein: 30-40g
Fat: 30-40g
Carbohydrates: 60-80g
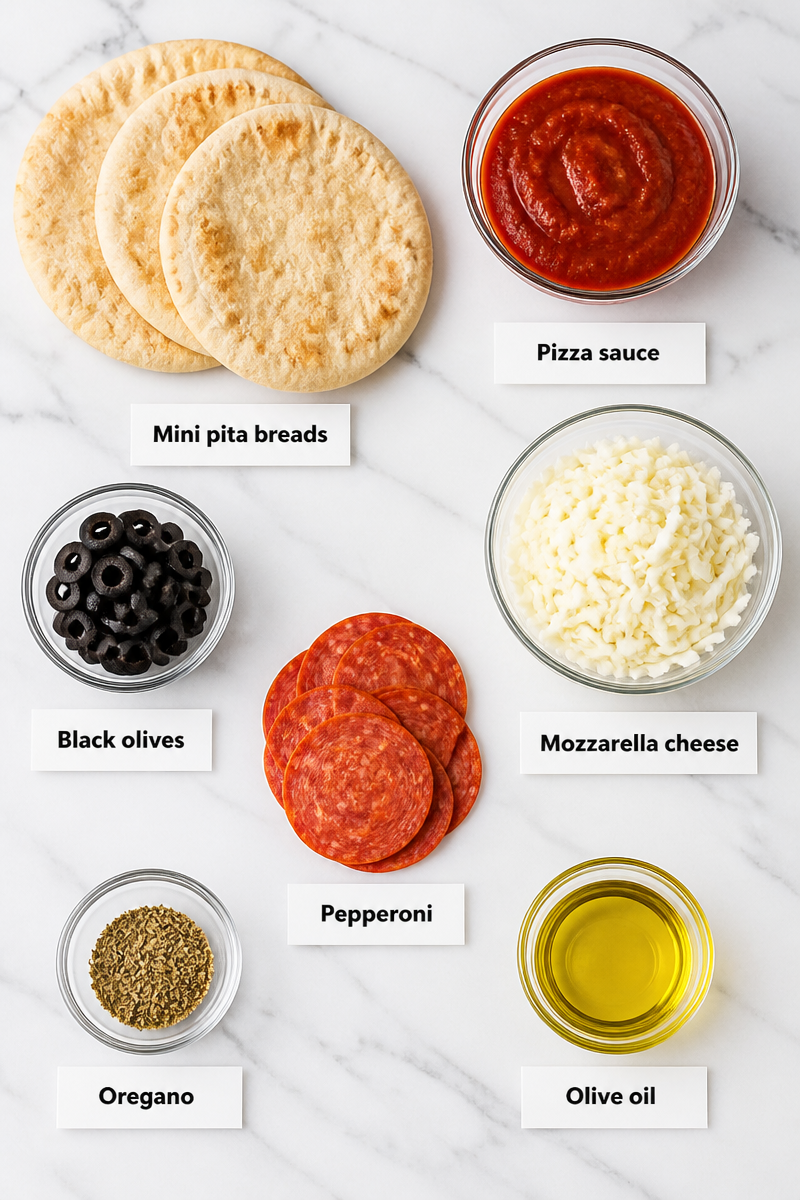
Ingredients
- Mini pita breads
- Pizza sauce
- Mozzarella cheese
- Black olives
- Pepperoni
- Oregano
- Olive oil
Step-by-Step Instructions
Step 1: Preheat Oven and Prep Pan
Start by preheating your oven to 400°F (200°C). While the oven heats up, grab a baking sheet and arrange your mini pita breads on it, making sure to leave space between each one.
Step 2: Spread Pizza Sauce
Take your pizza sauce and spread a thin layer over each mini pita bread. Make sure to cover the pita evenly for a balanced flavor in every bite.
Step 3: Add Mozzarella Cheese
Generously sprinkle mozzarella cheese over the sauce. The more cheese, the better! This will ensure a gooey, cheesy layer on each pizza.
Step 4: Create Mummy Faces
Using black olives and pepperoni, decorate your mini pizzas to create fun mummy faces. Be creative with your arrangements to make them visually appealing.
Step 5: Drizzle with Olive Oil
For added crispiness, drizzle a little olive oil over the top of each pizza. This will help achieve that golden, crispy crust everyone loves.
Step 6: Sprinkle Oregano
Finish your pizzas with a sprinkle of oregano. This will add a lovely herbaceous note that complements the sauce and cheese perfectly.
Step 7: Bake
Place the baking sheet in the preheated oven and bake for about 10-12 minutes. Keep an eye on them until the cheese is bubbly and golden brown.
Step 8: Cool and Serve
Once out of the oven, allow the pizzas to cool slightly before serving. This will help the cheese set a bit, making them easier to eat.
In conclusion, these Crispy Mummy Mini Pita Pizzas are not only a joy to make but also a hit on the table. With their fun appearance and delightful flavors, they’re sure to become a favorite in your home. I invite you to try this recipe, and I would love to hear your thoughts and how you made it your own! Happy cooking!
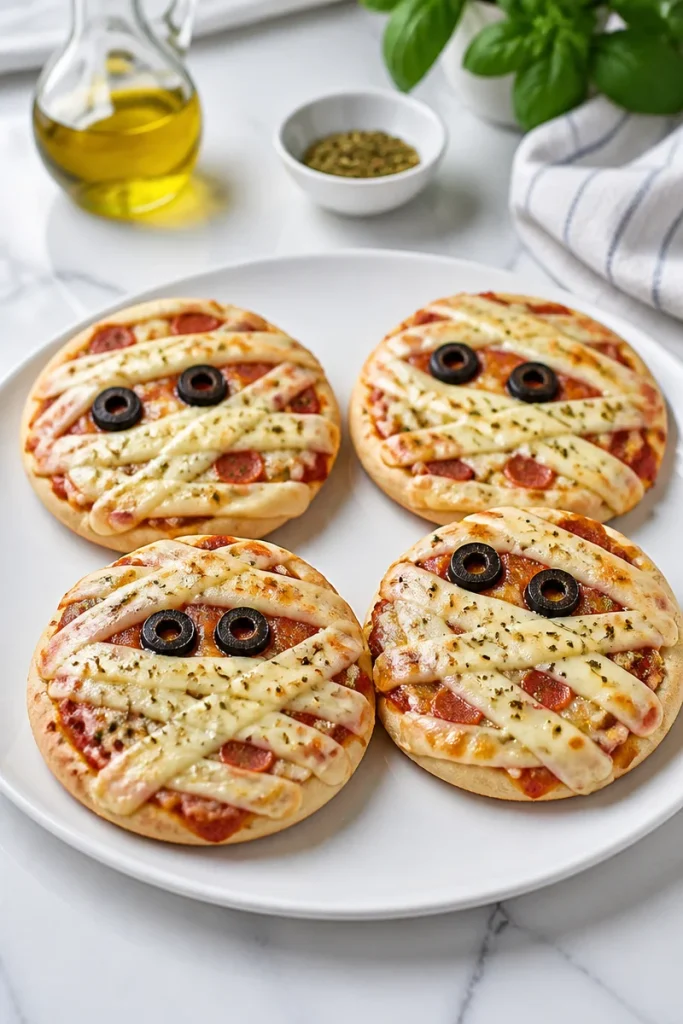
Crispy Mummy Mini Pita Pizzas
Ingredients
Method
- Preheat your oven to 400°F (200°C).
- Arrange mini pita breads on a baking sheet, leaving space between each.
- Spread a thin layer of pizza sauce over each mini pita.
- Sprinkle mozzarella cheese generously over the sauce.
- Decorate with black olives and pepperoni to create mummy faces.
- Drizzle olive oil over each pizza.
- Sprinkle oregano on top.
- Bake in the preheated oven for 10-12 minutes or until cheese is bubbly and golden brown.
- Allow to cool slightly before serving.
