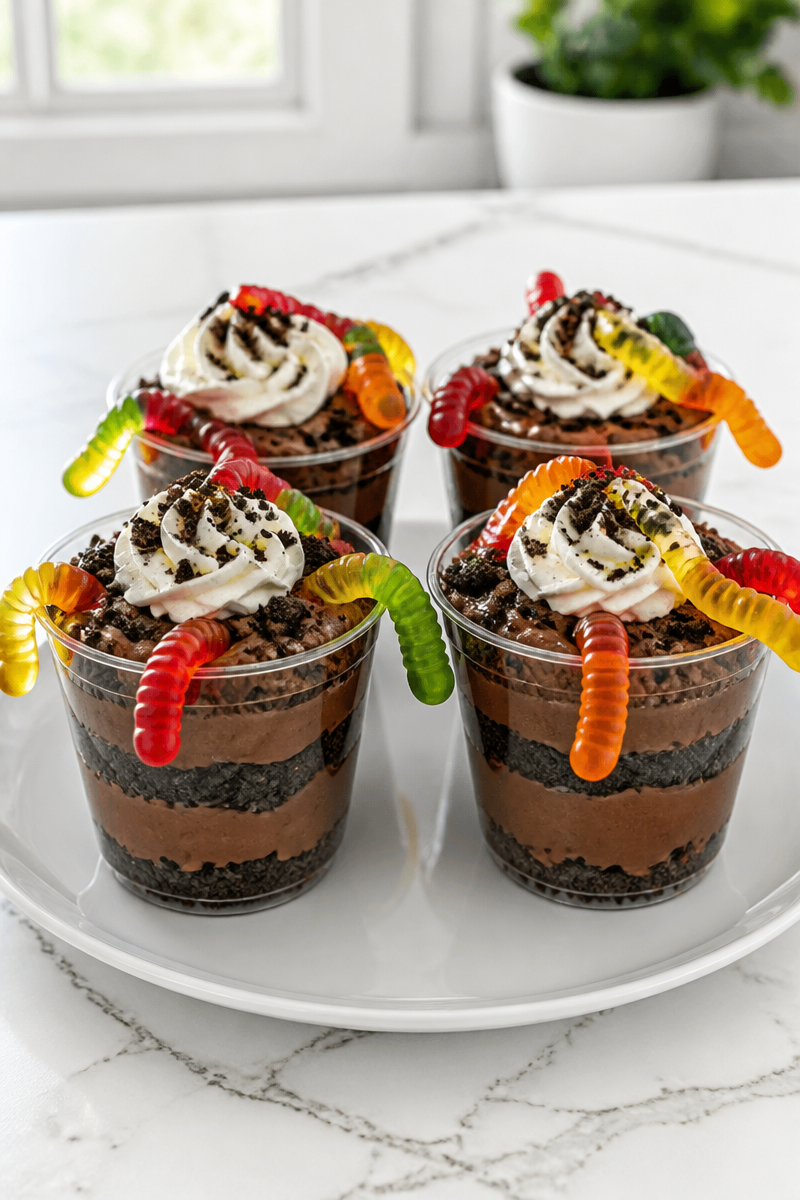
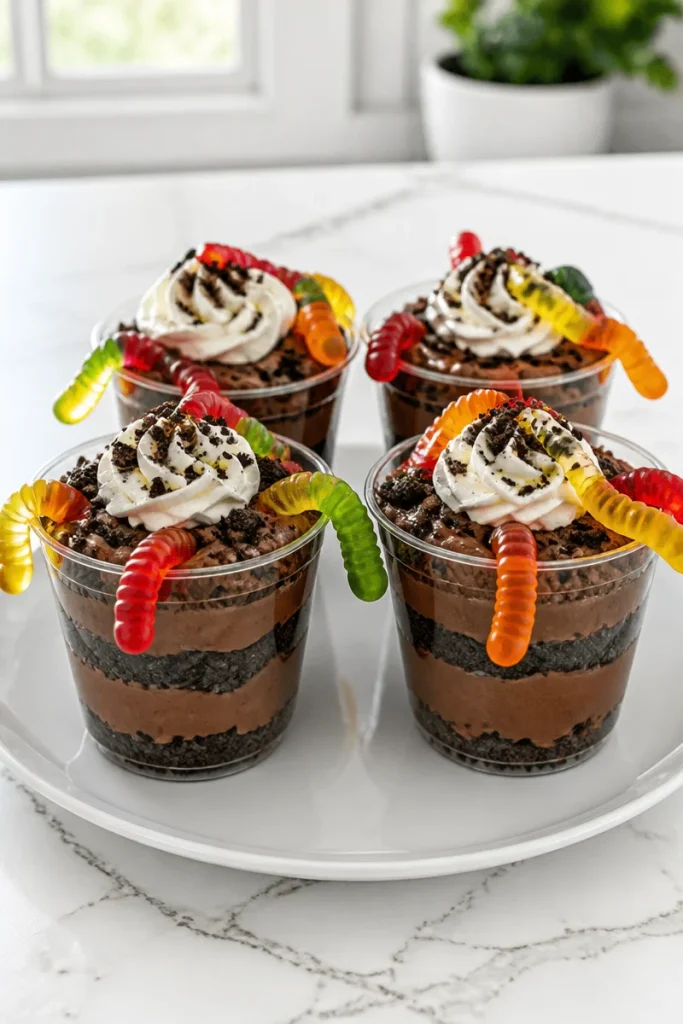
If you are looking for a delightful dessert that brings back childhood memories, the Gummy Worm Chocolate Dirt Cup is pure comfort wrapped in a cup. This fun and tasty treat is a modern twist on the classic dirt cake, making it a perfect choice for all ages. I find these cups to be not only simple to prepare but also a hit during family gatherings. Every spoonful brings joy, reminding us that dessert should be playful and enjoyable.
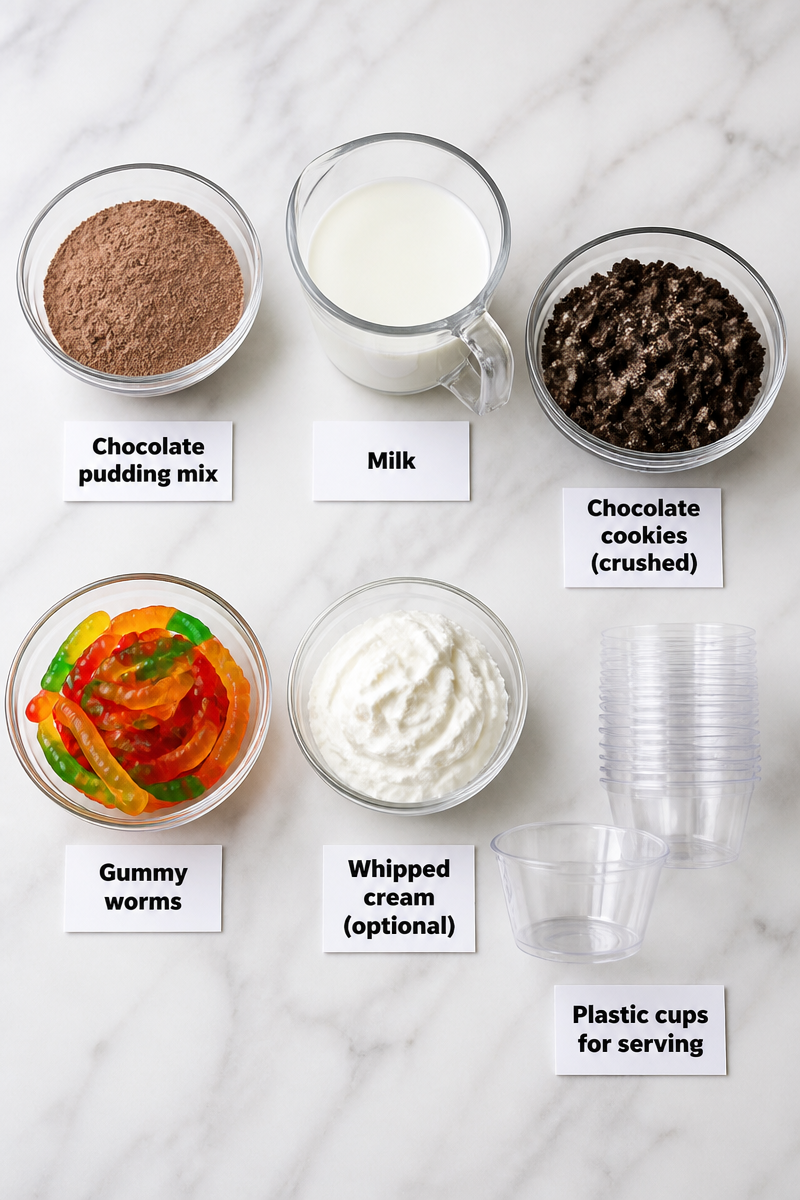
The key ingredients that make this treat so special include chocolate pudding mix, milk, crushed chocolate cookies, gummy worms, optional whipped cream, and plastic cups for serving. The creamy chocolate pudding delivers a rich flavor, while the crushed cookies add a delightful crunch to mimic dirt. The gummy worms, of course, take it to the next level, making this cup not just a dessert but a fun experience reminiscent of childhood.
Making these cups is straightforward; you start by preparing the chocolate pudding according to the package instructions using milk. Then, layer the pudding with crushed chocolate cookies to create the ‘dirt’ look. Continue layering until your cups are filled, add whipped cream if you like, and finish with gummy worms playfully draped over the top. In just a few simple steps, you have a dessert that everyone will love.
These Gummy Worm Chocolate Dirt Cups are perfect for a variety of occasions. Whether it’s a warm summer’s evening, a casual family gathering, or even a fun surprise for a gathering of kids, they bring a smile to everyone’s face. Imagine the delight as you serve these cups up, watching those around you dig in with excitement.
Why You’ll Love This Gummy Worm Chocolate Dirt Cup
- Quick: This dessert is quick to prepare, making it perfect for last-minute gatherings or cravings.
- Simple Ingredients: With just a few everyday ingredients, it’s a no-fuss recipe that’s easy to gather.
- Comfort Food: The rich chocolate and creamy textures deliver a feeling of comfort, perfect for all ages.
- Interactive: Kids and adults alike can enjoy the playful presentation, making it fun to eat.
- Versatile: Perfect for potlucks, parties, or just a cozy night in, it suits any occasion.
Chocolate Pudding Tips
When it comes to choosing the right chocolate pudding mix, opt for a brand that you trust, as quality can greatly influence the dessert’s overall flavor. Some mixes have a richer taste, while others might be a bit lighter. You may also want to check for convenience, as some brands only require water instead of milk, which makes preparation even simpler. Always ensure to follow the package instructions carefully; the right milk-to-mix ratio is essential for achieving that velvety chocolate consistency.
Options for Substitutions
- Pudding Mix: Use vanilla pudding for a different flavor profile.
- Milk: Swap with almond, soy, or oat milk for a dairy-free option.
- Cookies: Consider using graham crackers or Oreos for a unique twist.
- Gummy Worms: Replace with gummy bears or a mix of candy for variety.
- Whipped Cream: Use coconut whipped cream for a lighter, vegan alternative.
- Plastic Cups: Opt for glass cups for a more elegant presentation.
Watch Out for These Mistakes
One common pitfall is not allowing the pudding to thicken properly before layering it in the cups. Ensure that you follow the package instructions carefully, as undercooked pudding can lead to a runny final product. Another mistake is overfilling the cups, which may result in a messy presentation. Leave a little space at the top for the whipped cream and gummy worms.
Also, layering the ingredients too early can make the cookies soggy before they’re served. Make sure to add the gummy worms and whipped cream just before serving for the best texture. Lastly, don’t skip the fun of decorating—the more worms you use, the more playful the dessert will appear.
What to Serve With Gummy Worm Chocolate Dirt Cup?
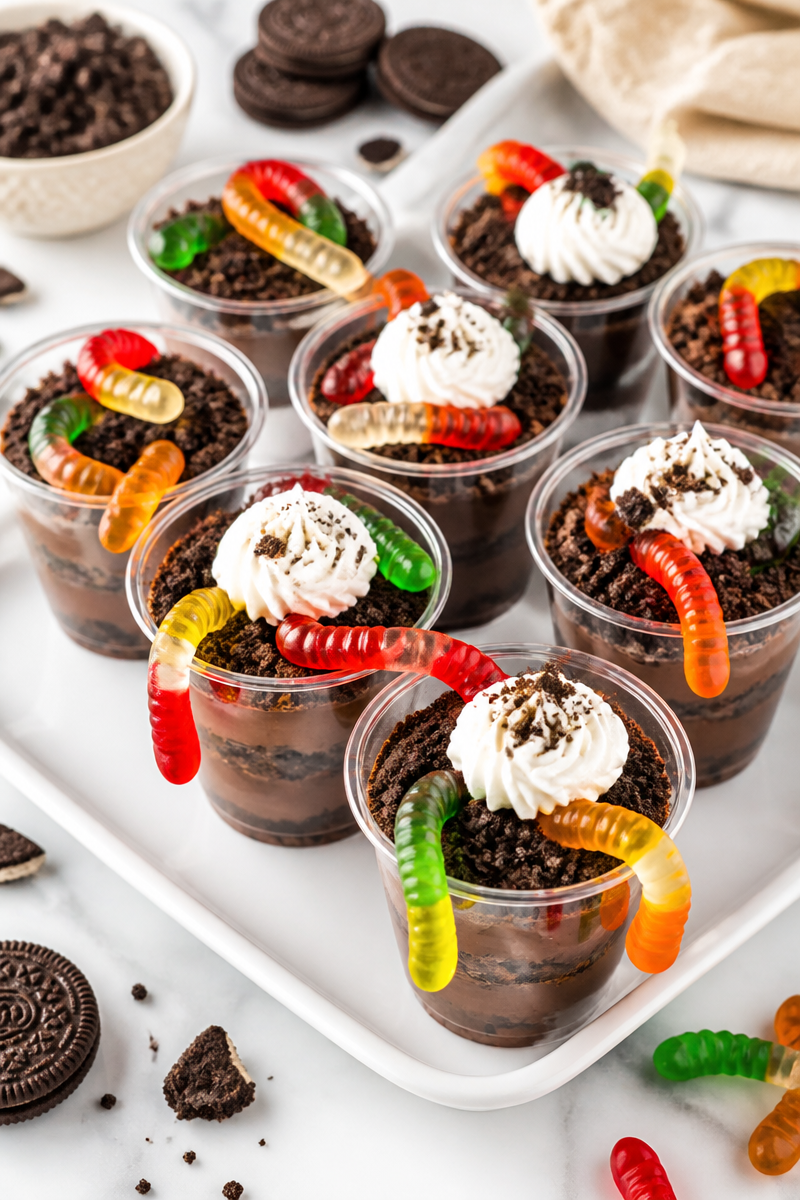
These delightful dessert cups pair wonderfully with a variety of options. A light fruit salad can serve as a refreshing contrast to the sweetness, while mini sandwiches can provide a savory balance to the rich chocolate. For special occasions, consider serving them alongside a scoop of vanilla ice cream for an indulgent treat that’s sure to impress.
Storage Instructions
Store: Keep any leftovers in the refrigerator in an airtight container for up to three days.
Freeze: While not ideal for freezing due to the pudding’s texture, you could freeze the prepared cups for up to one month if you’re in a pinch, but expect some change in texture once thawed.
Reheat: This dessert is best served cold, but if you prefer warmed pudding, you can gently microwave it for a few seconds until just warm—handily stirring frequently to avoid hot spots.
Recipe Info
Preparation Time: 15 minutes
Cooking Time: 5 minutes
Total Time: 20 minutes
Level of Difficulty: Easy
Servings: 4 cups
Estimated Nutrition
Estimated nutrition for the whole recipe (without optional ingredients):
- Calories: 600-800
- Protein: 10-15g
- Fat: 25-35g
- Carbohydrates: 80-100g
Ingredients
- Chocolate pudding mix
- Milk
- Chocolate cookies (crushed)
- Gummy worms
- Whipped cream (optional)
- Plastic cups for serving
Step-by-Step Instructions
Step 1: Prepare the Pudding
Start by preparing the chocolate pudding mix according to the package instructions. Combine it thoroughly with milk in a mixing bowl and whisk until smooth. Allow it to set for a few minutes until it thickens.
Step 2: Layer the Pudding
Take your plastic cups and add a spoonful of the prepared chocolate pudding at the bottom. This base will create a delicious start to your dessert. Make sure to fill each cup evenly.
Step 3: Add the Cookies
Next, sprinkle a layer of crushed chocolate cookies over the pudding in each cup. This step mimics the look of dirt, so feel free to be generous with the cookie layer.
Step 4: Repeat the Layers
Continue layering by adding another spoonful of pudding on top of the cookie layer, followed by more crushed cookies. Keep layers going until the cups are filled to your liking, making sure to finish with a layer of cookie crumbs on top.
Step 5: Top It Off
If desired, add a dollop of whipped cream on top of the final cookie layer. This is optional but adds a creamy finish that many enjoy.
Step 6: Add Gummy Worms
Finally, nestle gummy worms into the whipped cream or let some hang over the edges of the cups for a fun touch. It’s all about the presentation, so feel free to get creative.
In conclusion, these Gummy Worm Chocolate Dirt Cups are not only simple and delicious but also a feast for the eyes. I invite you to give this recipe a try and share your experience in the comments. Explore other fun dessert ideas on my blog for more inspiration. Enjoy your delicious creation!
Gummy Worm Chocolate Dirt Cup
Ingredients
Method
- Prepare the chocolate pudding mix according to the package instructions. Combine it thoroughly with milk in a mixing bowl and whisk until smooth. Allow it to set for a few minutes until it thickens.
- Take your plastic cups and add a spoonful of the prepared chocolate pudding at the bottom.
- Sprinkle a layer of crushed chocolate cookies over the pudding in each cup.
- Continue layering by adding another spoonful of pudding on top of the cookie layer, followed by more crushed cookies until the cups are filled.
- If desired, add a dollop of whipped cream on top of the final cookie layer.
- Nestle gummy worms into the whipped cream or let some hang over the edges of the cups for a fun touch.
