There’s something special about desserts that bring us together around a table. The Graveyard Chocolate Mousse Dessert Cup is more than just a sweet treat; it’s pure comfort that greets you with warmth and nostalgia. This delightful dessert is perfect for family gatherings, Halloween parties, or a fun evening with friends. With rich chocolate mousse layered between crunchy Oreos, it resembles a mini graveyard, making it as playful as it is delicious.
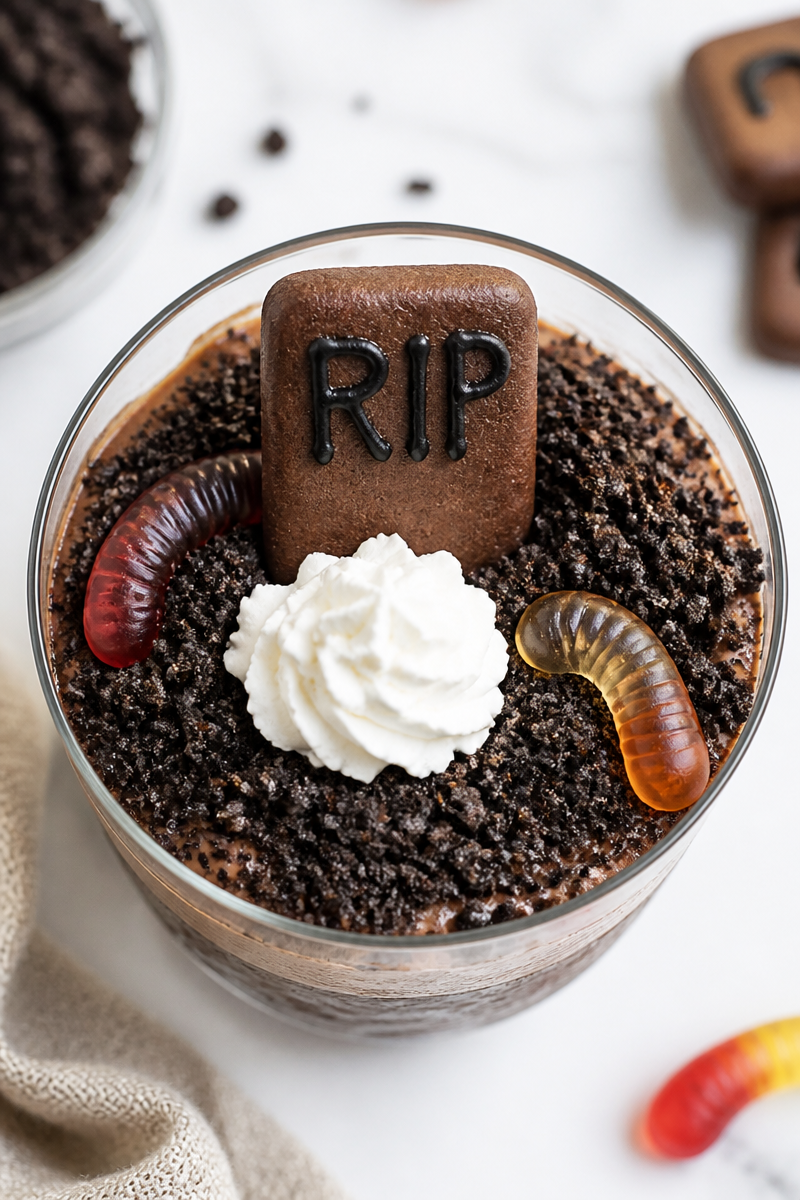
The key components of this recipe include velvety chocolate mousse, whether homemade or store-bought, adding creamy depth to each bite. The crushed Oreo cookies create a lovely crunch, while the rectangular chocolate cookies serve as adorable tombstones decorated with black gel icing. Gummy worms peeking out add a whimsical touch that delights both kids and adults alike. Topped with a dollop of whipped cream, this dessert is not just a feast for the taste buds but also for the eyes.
Making these dessert cups is surprisingly easy, requiring just a few simple steps. First, you layer crushed Oreo cookies in the bottom of clear cups to mimic dirt. Then, spoon in the chocolate mousse, followed by another layer of Oreos. Next, write “RIP” on the cookies to create tombstones. Once placed in the cups, top off with gummy worms and a small dollop of whipped cream. A brief chill in the fridge before serving makes them even more enjoyable.
This dessert is perfect for those chilly nights when you want to indulge in something sweet and comforting. It’s also a fantastic option for potlucks where you want to bring something both fun and delicious. With its playful presentation and rich flavors, it’s sure to be a hit with guests of all ages.
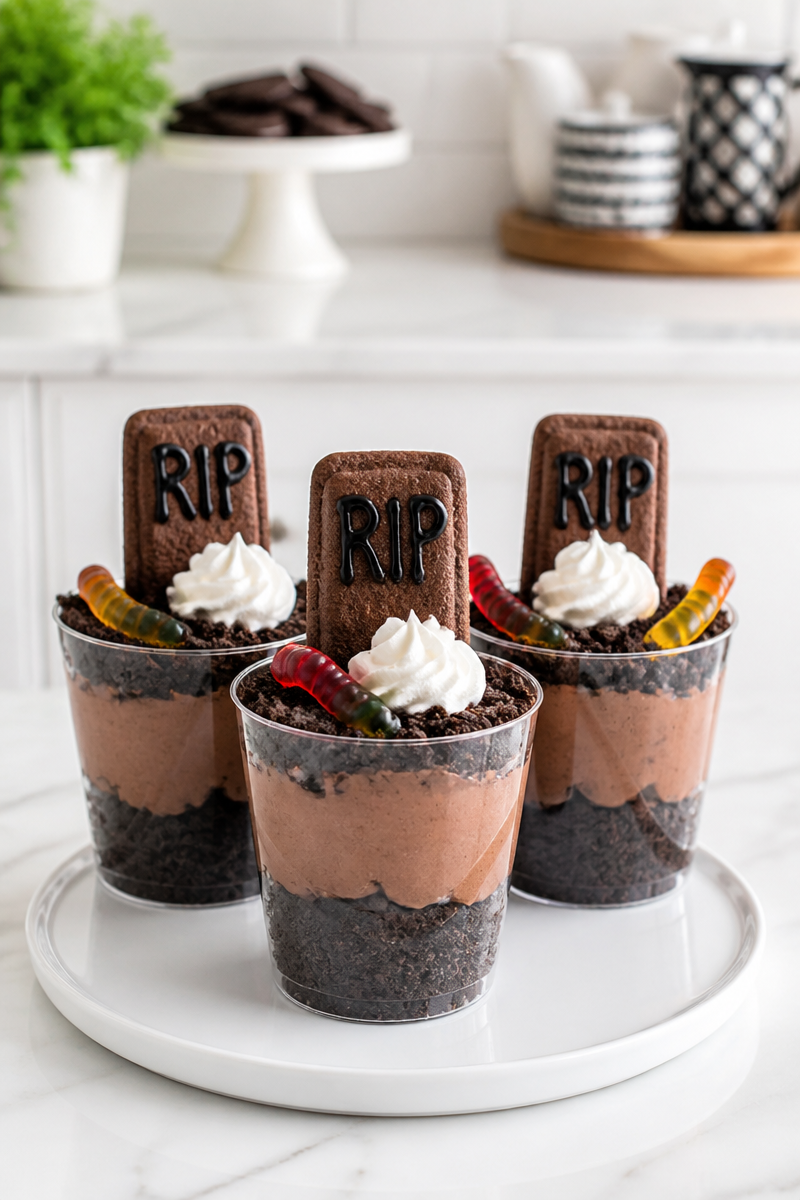
Why You’ll Love This Graveyard Chocolate Mousse Dessert Cup
- Quick and Easy: Simple steps make this dessert a breeze to prepare.
- Fun Presentation: The graveyard theme adds a playful twist to your dessert table.
- Rich Flavor: The combination of chocolate mousse and Oreo cookies is irresistible.
- Customizable: You can mix and match toppings to suit your taste.
- Perfect for Any Occasion: Whether it’s Halloween or a casual family dinner, these dessert cups fit right in.
Chocolate Mousse Tips
Selecting chocolate mousse is crucial for ensuring your dessert turns out well. If you’re going for store-bought mousse, check the label for quality ingredients. A mousse with real chocolate and minimal additives often results in a richer flavor. If you prefer making it from scratch, aim for ingredients that are fresh and high-quality—good chocolate is key. Remember, the mousse should be light and fluffy yet decadent, so it melts in your mouth and provides a lovely contrast to the crunchy Oreo layers.
Options for Substitutions
- Use vanilla pudding instead of chocolate mousse for a lighter, creamy layer.
- Substitute gummy worms with other candies, like jelly beans or chocolate-covered raisins.
- Opt for gluten-free Oreo cookies if you need a gluten-free version.
- Replace regular whipped cream with coconut whipped cream for a dairy-free option.
- Use store-bought cookie crumbs if you prefer not to crush cookies yourself.
- If black gel icing isn’t available, consider using white chocolate melted and dyed with food coloring.
Watch Out for These Mistakes
One common mistake when preparing this dessert is not adequately crushing the Oreo cookies. For the best results, ensure they are fine enough to resemble dirt, but not so fine that they become powdery. Another pitfall is overfilling the cups with mousse. Leave some space at the top to add the toppings without spilling. If the tombstone cookies are not set properly before inserting them into the mousse, they may fall over. Finally, be mindful of chilling time; a dessert that’s not chilled long enough may not hold its shape when served.
What to Serve With Graveyard Chocolate Mousse Dessert Cup?
This Graveyard Chocolate Mousse Dessert Cup pairs wonderfully with a variety of light, refreshing side dishes. Consider serving it alongside a simple spinach salad drizzled with balsamic vinaigrette. A warm apple cider can add the perfect seasonal touch, while buttery dinner rolls provide comfort. For those looking for something sweet, a fruit platter with seasonal fruits can complement the rich flavors of the dessert.
Storage Instructions
Store: You can keep these dessert cups in the fridge for up to 3 days. Make sure they are covered to maintain freshness.
Freeze: Although not ideal, you can freeze the dessert for up to 2 months. To do this, layer the mousse and cookies, but omit the whipped cream and gummy worms, adding those fresh later.
Reheat: If you have any leftovers, you won’t need to reheat these as they’re best served chilled. Just take them out of the fridge and serve.
Recipe Info
- Preparation Time: 20 minutes
- Cooking Time: None (chilling only)
- Total Time: 20 minutes plus chilling
- Level of Difficulty: Easy
- Servings: Approximately 6 cups
Estimated Nutrition
Estimated nutrition for the whole recipe (without optional ingredients):
- Calories: 1,200 – 1,500
- Protein: 18 – 24 grams
- Fat: 72 – 85 grams
- Carbohydrates: 120 – 140 grams
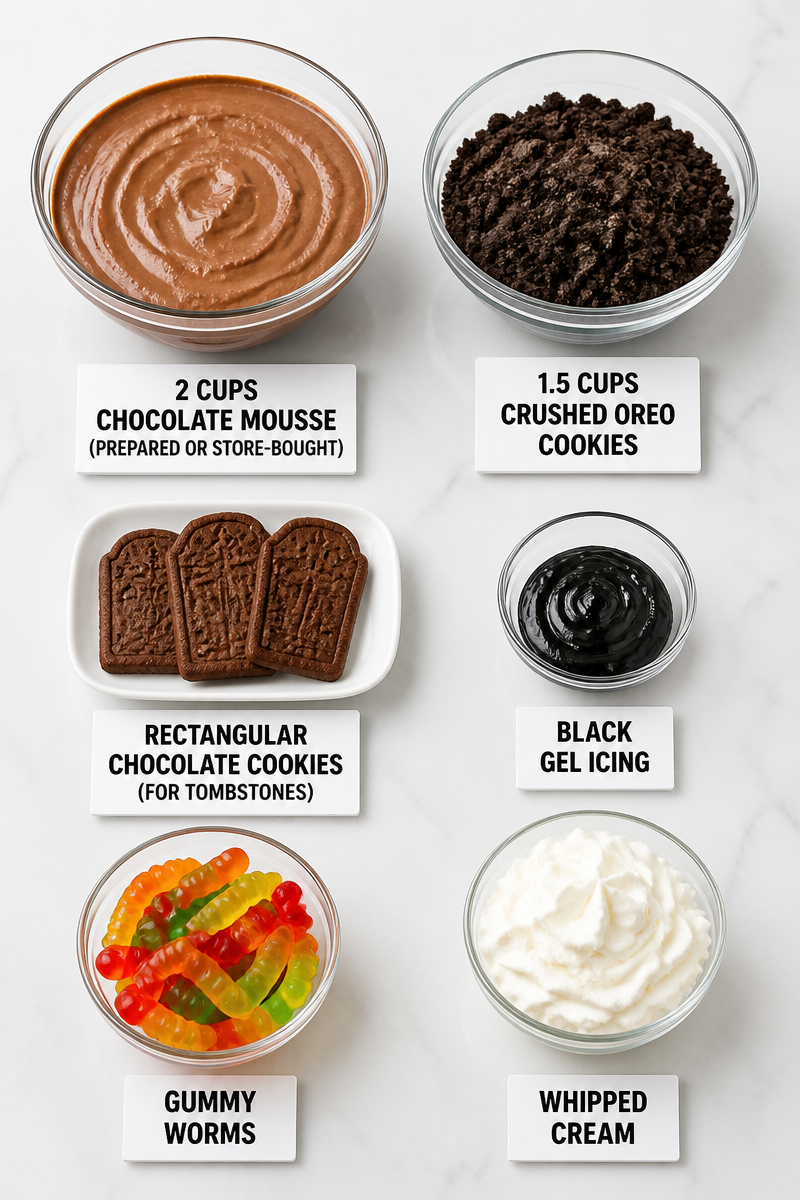
Ingredients
- 2 cups chocolate mousse (prepared or store-bought)
- 1.5 cups crushed Oreo cookies
- Rectangular chocolate cookies (for tombstones)
- Black gel icing
- Gummy worms
- Whipped cream
Step-by-Step Instructions
Step 1: Prepare the Cups with Oreo Base
Begin by layering the crushed Oreo cookies at the bottom of clear cups or jars. This forms your “dirt” layer, creating the perfect foundation for the dessert.
Step 2: Spoon in the Chocolate Mousse
Next, take your rich chocolate mousse and carefully spoon it over the Oreo layer. You want to create a nice, even layer that will complement the crunchy cookies below.
Step 3: Add Another Layer of Oreos
Sprinkle another thin layer of crushed Oreo cookies on top of the mousse. This additional layer mimics dirt and adds more texture and flavor to the dessert.
Step 4: Create Tombstones
While your dessert layers are coming together, write “RIP” on the rectangular cookies using black gel icing. Set these aside to allow the icing to firm up, so they’re ready for placing in the dessert.
Step 5: Assemble the Tombstones
Once the icing is set, gently press a tombstone cookie upright in each cup. Be careful not to push too hard into the mousse; you want it to remain fluffy and light.
Step 6: Add Gummy Worms
Next, pop a few gummy worms into the cups, letting them peek out from the “dirt.” This adds a whimsical and fun element to your graveyard scene.
Step 7: Top with Whipped Cream
Finally, finish off your cups with a small dollop of whipped cream as a cloud. This adds a touch of elegance and creaminess to balance the rich flavors.
Conclusion
With its playful graveyard theme and rich chocolatey flavors, the Graveyard Chocolate Mousse Dessert Cup is the perfect treat to enjoy with family and friends. Its fun presentation makes it ideal for a variety of occasions, and the recipe is simple enough for anyone to try. I encourage you to give this delightful dessert a go and share your feedback. If you enjoy this recipe, be sure to check out similar posts for more sweet inspirations. Happy cooking!

Graveyard Chocolate Mousse Dessert Cup
Ingredients
Method
- Layer the crushed Oreo cookies at the bottom of clear cups to form the 'dirt' layer.
- Spoon chocolate mousse over the Oreo layer to create an even layer.
- Sprinkle another layer of crushed Oreo cookies on top of the mousse.
- Using black gel icing, write 'RIP' on the rectangular cookies and set aside.
- Gently press a tombstone cookie upright into each cup.
- Add gummy worms to the cups so they peek out from the dirt.
- Top with a small dollop of whipped cream.
