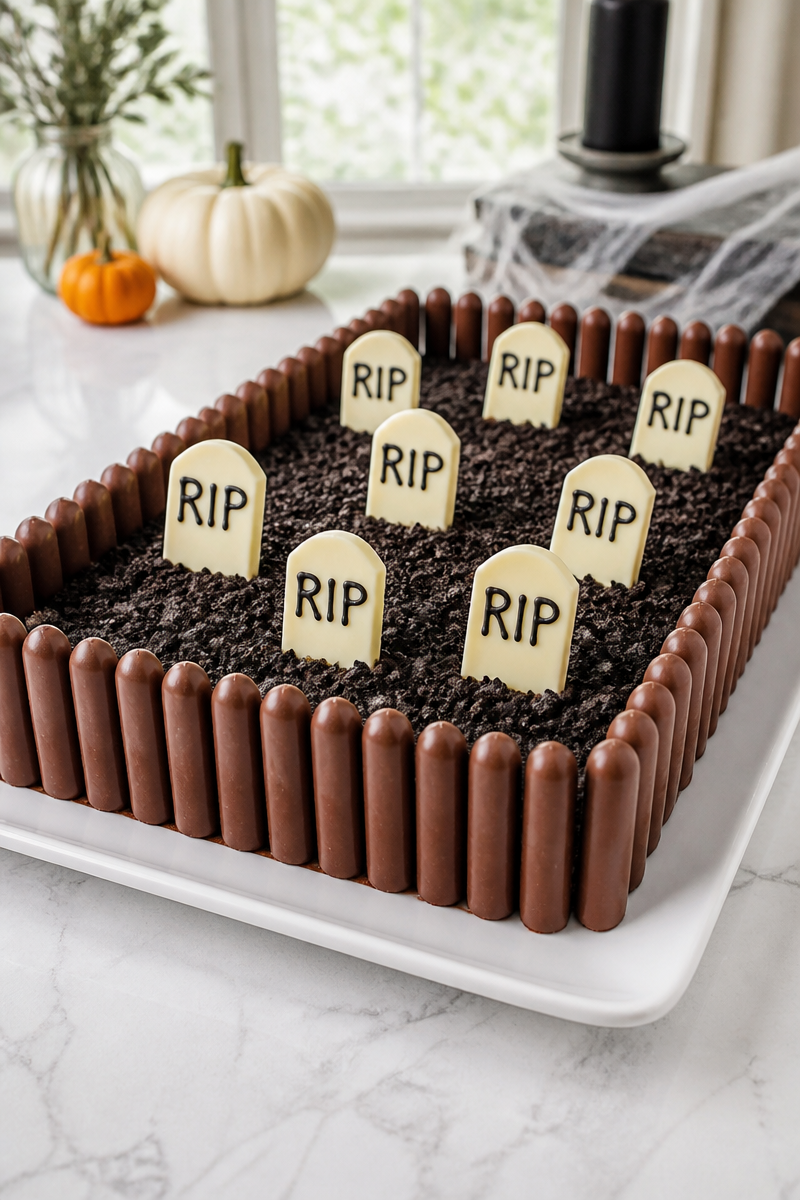
There’s something truly special about a dessert that combines both fun and nostalgia, especially when it comes to holidays. This Halloween Graveyard Brownie Cake Fence is pure comfort food, perfect for creating lasting memories with family or friends. It’s more than just a treat; it’s a delightful centerpiece for your Halloween festivities that can spark joy and creativity in every home cook.
The key components of this Halloween-inspired treat are what make it so enticing. Using a simple box brownie mix, along with crushed Oreo cookies for that “dirt” effect, chocolate fingers or Pocky sticks to serve as the fence, and some melted white chocolate and black gel icing to create tombstones, each bite is packed with flavor and a touch of whimsy. The combination of rich chocolate from the brownies, the creaminess of the Oreos, and the sweet contrast of white chocolate and icing makes for a truly enjoyable experience.
Making this cake is super easy! First, you bake the brownies according to the directions on the box in a 9×13-inch pan and let them cool completely. After that, you simply spread a thin layer of your favorite frosting or ganache on top, cover it with crushed Oreo cookies to mimic dirt, and craft tombstones from melted white chocolate. Once the tombstones are ready, you can add some spooky flair with black gel icing. Finally, you finish it off by lining the edges with chocolate finger cookies, setting the stage for your Halloween masterpiece.
This dessert is perfect for family gatherings, Halloween parties, or just a cozy night in. It’s a great way to bring everyone together, whether you’re making it with grandchildren, friends, or just enjoying a little treat for yourself. The striking presentation will impress anyone who walks into your kitchen, while the comforting flavors are sure to warm your heart.
Why You’ll Love This Halloween Graveyard Brownie Cake Fence
- Quick: This recipe is easy and can be whipped up in no time.
- Simple Ingredients: You likely have many of the ingredients at home already.
- Comfort Food: The combination of brownies and Oreos is inviting and satisfying.
- Kid-Friendly: Children will have a blast helping to create this spooky treat.
- Great for Sharing: Perfect for potlucks and Halloween gatherings.
Brownie Mix Tips
Choosing the right brownie mix can make a huge difference in your end product. Look for a brownie mix that says “fudgy” or “rich” on the box. These types often contain higher proportions of chocolate, yielding a dense, chewy texture that complements the other ingredients beautifully. Additionally, check for mixes that offer extra ingredients or variations, such as chocolate chips, to enhance flavor even more.
Options for Substitutions
- Use a gluten-free brownie mix for a gluten-free version.
- Substitute the Oreo cookies with chocolate graham crackers if you prefer a lighter crunch.
- Try using white chocolate chips instead of melted white chocolate for a different texture on the tombstones.
- Swap chocolate fingers for pretzel rods for a salty touch.
- Use vanilla frosting instead of ganache for a sweeter topping.
- Replace black gel icing with melted dark chocolate for a decorating alternative.
Watch Out for These Mistakes
One common mistake many make is not allowing the brownies to cool completely before adding the frosting. This can lead to melting and a messy presentation. Always let them cool to room temperature before decorating.
Additionally, when spreading the frosting or ganache, be careful not to apply too much pressure. This can pull away the brownie layer, resulting in a less attractive layered effect. A gentle touch is essential here.
When shaping the tombstones from melted white chocolate, ensure your chocolate isn’t too hot while working. If it’s too runny, it may spread more than you intend. Let it cool slightly before forming the tombstone shapes.
Lastly, when pressing the chocolate finger cookies into the edges, make sure they are supported enough so they stand upright. A gentle push is often enough. If they seem unsteady, a small dab of frosting at the base can provide extra stability.
What to Serve With Halloween Graveyard Brownie Cake Fence?
This spooky dessert pairs beautifully with a variety of side dishes. You can serve it alongside a creamy pumpkin soup for a warm, inviting touch, or perhaps a crisp apple salad to add some freshness to the table. For beverages, consider a spiced apple cider or hot chocolate, both of which complement the rich brownies perfectly.
Storage Instructions
Store: Your Halloween Graveyard Brownie Cake Fence can last in the fridge for up to 3 days. Just be sure to cover it with plastic wrap or foil to keep it fresh.
Freeze: If you want to save some for later, you can freeze it for up to 2 months. Make sure to wrap it well in plastic wrap, followed by aluminum foil to prevent freezer burn.
Reheat: To reheat, place a piece in the microwave for about 10-15 seconds. If you’re using the stovetop, place a slice in a skillet over low heat until warmed through.
Recipe Info
Preparation Time: 20 minutes
Cooking Time: 30 minutes
Total Time: 50 minutes
Level of Difficulty: Easy
Servings: Approximately 12 servings, depending on slice size
Estimated Nutrition
Estimated nutrition for the whole recipe (without optional ingredients):
- Calories: 1800-2200
- Protein: 20-30g
- Fat: 90-110g
- Carbohydrates: 250-300g
Ingredients
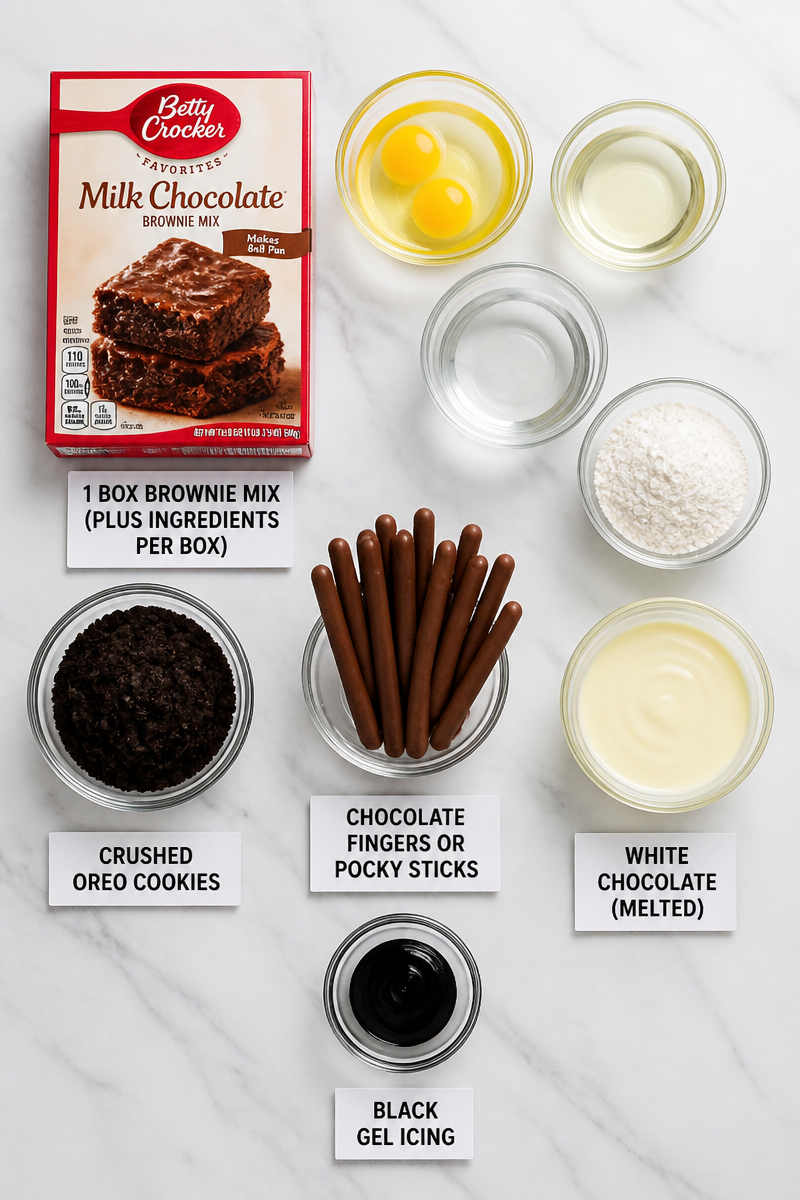
- 1 box brownie mix (plus ingredients per box)
- Crushed Oreo cookies
- Chocolate fingers or Pocky sticks
- White chocolate (melted)
- Black gel icing
Step-by-Step Instructions
Step 1: Bake Brownies
Start by preheating your oven according to the directions on the brownie mix box. Prepare your 9×13-inch pan by greasing it lightly or lining it with parchment paper. Mix the brownie ingredients as directed and pour the batter into the pan. Bake until a toothpick comes out clean, then let the brownies cool completely.
Step 2: Add the Topping
Once the brownies are cool, spread a thin layer of your favorite frosting or ganache evenly over the top. This layer adds flavor and helps the Oreo cookies adhere better.
Step 3: Create the Dirt
Sprinkle crushed Oreo cookies generously over the frosted brownies, ensuring you cover the surface evenly. This will give it an authentic graveyard look, resembling dirt.
Step 4: Shape the Tombstones
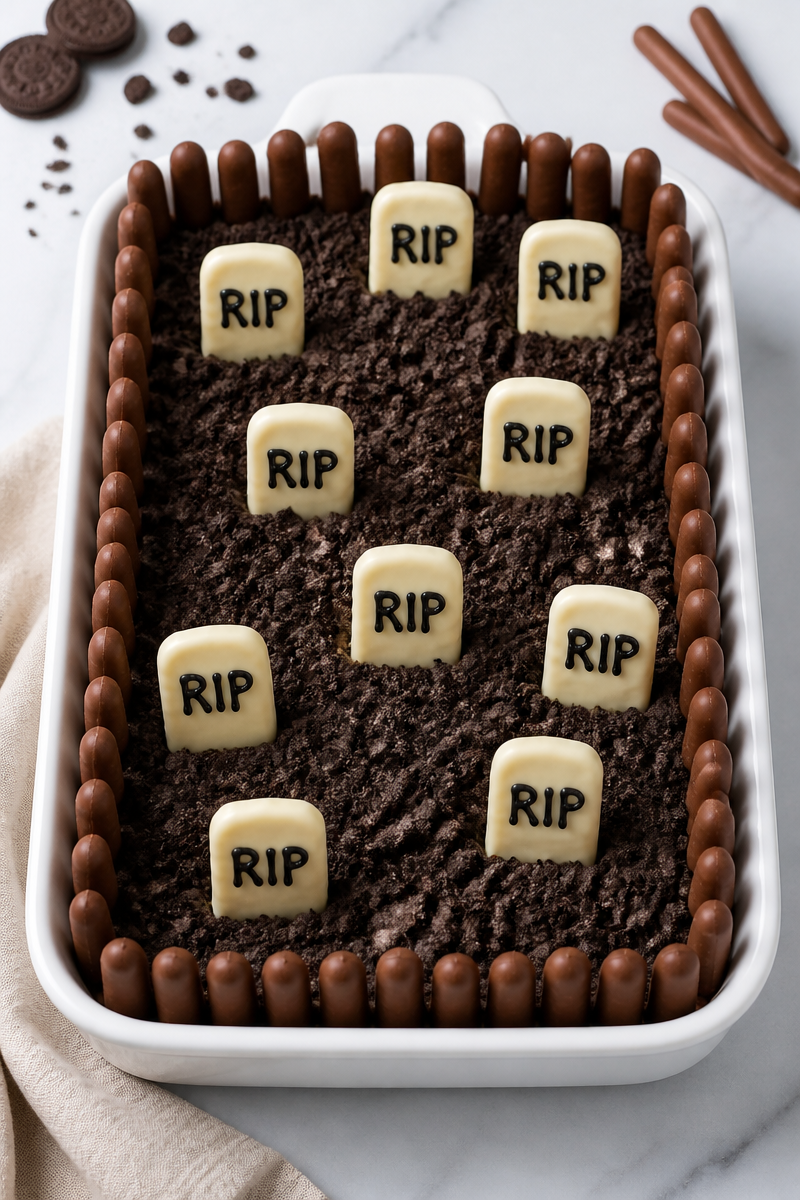
Now, pour melted white chocolate onto a sheet of parchment paper, using the back of a spoon to shape it into small rectangles. Let these tombstones set until firm. Once set, use black gel icing to write “RIP” on each tombstone.
Step 5: Build the Fence
Insert chocolate finger cookies or Pocky sticks upright around the edge of the brownie cake. This creates a spooky fence that adds to the Halloween theme.
Step 6: Assemble the Graveyard
Finally, place the white chocolate tombstones in the crushed Oreo “dirt” as if they are resting in the graveyard. Your Halloween Graveyard Brownie Cake Fence is now ready to serve as a showstopping scene for your guests.
In conclusion, this recipe for Halloween Graveyard Brownie Cake Fence is not just a treat; it’s a delightful experience that brings the spirit of Halloween right into your kitchen. Easy to make and fun to decorate, it’s perfect for any gathering or simply to enjoy at home. I invite you to give this recipe a try and see how much joy it can bring to your holiday celebrations. Feel free to share your creations or explore more of my recipes for other enjoyable treats. Enjoy baking and happy Halloween!
