Halloween is a wonderful time to get creative in the kitchen, and nothing brings a smile quite like a treat that looks spooky but tastes absolutely delicious. These Halloween Oreo Truffle Eyeball Bites are pure comfort with a little playful twist. They’re great for sharing with family or serving at parties where both kids and adults will love their fun, creepy appearance balanced by a rich and creamy texture. The joy of making these truffles is in the process: a little hands-on fun combined with an easy recipe everyone can enjoy.
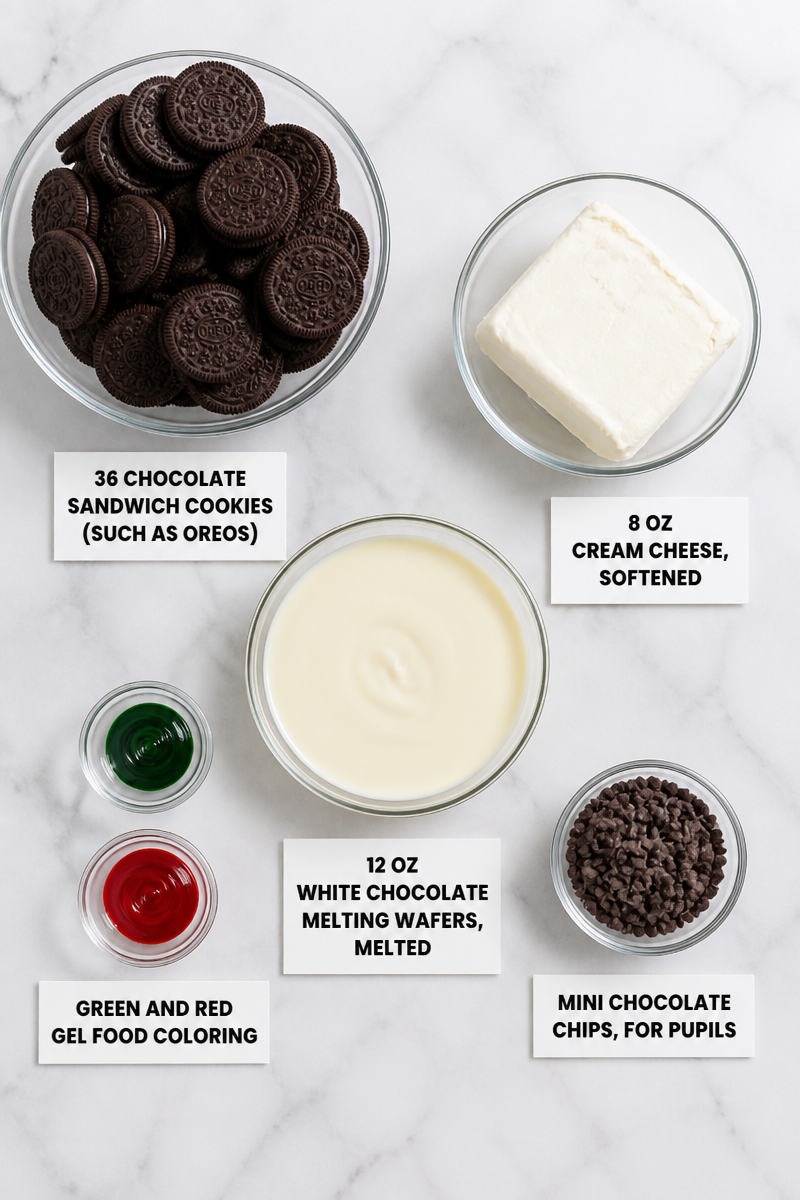
The star ingredients set this recipe apart. It starts with 36 chocolate sandwich cookies, such as Oreos, crushed into fine crumbs, offering that familiar chocolate and cream flavor we all love. Then comes 8 ounces of softened cream cheese, which adds a smooth richness that brings the cookie crumbs together into a perfect truffle base. The 12 ounces of white chocolate melting wafers provide a sweet, creamy coating that contrasts beautifully with the dark cookie center. To bring the “eyeball” appearance to life, green and red gel food coloring create spooky irises and bloodshot veins, while mini chocolate chips serve as the pupils, finishing off the creepy yet cute look.
Making these eyeball bites is simpler than you might expect. With only about 30 minutes of active prep and an hour of chill time, you’ll be ready to enjoy 24 truffles in around an hour and a half. You begin by crushing the sandwich cookies finely, then mixing them with softened cream cheese to form a dough. After rolling this dough into 24 small balls, a quick freeze firms them up for easy dipping. Each ball then gets a smooth dip into melted white chocolate and chilling to set the coating. Adding color and details with gel food coloring and mini chocolate chips transforms each truffle into a little edible eyeball. The overall method is quite straightforward and perfect for cooks of all experience levels.
These truffles are great for many occasions. Whether you’re hosting a Halloween party, looking for a cheerful classroom treat, or just want a festive dessert for a chilly autumn night, they hit the mark. Their bite-size shape makes them easy to share, and they are a crowd-pleaser for any family gathering or potluck. Plus, they store well, so you can make them ahead of time and enjoy their spooky goodness all week long.
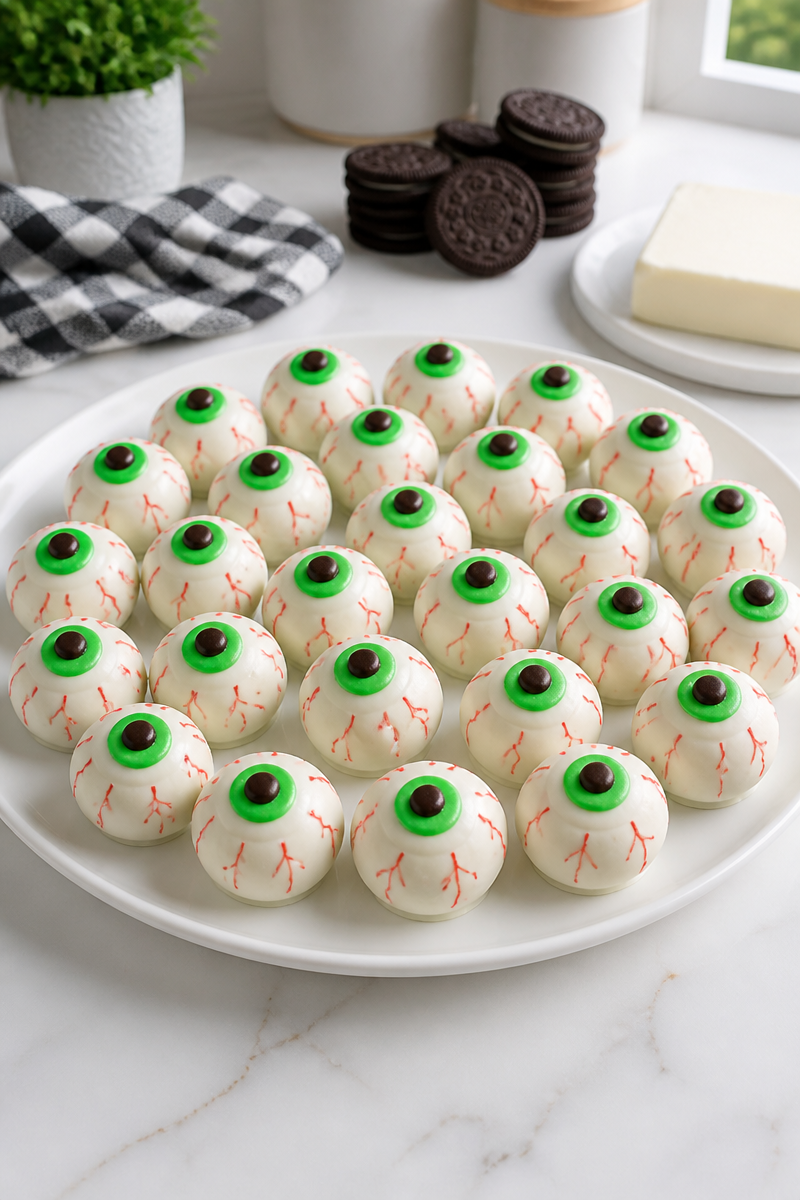
Why You’ll Love This Halloween Oreo Truffle Eyeball Bites
- Quick and easy to prepare with only 30 minutes of active time.
- Made with simple and familiar ingredients you likely already have.
- No baking required, so it’s perfect for all skill levels.
- Fun and festive presentation that’s perfect for Halloween celebrations.
- Creamy, sweet, and chocolatey flavors everyone will enjoy.
Cream Cheese Tips
When working with cream cheese, selecting the right texture and temperature is important. Use full-fat cream cheese for the best flavor and smoothest consistency. Always soften it to room temperature before mixing. This helps it blend easily with the cookie crumbs, preventing lumps and ensuring your truffle mixture is smooth and easy to roll. Avoid overheating or letting it get too warm once softened, as a very soft cream cheese can make the mixture too sticky. If you’re in a hurry, soften by microwaving in short bursts of 10 seconds, stirring in between. This simple step helps keep your mixture just right for shaping.
Options for Substitutions
- Use gluten-free sandwich cookies if you need a gluten-free treat.
- Substitute softened mascarpone for cream cheese for a milder taste.
- Swap white chocolate melting wafers with milk or dark chocolate melting wafers for a different flavor profile.
- Use natural food colorings or powdered food color if you want to avoid gels.
- Replace mini chocolate chips with small candy eyes for a different look.
- Use vegan cream cheese and dairy-free white chocolate wafers for a dairy-free version.
Watch Out for These Mistakes
One common pitfall is not crushing the cookies finely enough. If the chunks are too large, the mixture will not hold together properly, and rolling the truffles can become frustrating. Take your time in the food processor and check the texture before proceeding. Another mistake some make is over-softening or using cold cream cheese straight from the fridge. Both can negatively affect the mixture texture, making it either too crumbly or too sticky. Softened but still cool cream cheese works best.
When dipping the cookie balls in melted chocolate, be careful not to overheat the white chocolate. Chocolate that’s too hot may cause the coating to become grainy or too thin and runny. It’s best to melt it gently and stir frequently. Lastly, don’t skip the chilling steps, as they are crucial to getting a firm coating that won’t melt or smudge when you add the colored details.
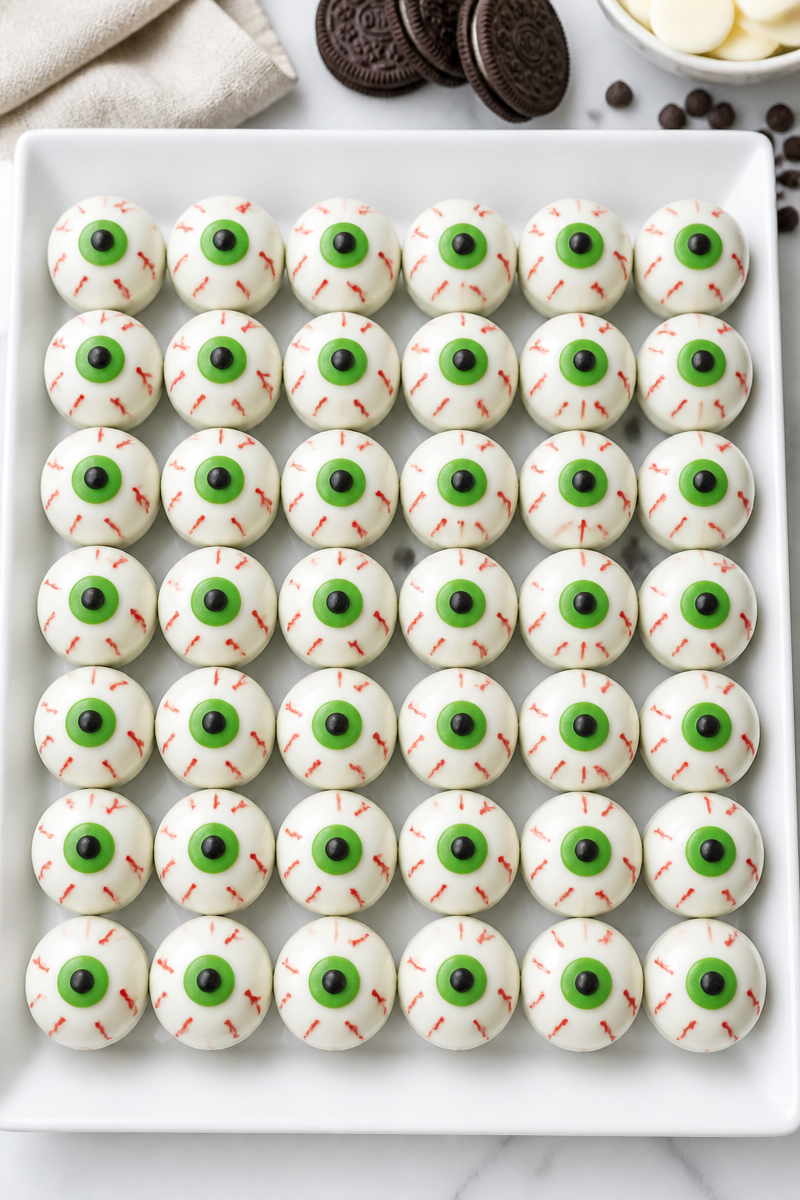
What to Serve With Halloween Oreo Truffle Eyeball Bites?
These eerie truffles pair nicely with other Halloween treats and friendly snacks. Consider serving them alongside warm apple cider or hot cocoa for a cozy fall vibe. A plate of caramel popcorn or a bowl of roasted pumpkin seeds offers a nice crunchy contrast. If you want to offer something savory to balance the sweet, try some spiced cheese straws or mini sausage rolls. These options make a well-rounded treat table sure to delight guests of all ages.
Storage Instructions
Store: Keep your eyeball truffles in an airtight container in the refrigerator. They will stay fresh for up to one week. Storing them chilled maintains the firmness of the white chocolate coating and keeps the cream cheese filling from becoming soft.
Freeze: If you want to make them ahead or save leftovers, you can freeze these truffles for up to 3 months. Place them in a single layer on a tray to freeze, then transfer to an airtight container or freezer bag. Thaw overnight in the refrigerator before serving.
Reheat: There is no need to reheat these truffles. They are best enjoyed cold or at room temperature. If they feel too firm from refrigeration, simply let them sit out for about 10 minutes to soften slightly before eating.
Recipe Info
Preparation Time: 30 minutes
Cooking Time: 1 hour (mostly chill time)
Total Time: 1 hour 30 minutes
Level of Difficulty: Easy
Servings: Makes 24 truffles
Estimated Nutrition
Estimated nutrition for the whole recipe (without optional ingredients):
Calories: Approximately 2500-2800 kcal
Protein: Around 30-35 grams
Fat: About 150-170 grams
Carbohydrates: Roughly 300-320 grams
Please note these values are estimates and can vary based on exact brands and measurements.
Ingredients
- 36 chocolate sandwich cookies (such as Oreos)
- 8 oz cream cheese, softened
- 12 oz white chocolate melting wafers, melted
- Green gel food coloring
- Red gel food coloring
- Mini chocolate chips, for pupils
Step-by-Step Instructions
Step 1: Crush Cookies and Mix with Cream Cheese
Start by crushing the sandwich cookies into fine crumbs using a food processor. This step helps create a smooth mixture for your truffles. Next, add the softened cream cheese to the cookie crumbs. Pulse or mix until the two ingredients combine into a thick, dough-like consistency that holds together well.
Step 2: Shape and Freeze the Truffle Balls
Using about one tablespoon of the mixture for each, roll the dough into 24 small balls. Place these on a baking tray lined with parchment paper. Once all balls are formed, freeze them for 20 minutes to help firm them up for dipping.
Step 3: Dip in White Chocolate and Chill
Dip each truffle ball into melted white chocolate, making sure to cover it completely. After dipping, tap off any excess chocolate gently, and place them back on the parchment-lined tray. Chill them in the fridge for 15 minutes to allow the white chocolate coating to fully set.
Step 4: Add Eyes Details
Tint a small amount of the leftover melted white chocolate with green gel food coloring. Using a toothpick or small spoon, carefully dot a green circle on each truffle to mimic an iris. Press a mini chocolate chip into the center of each green dot for the pupil. Then, dip a toothpick into red gel food coloring and create tiny red lines around the edge of each eye to resemble veins.
Step 5: Final Chill and Storage
Once decorated, chill the truffles for an additional 15 minutes to fully set the decorations. Store them in an airtight container in the refrigerator where they will last up to a week.
Conclusion
These Halloween Oreo Truffle Eyeball Bites are a playful and delicious treat that combines simple ingredients with easy steps to create a memorable dessert. Whether you’re making them with children or whipping up a quick Halloween snack, they are fun to make and sure to impress. I encourage you to give this recipe a try this season. When you do, please come back and share your thoughts or photos—I love hearing from fellow home cooks! For more festive treats, be sure to explore similar recipes on the blog, and enjoy the wonderful spirit of Halloween through baking.
Halloween Oreo Truffle Eyeball Bites
Ingredients
Method
- Start by crushing the sandwich cookies into fine crumbs using a food processor.
- Add the softened cream cheese to the cookie crumbs and mix until you achieve a thick, dough-like consistency.
- Using about one tablespoon of the mixture for each, roll the dough into 24 small balls and place them on a parchment-lined baking tray.
- Freeze the truffle balls for 20 minutes to firm them up.
- Dip each truffle ball into melted white chocolate, making sure to cover it completely, and tap off any excess chocolate.
- Chill them in the fridge for 15 minutes to allow the white chocolate coating to fully set.
- Using a toothpick, dot a green circle with tinted melted white chocolate on each truffle for the iris and press a mini chocolate chip for the pupil.
- Create tiny red lines around the edge of each eye using red gel food coloring.
- Chill the decorated truffles for another 15 minutes to set.
- Store them in an airtight container in the refrigerator where they will last for up to a week.
