This Specimen Jar Layered Gelatin Cup is pure fun in a glass, and it still feels like comfort food in its own playful way. I love recipes like this because they bring a little surprise to the table while staying simple enough for home cooks of any age. The layers look spooky and special, yet the steps are easy to follow, so you can make them with confidence.
What makes this gelatin dessert so charming is the mix of flavors and colors. You get a bright lime gelatin layer, a soft and slightly eerie clear “fluid” layer made with unflavored gelatin, sugar, and a touch of green food coloring, and then a rich grape gelatin layer on top. For garnish, small gummy worms or plastic eyeball rings add that classic specimen-jar look, and the whole dessert is served in clear cups or mason jars so each layer shows beautifully.
The method is very manageable, too. First, you dissolve the green gelatin and chill it until just set. Then, you make the clear layer, let it cool a bit, and pour it carefully over the first layer. After that, you add the purple layer, tuck in the garnish, and let everything chill until firm. Because each layer needs time to set, this recipe rewards a little patience, but most of the work is hands-off.
This is a great dessert for Halloween parties, classroom events, themed birthdays, or family movie night. It also works well for potlucks because each serving is already portioned out. So, if you want a dessert that is festive, low-fuss, and memorable, this Specimen Jar Layered Gelatin Cup is a smart choice.
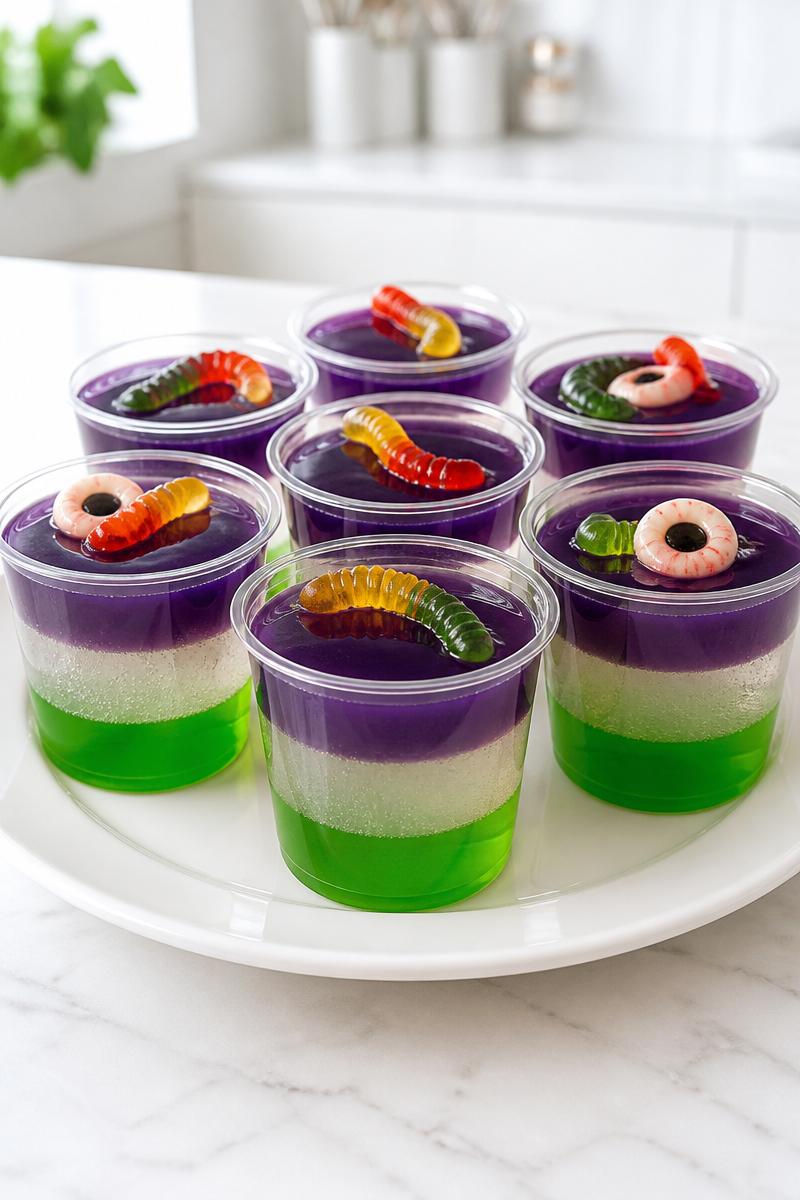
Why You’ll Love This Specimen Jar Layered Gelatin Cup
- It is easy to make with simple pantry ingredients and very little hands-on work.
- The layers create a fun, eye-catching look that feels perfect for themed parties.
- The flavor is familiar and sweet, so kids and adults usually both enjoy it.
- It is make-ahead friendly, which makes party planning much easier.
- The recipe is budget-friendly, so you can serve a crowd without spending much.
Gelatin Tips
Since the main structure of this dessert comes from gelatin, your biggest success factor is getting the texture right. For the best result, make sure each layer is fully dissolved before you chill it. If you see tiny granules, keep stirring. Also, let each layer set until it is just tacky on top before adding the next one. That small detail helps the layers stay neat and distinct instead of sliding around. Finally, keep the cups level in the fridge so the gelatin firms evenly.
Options for Substitutions
- Use lemon gelatin instead of lime if you want a brighter, sharper flavor.
- Swap the grape gelatin for black cherry gelatin if you want a deeper color.
- Leave out the green food coloring in the clear layer if you want a true clear “specimen fluid” look.
- Use honey or a little corn syrup instead of granulated sugar if you prefer a slightly different sweetness.
- Replace gummy worms with small candy eyeballs for a more playful finish.
- Use small dessert cups, mini mason jars, or clear plastic party cups depending on the event and what you have on hand.
Watch Out for These Mistakes
One common mistake is rushing the chill time. If the green layer is not set enough, the clear layer can sink into it or blend with it. So, wait until it is set on top but still a little tacky. That is the sweet spot for clean layers.
Another issue is pouring the clear layer while it is too hot. If it is still very warm, it can melt the layer below. Instead, let it cool until it is just warm and still liquid. That way, it pours smoothly without damaging the base layer.
Also, do not add the garnish too early. If you press in the gummy worm or eyeball ring before the top layer has started to thicken, it may drift or sink too far. For the best look, wait until the top layer is slightly soft, then anchor the garnish gently.
Finally, be careful when moving the cups. Gelatin layers are delicate before they fully set, and a tilt can blur the lines. So, keep the cups upright from start to finish, especially while chilling and storing.
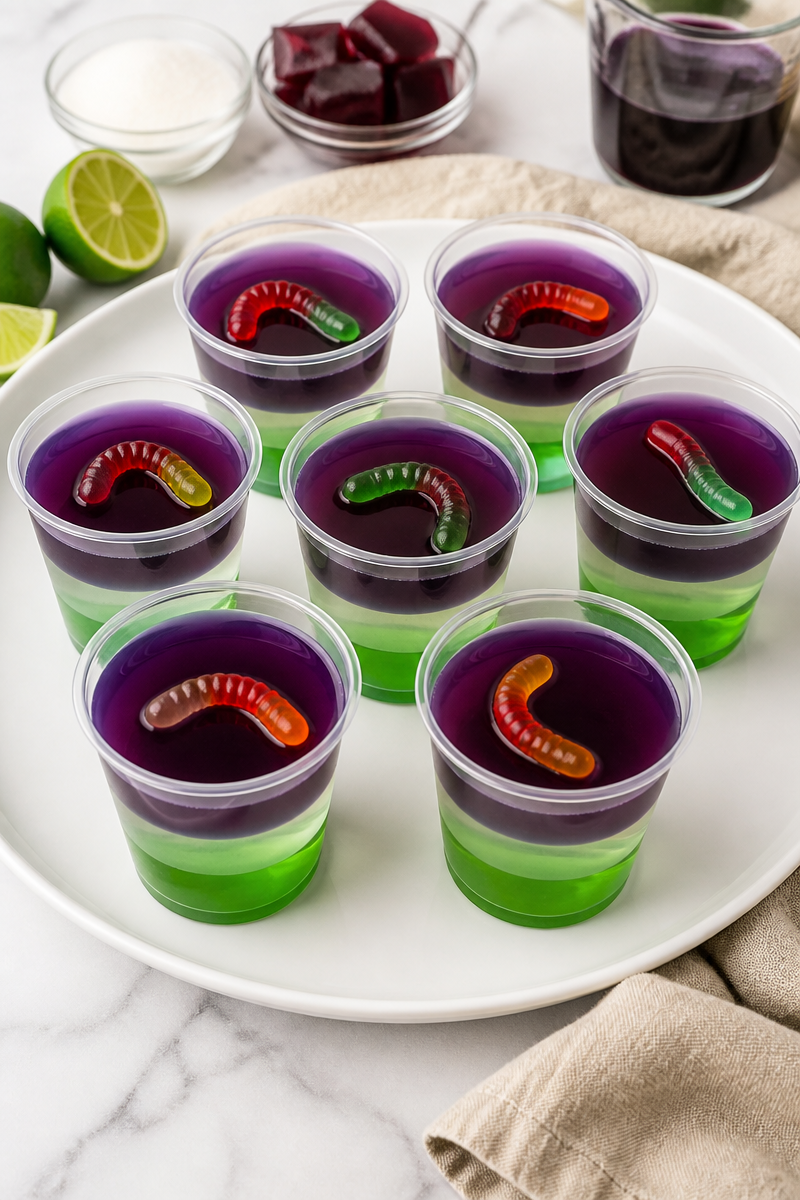
What to Serve With Specimen Jar Layered Gelatin Cup?
This Specimen Jar Layered Gelatin Cup pairs nicely with other party foods that are easy to hold and fun to eat. For a Halloween spread, serve it with mini sandwiches, cheese cubes and crackers, or savory deviled eggs. If you want more sweet options, pair it with sugar cookies, popcorn mix, or a simple fruit tray. Since the gelatin is light and cool, it works well beside both salty snacks and richer treats.
Storage Instructions
Store: Cover the cups loosely with lids, plastic wrap, or foil, then refrigerate for up to 4 days. Keep them upright so the layers stay neat.
Freeze: Freezing is not recommended for gelatin desserts like this one, because the texture can turn watery and the layers may separate after thawing.
Reheat: This dessert is meant to be served cold, so do not reheat it on the stovetop or in the microwave. If the gelatin becomes too firm after refrigeration, let it sit at room temperature for 5 to 10 minutes before serving.
Recipe Info
Preparation Time: 25 minutes
Cooking Time: 5 minutes
Total Time: 5 hours 30 minutes
Level of Difficulty: Easy
Servings: 8
Calories: 120 kcal per serving
Estimated Nutrition
Estimated nutrition for the whole recipe (without optional ingredients):
- Calories: 900 to 1,000
- Protein: 20 to 25 g
- Fat: 0 to 1 g
- Carbohydrates: 200 to 230 g
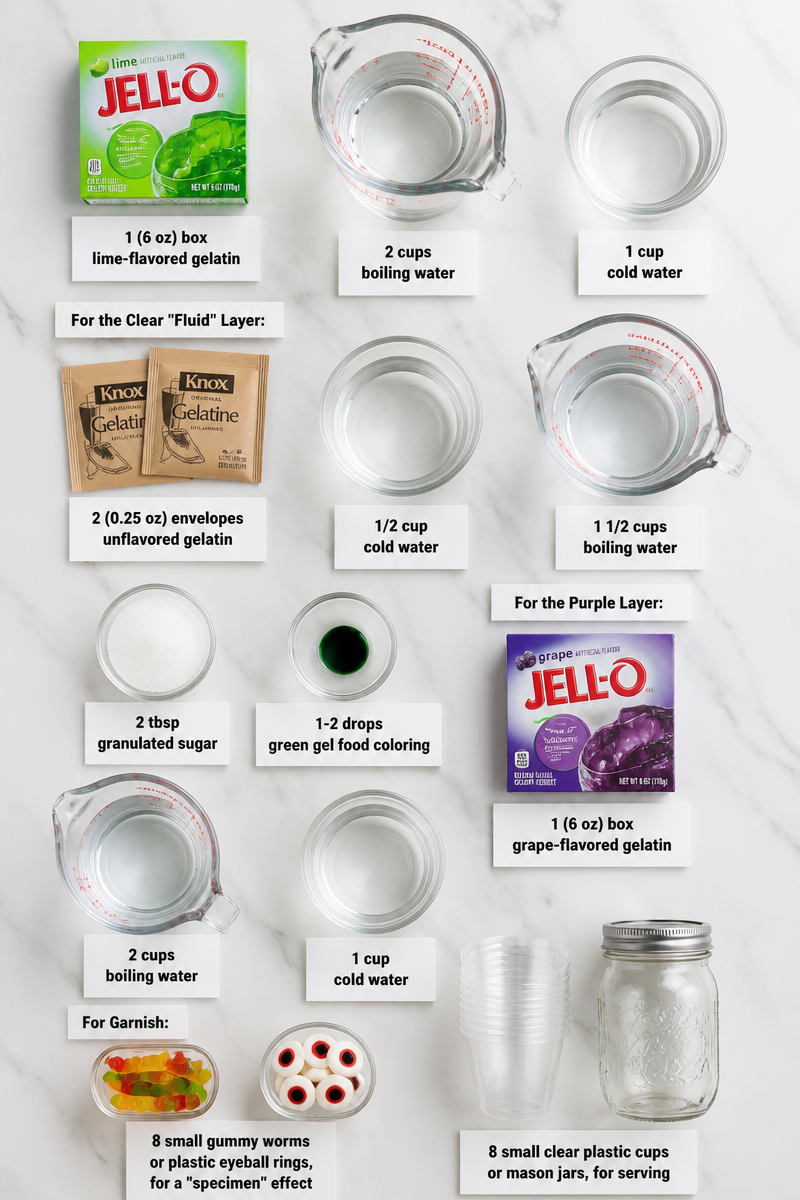
Ingredients
- 1 (6 oz) box lime-flavored gelatin
- 2 cups boiling water
- 1 cup cold water
- 2 (0.25 oz) envelopes unflavored gelatin
- 1/2 cup cold water
- 1 1/2 cups boiling water
- 2 tbsp granulated sugar
- 1-2 drops green gel food coloring
- 1 (6 oz) box grape-flavored gelatin
- 2 cups boiling water
- 1 cup cold water
- 8 small gummy worms or plastic eyeball rings, for a “specimen” effect
- 8 small clear plastic cups or mason jars, for serving
Step-by-Step Instructions
Step 1: Make the Green Layer
Start by dissolving the lime gelatin in 2 cups boiling water. Stir for 1 to 2 minutes, or until no granules remain. Then stir in 1 cup cold water. Divide the mixture evenly among 8 small clear cups, filling each about one-third full. After that, refrigerate for 45 to 60 minutes, until the layer is just set but still slightly tacky on top.
Step 2: Mix the Clear “Fluid” Layer
Next, sprinkle the unflavored gelatin over 1/2 cup cold water in a heatproof bowl. Let it bloom for 5 minutes, so it softens properly. Then stir in 1 1/2 cups boiling water and the sugar, stirring for 1 to 2 minutes until fully dissolved. Add 1 to 2 drops green gel food coloring if you want a faint eerie tint, or leave it clear for a more realistic look. Let the mixture cool at room temperature for 15 to 20 minutes, until it is just warm but still liquid.
Step 3: Add the Clear Layer
Carefully pour the cooled clear layer over the set green layer in each cup, filling another one-third. Try to pour slowly so the layers stay separate. Then return the cups to the fridge for 45 to 60 minutes, until this layer is set but still a little tacky on top.
Step 4: Make and Add the Purple Layer
Now dissolve the grape gelatin in 2 cups boiling water, stirring for 1 to 2 minutes until the granules are gone. Stir in 1 cup cold water. Let it cool at room temperature for about 10 minutes, until slightly thickened but still pourable. Then pour it over the clear layer in each cup, filling to the top.
Step 5: Garnish and Chill Again
While the top layer is still a little soft, tuck a gummy worm or plastic eyeball ring into each cup. Press it in just enough to anchor it. After that, refrigerate the fully assembled cups for at least 3 more hours, or about 5 hours total, until all three layers are firm and set.
Step 6: Serve and Enjoy
Once the gelatin is fully set, serve the cups chilled with a spoon. Keep them upright until serving so the layers stay clean and distinct. If you are making them ahead for a party, cover and refrigerate until you are ready to bring them out.
Conclusion
This Specimen Jar Layered Gelatin Cup is a fun, simple dessert with bold color, sweet flavor, and a playful spooky look. Because the steps are easy and the ingredients are familiar, it is a great recipe for parties, family gatherings, or any day you want something a little extra special. Just remember to chill each layer well, pour carefully, and keep the cups upright.
If you try this recipe, I would love to hear how it turned out. Share your thoughts, leave a comment, or explore more easy layered desserts and party treats for your next get-together.
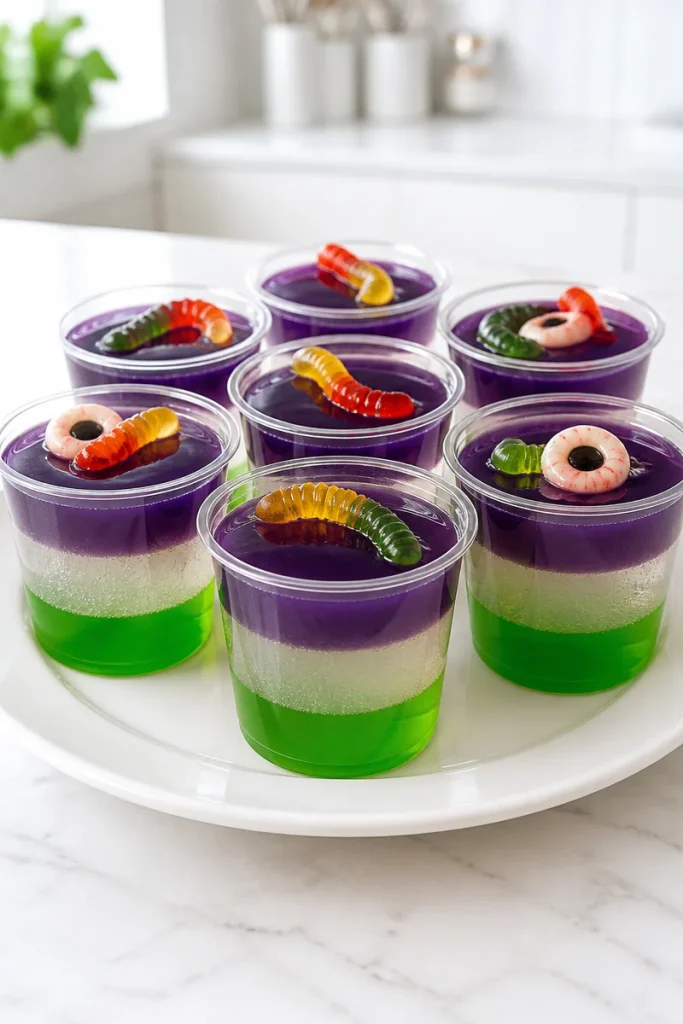
Specimen Jar Layered Gelatin Cup
Ingredients
Method
- Dissolve the lime gelatin in 2 cups boiling water. Stir for 1 to 2 minutes, until no granules remain. Stir in 1 cup cold water and divide the mixture evenly among 8 cups, filling each about one-third full.
- Refrigerate for 45 to 60 minutes until the layer is just set but still slightly tacky on top.
- Sprinkle unflavored gelatin over 1/2 cup cold water in a heatproof bowl and let it bloom for 5 minutes.
- Stir in 1 1/2 cups boiling water and the sugar until fully dissolved. Add 1 to 2 drops of green food coloring if desired. Let the mixture cool at room temperature for 15 to 20 minutes until just warm.
- Carefully pour the cooled clear layer over the set green layer in each cup, filling another one-third. Return the cups to the fridge for 45 to 60 minutes until this layer is set but still a little tacky on top.
- Dissolve the grape gelatin in 2 cups boiling water, stirring for 1 to 2 minutes until the granules are gone. Stir in 1 cup cold water and let cool for about 10 minutes until slightly thickened.
- Pour it over the clear layer in each cup, filling to the top.
- While the top layer is still soft, tuck a gummy worm or plastic eyeball ring into each cup. Refrigerate the fully assembled cups for at least 3 more hours until all layers are firm.
- Serve the cups chilled with a spoon. Keep them upright until serving so the layers stay clean and distinct.
