There’s something comforting about a warm brownie, especially when you’re looking for a sweet treat that’s easy to make and fun to enjoy. The feeling of sharing a homemade dessert with family or friends is truly special. Today, I’m excited to share a simple yet delightful recipe: the Melted Marshmallow Cobweb Brownie Bite. It’s just the thing to bring joy and smiles to any gathering, be it a cozy family night or a festive Halloween party.
This recipe features a box brownie mix, which is a lifesaver for busy home cooks, plus mini marshmallows that add a gooey sweetness to each bite. The addition of candy eyes gives an adorable twist, making these treats appealing not just to kids but to the young-at-heart as well. The optional black licorice spider legs can take your presentation to the next level, adding a fun and spooky theme perfect for Halloween. Imagine, rich chocolatey brownies topped with warm, melted marshmallows that give each bite an alluringly sweet flavor, beautifully accented by the playful candy eyes.
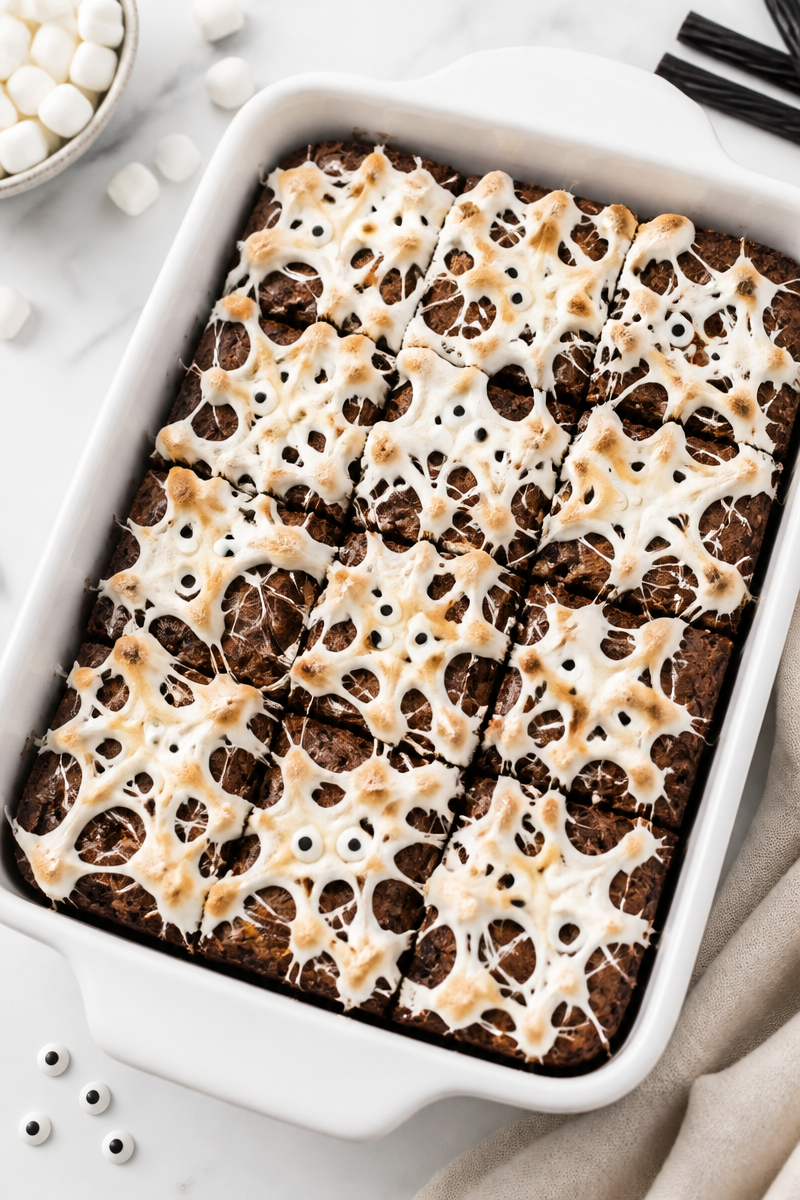
Making these delightful treats could not be easier. You start by baking the brownies as instructed on the box, using a standard 9×13 pan. In the last few minutes of baking, you scatter the mini marshmallows over the brownies and pop them back in the oven until they puff up and start to melt. After that, it’s all about creativity—you take a fork and stretch the marshmallows into fun, web-like strands. Finally, you press in the candy eyes to bring them to life. A few minutes of cooling, and you have bite-sized pieces ready to serve.
These brownie bites are perfect for chilly evenings when you’re snuggled up on the couch or for lively potlucks where you want a dessert that will be a hit. They are not only delicious but also an entertaining project to make with grandchildren, fostering creativity and collaboration in the kitchen.
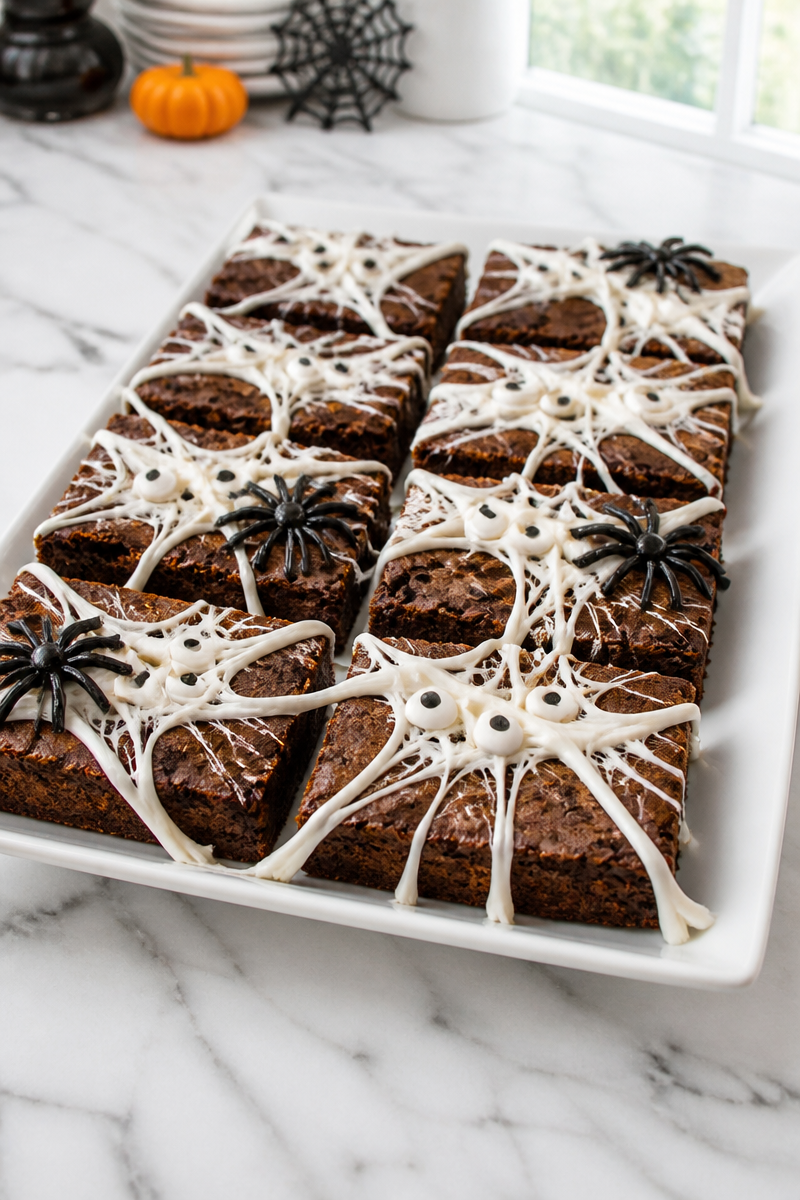
Why You’ll Love This Melted Marshmallow Cobweb Brownie Bite
- Quick: This recipe is straightforward, making it ideal for last-minute sweet cravings or spontaneous gatherings.
- Simple Ingredients: You only need a few pantry staples, making it convenient and budget-friendly.
- Comfort Food: Brownies are a classic indulgence, and the addition of marshmallows makes them even cozier.
- Fun Decorating: Kids and adults alike will enjoy the creative process of transforming brownies into spider web masterpieces.
- Spooky Appeal: Perfect for Halloween or any party where you want a little fun and festivity on your dessert table.
Brownie Mix Tips
When selecting your brownie mix, look for brands that offer a flavor profile you enjoy. A quality chocolate brownie mix will yield a rich, decadent result. Be sure to check the ingredients on the box; some mixes call for additional items like eggs and water. Using the right type of brownie mix, one that you trust, can make all the difference in achieving those delicious, fudgy bites. Opt for mixes that are labeled “fudgy” for the richest flavor possible, as they tend to complement the melted marshmallow sweetness perfectly.
Options for Substitutions
- Use a gluten-free brownie mix for a gluten-friendly version.
- Swap mini marshmallows with chocolate chips for an extra chocolatey treat.
- Replace candy eyes with chocolate chips or colorful sprinkles.
- Use fruit leather instead of black licorice for a healthier alternative for spider legs.
- If you’re not a fan of black licorice, consider pretzel sticks for the spider legs.
- Switch up the brownie mix with peanut butter flavor for a different taste experience.
Watch Out for These Mistakes
When making your Melted Marshmallow Cobweb Brownie Bites, there are some common pitfalls to avoid. First, make sure not to overbake the brownies. Once your baking timer goes off, keep a close eye on them, especially in the last five minutes when you add the marshmallows.
Another mistake to look out for is adding the marshmallows too soon or too late. They should be sprinkled on just five minutes before the brownies are fully baked; otherwise, they’ll either melt completely into the brownies or burn.
When you pull the brownies out of the oven, use a fork gently. Avoid digging too hard into the marshmallows, as you want them to stretch out and create that lovely web effect. Lastly, patience is key when cooling your brownies. Allow them to cool slightly to set the marshmallows before cutting. If you rush this step, the brownies could become too gooey to handle.
What to Serve With Melted Marshmallow Cobweb Brownie Bite?
These brownie bites pair wonderfully with a scoop of vanilla ice cream, which adds a creamy contrast to the rich chocolate and gooey marshmallows. You might also consider servings of fresh fruit, such as strawberries or raspberries, to provide a refreshing balance. Pairing the brownies with a warm cup of hot chocolate or coffee can further enhance the comforting experience of enjoying these treats.
Storage Instructions
Store: You can keep the cooled brownie bites in the refrigerator for up to 5 days. Be sure to place them in an airtight container to maintain their freshness.
Freeze: If you want to save some brownies for later, freeze them for up to 3 months. Cut them into squares, and place pieces in a freezer-safe container, separating layers with parchment paper to prevent sticking.
Reheat: To bring the brownies back to life, simply warm them in the microwave for about 10-15 seconds. For a slightly crispier texture, consider reheating them in the oven at a low temperature.
Recipe Info
Preparation Time: 15 minutes
Cooking Time: 30 minutes
Total Time: 45 minutes
Level of Difficulty: Easy
Servings: Approximately 24 brownie bites, depending on how large you cut them.
Estimated Nutrition
Estimated nutrition for the whole recipe (without optional ingredients):
- Calories: 1200-1500
- Protein: 15-20g
- Fat: 50-70g
- Carbohydrates: 180-210g
Ingredients
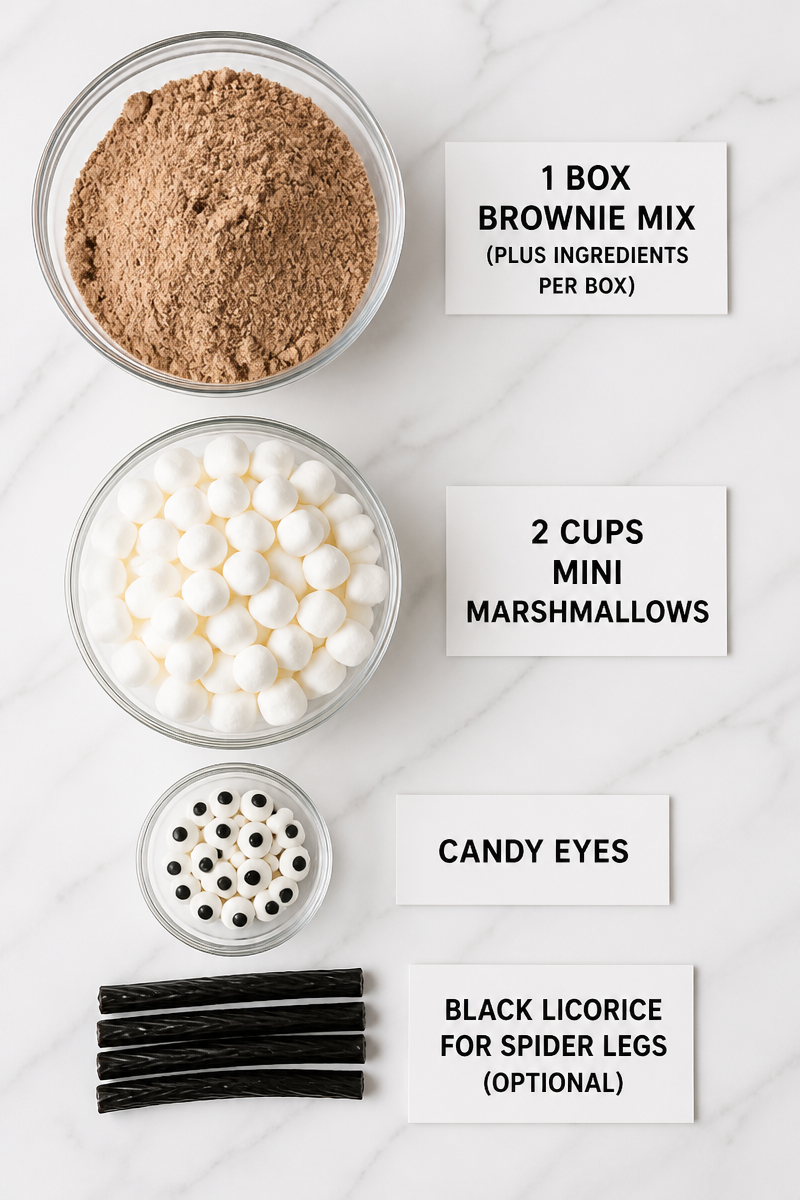
- 1 box brownie mix (plus ingredients per box)
- 2 cups mini marshmallows
- Candy eyes
- Black licorice for spider legs (optional)
Step-by-Step Instructions
Step 1: Bake the Brownies
Start by preheating your oven according to the brownie mix instructions. Prepare your 9×13 pan by greasing it lightly, and then mix the brownie batter as directed on the box. Pour the batter into the prepared pan, spreading it evenly.
Step 2: Add the Marshmallows
Once your brownies are about 5 minutes away from being done baking, open the oven and scatter the mini marshmallows evenly over the top of the brownies.
Step 3: Puff and Melt
Return the brownies to the oven and allow the marshmallows to puff up and melt for about 3-4 minutes. Keep a close eye on them during this process; you want them soft and slightly gooey, not burnt.
Step 4: Create the Cobwebs
Take the pan out of the oven and grab a fork. Using the fork, gently pull and stretch the melted marshmallows outward across the surface of the brownies to create lovely, web-like strands.
Step 5: Add the Eyes
While the marshmallows are still warm and pliable, press in the candy eyes at various spots throughout the marshmallow webs. This gives the brownies a wholesome, playful character.
Step 6: Cool and Cut
Allow your brownie bites to cool slightly before cutting them into squares. For perfect pieces, you might find the brownies easier to cut if you let them cool completely first.
These Melted Marshmallow Cobweb Brownie Bites are not just a treat; they’re an adventure in creativity, bound to bring smiles to your family’s faces. I invite you to give this recipe a try and share your thoughts or favorite variations with me. Happy baking!
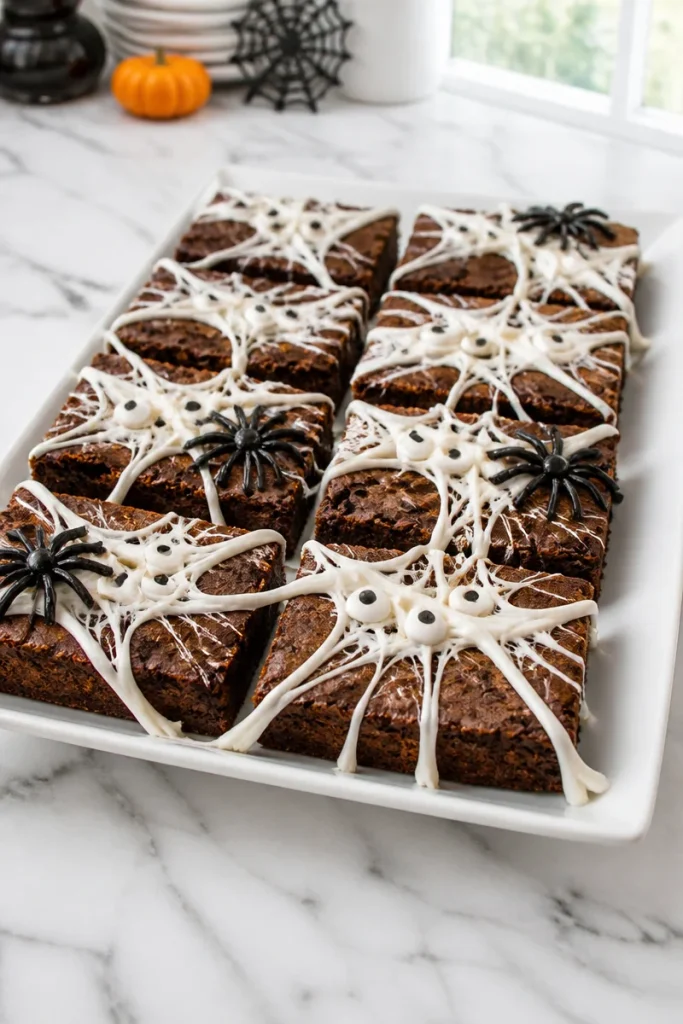
Melted Marshmallow Cobweb Brownie Bite
Ingredients
Method
- Preheat the oven according to the brownie mix instructions and grease a 9x13 pan.
- Mix the brownie batter as directed on the box and pour it into the prepared pan, spreading it evenly.
- When the brownies are about 5 minutes from being done, scatter the mini marshmallows evenly over the top.
- Return the brownies to the oven for 3-4 minutes until the marshmallows puff up and melt.
- Using a fork, gently pull and stretch the melted marshmallows to create web-like strands.
- Press in the candy eyes while the marshmallows are still warm.
- Let the brownie bites cool slightly before cutting into squares, or cool completely for easier cutting.
