There’s something magical about Halloween, especially when it comes to crafting delicious treats. Imagine gathering your loved ones around a spooky snack that brings joy and laughter. That’s exactly what you get with these delightful Pizza Skull Halloween Snacks. They are not just fun to look at, but they also offer the comfort of homemade pizza, making them a perfect addition to any festive gathering.
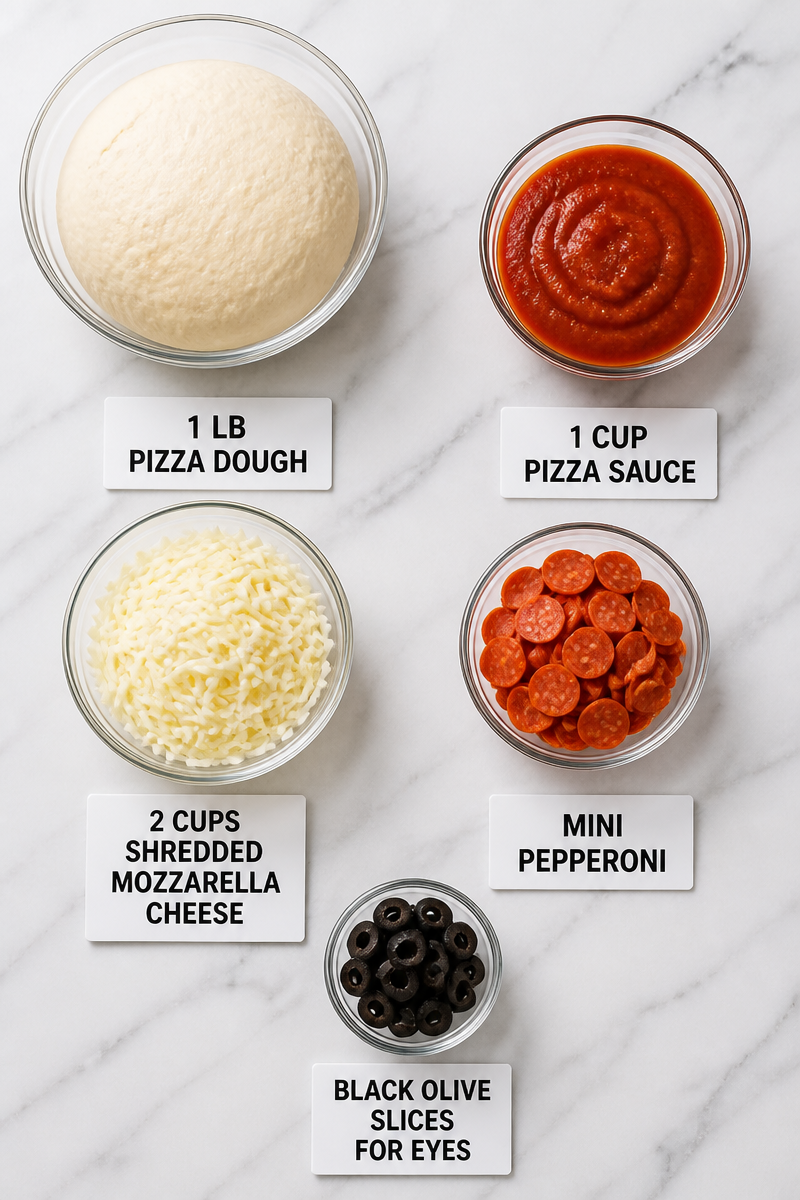
These Pizza Skulls are made with simple, accessible ingredients: 1 lb of pizza dough, 1 cup of pizza sauce, 2 cups of shredded mozzarella cheese, mini pepperoni for the teeth, and black olive slices for the eyes. The combination of gooey cheese and tangy sauce, paired with the crispy crust, delivers a delightful burst of flavor in every bite. Each component works together in perfect harmony, ensuring your snacks will be a hit among family and friends.
The preparation method is straightforward, inviting even those who may not consider themselves skilled in the kitchen. You’ll start by preheating your oven to 425°F (220°C). Then, you’ll divide the pizza dough into portions, shape them into charming skulls, spread on some sauce, sprinkle with cheese, and add the mini pepperoni and black olives. With just 12 to 15 minutes in the oven, you’ll have golden, bubbly, and utterly adorable snacks ready to serve.
These Pizza Skull Snacks are perfect for Halloween parties or any cozy gathering. They also work wonderfully for chilly fall nights, where a warm, cheesy treat can bring comfort and cheer. Gather your family in the kitchen, and enjoy not only the delicious flavor but also the laughter and memories that come along with making these whimsical creations.
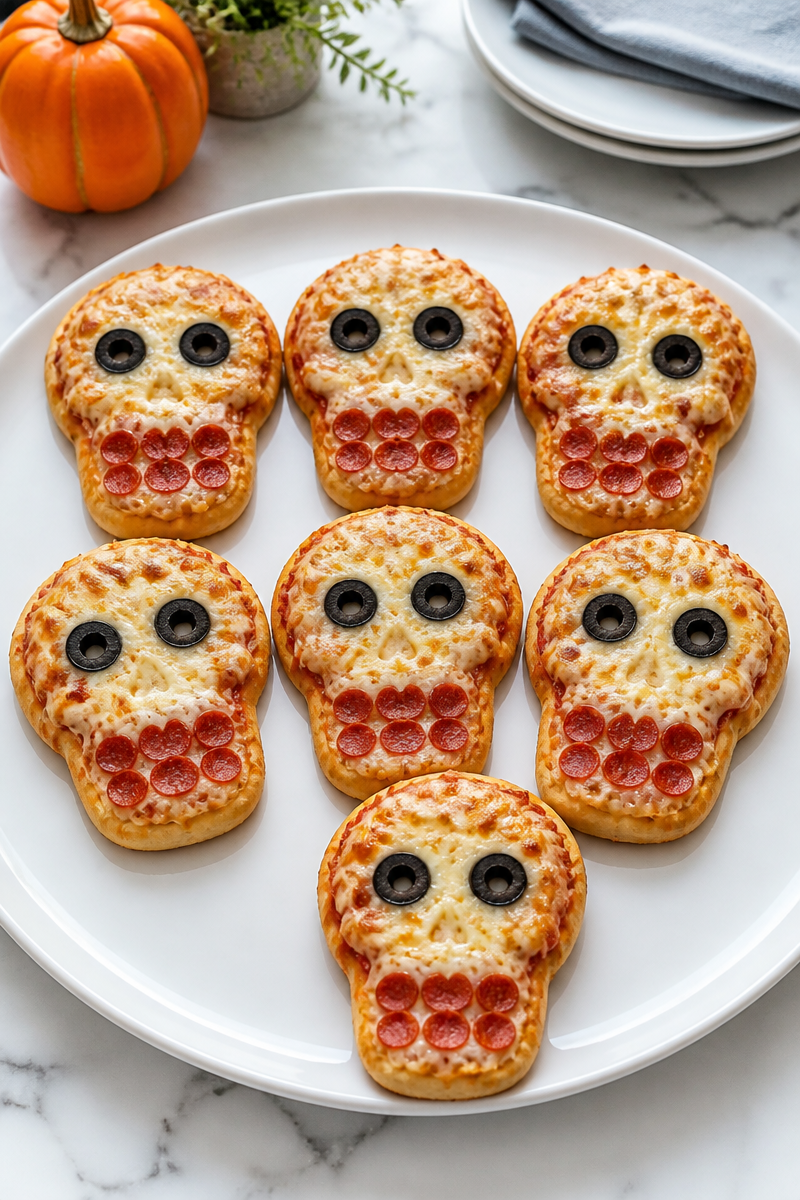
Why You’ll Love This Trending Pizza Skull Halloween Snack
- Quick to Prepare: With just a short prep and cook time, you’ll have a delicious treat in no time.
- Simple Ingredients: All the components are easy to find and can be tailored to your preferences.
- Comfort Food: This blend of pizza flavors is sure to warm your heart and satisfy your hunger.
- Fun for All Ages: Both kids and adults will love the spooky shapes, making them perfect for family gatherings.
- Versatile: Customize the toppings to suit your tastes or dietary needs.
Pizza Dough Tips
When selecting pizza dough, freshness is paramount. You can choose between store-bought dough or make your own from scratch. If you opt for a store-bought option, look for a brand that uses simple ingredients, avoiding those with too many preservatives. When working with the dough, let it sit at room temperature for about 30 minutes before shaping. This rest period makes it more pliable and easier to work with. Whether you go homemade or store-bought, the dough should be soft and slightly sticky but still manageable.
Options for Substitutions
If you’d like to mix things up or accommodate dietary preferences, here are some tasty substitutions:
- Dough: Use whole wheat pizza dough for a healthier option, or try gluten-free dough if you’re avoiding gluten.
- Sauce: Swap traditional pizza sauce for pesto or marinara sauce for a different flavor.
- Cheese: Substitute shredded mozzarella with cheddar or a dairy-free cheese for a lactose-free option.
- Meat: If you’re not a fan of pepperoni, consider using cooked sausage or turkey slices for a leaner choice.
- Veggies: Feel free to add finely chopped vegetables, like bell peppers or mushrooms, to the cheese layer for added nutrition.
- Olives: If black olives aren’t your favorite, green olives or even sliced jalapeños can add a different twist.
Watch Out for These Mistakes
Making Pizza Skull Snacks can be lots of fun, but keep an eye out for a few common pitfalls. First, ensure your oven is truly preheated to 425°F (220°C) before placing your snacks inside. If the oven isn’t hot enough, your cheese won’t melt properly or may result in a soggy crust.
Don’t spread the sauce too thickly. A thin, even layer allows for the delightful crust to develop while keeping the toppings from becoming overly soggy. When adding cheese, too much can result in a cheesy mess. A moderate amount gives you that delicious gooeyness without overwhelming the other flavors.
Lastly, avoid overcooking your snacks. Bake them until the crust is golden brown and the cheese is bubbly, typically 12 to 15 minutes. Keeping an eye on them in those final minutes ensures they come out perfectly.
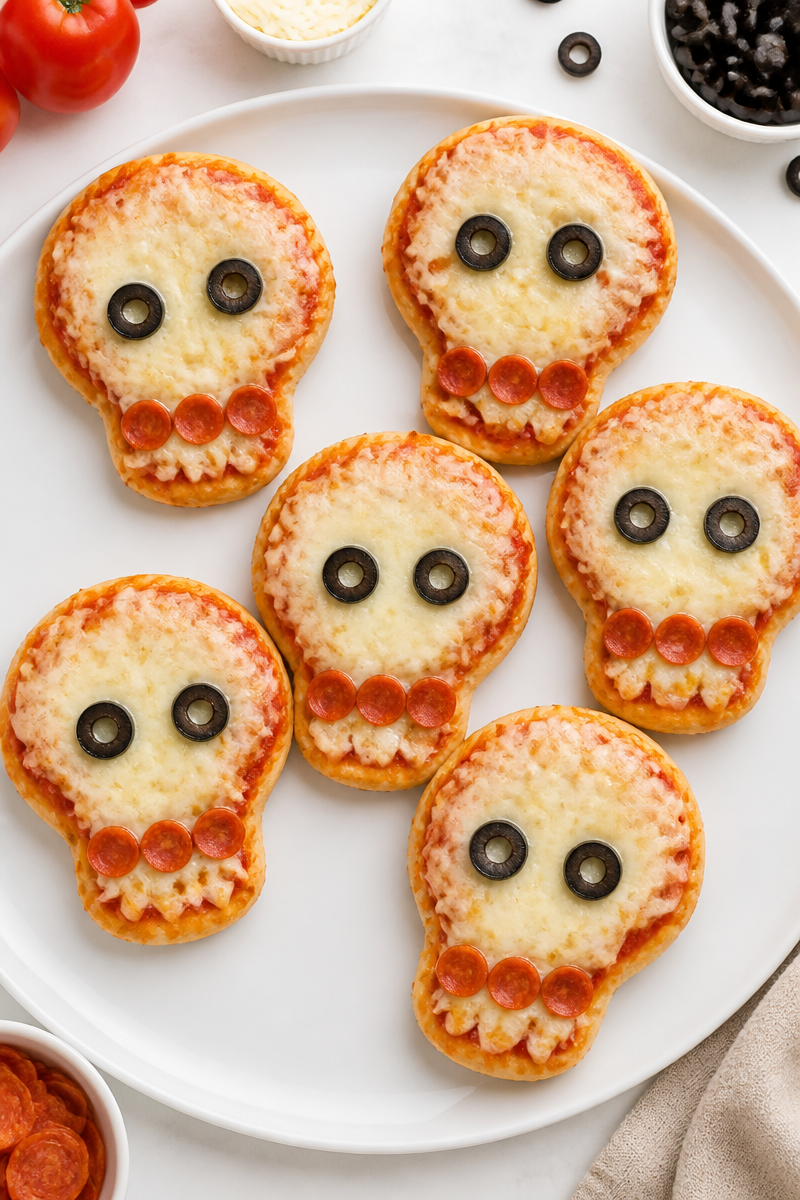
What to Serve With Trending Pizza Skull Halloween Snack?
These Pizza Skull Snacks pair beautifully with a fresh green salad or some roasted vegetables for a balanced meal. For a dip, consider serving alongside marinara sauce or ranch dressing for that added zing. If you’re feeling a bit indulgent, a side of garlic bread can complement the pizza flavors splendidly, offering comforting bites to complement your spooky snacks.
Storage Instructions
Store: Keep your leftover Pizza Skull Snacks in an airtight container in the fridge. They should stay fresh for up to 3 days.
Freeze: If you want to save some for later, feel free to freeze them. They can be stored for up to 2 months. Make sure they’re fully cooled before placing them in a freezer-safe bag.
Reheat: To reheat, place the pizza skulls in the oven at 350°F (175°C) for about 10 minutes. You can also use the microwave for a quicker option, heating them in 30-second intervals until warmed through.
Recipe Info
Preparation Time: Approximately 15 minutes
Cooking Time: About 15 minutes
Total Time: 30 minutes
Level of Difficulty: Easy
Servings: Approximately 6-8 servings
Estimated Nutrition
Estimated nutrition for the whole recipe (without optional ingredients):
- Calories: 1200-1500
- Protein: 60-80 grams
- Fat: 50-70 grams
- Carbohydrates: 150-200 grams
Ingredients
- 1 lb pizza dough
- 1 cup pizza sauce
- 2 cups shredded mozzarella cheese
- mini pepperoni
- black olive slices for eyes
Step-by-Step Instructions
Step 1: Preheat Oven and Prepare Dough
Start by preheating your oven to 425°F (220°C). While the oven warms, divide your pizza dough into 6-8 equal portions. This will allow you to make several skull shapes, perfect for sharing with family and friends.
Step 2: Shape the Dough
Take each portion of dough and shape it into a rough skull shape. The top should be round while the jaw should be narrower. This adds a fun and inviting touch to your Halloween snacks.
Step 3: Assemble the Skulls
Place the shaped dough on a lined baking sheet. Spread a thin layer of pizza sauce over each skull, making sure to leave a small edge around the border. This helps to keep the toppings in place and enhances the overall appearance.
Step 4: Add Cheese and Toppings
Next, sprinkle shredded mozzarella cheese generously over the sauce. Then, take your mini pepperoni and place them along the jawline to create a fun toothy smile. For the eyes, add black olive slices to bring your pizza skulls to life!
Step 5: Bake
Place the baking sheet in your preheated oven and bake for 12-15 minutes. Keep an eye on them until the crust turns golden and the cheese bubbles invitingly.
Step 6: Serve Warm
Once baked, take the pizza skulls out of the oven and let them cool slightly. Serve them warm to enjoy the amazing flavors. They’ll be a spooky hit at your next Halloween gathering!
In conclusion, these Pizza Skull Snacks are not only a fun project for Halloween, but they also bring warm flavors and comforting nostalgia. I encourage you to try making them, whether for a party or a cozy night in. After you do, please share your experience and explore more delicious recipes that will continue to delight your family. Your kitchen can be a little spot of magic, especially during the festive season!
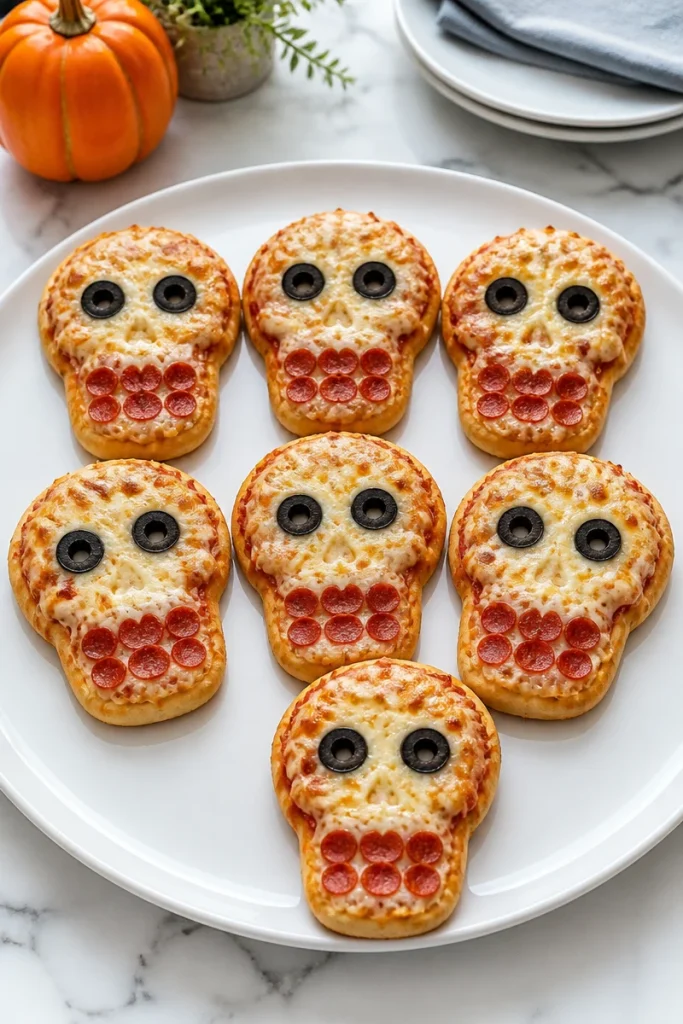
Pizza Skull Halloween Snacks
Ingredients
Method
- Preheat your oven to 425°F (220°C). Divide your pizza dough into 6-8 equal portions.
- Shape each portion into a rough skull shape, keeping the top round and the jaw narrower.
- Place the shaped dough on a lined baking sheet. Spread a thin layer of pizza sauce over each skull.
- Sprinkle shredded mozzarella cheese over the sauce, then add mini pepperoni along the jawline for teeth and black olive slices for eyes.
- Bake in the preheated oven for 12-15 minutes until the crust is golden and the cheese is bubbly.
- Remove from oven and let cool slightly before serving warm.
