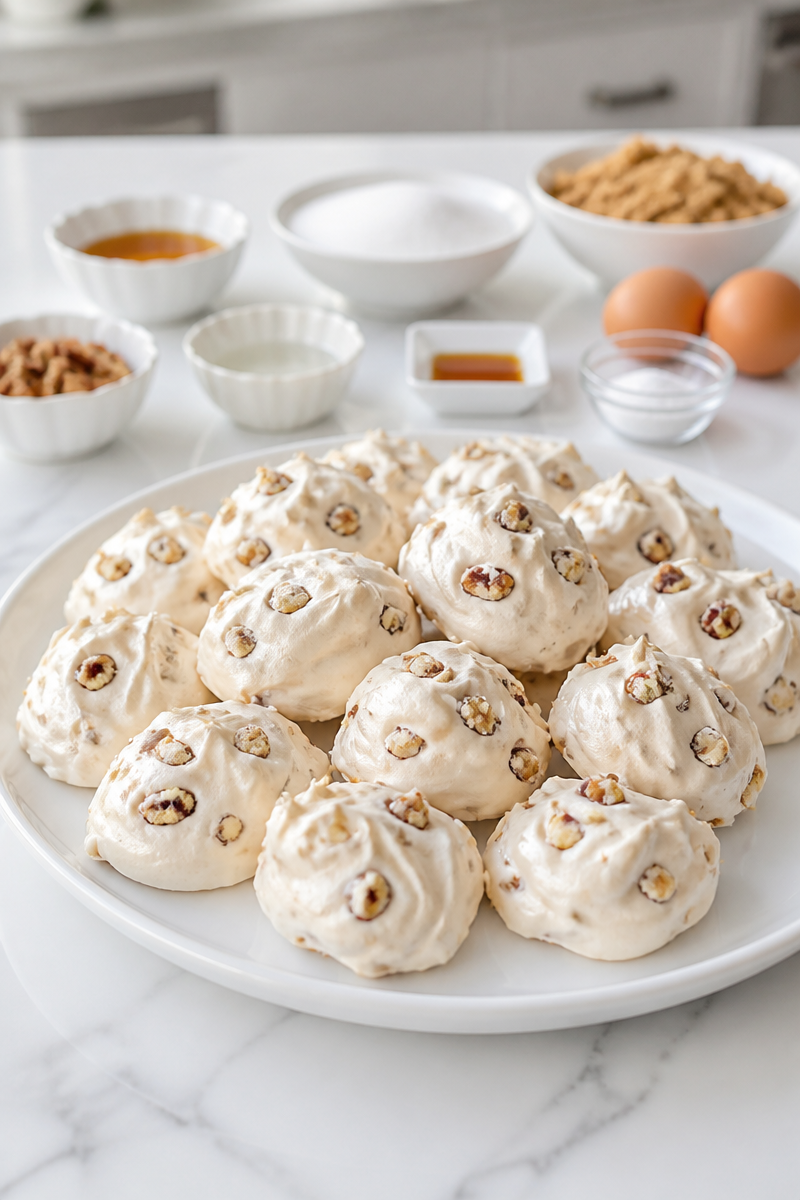
Sea Foam candy has a way of feeling old-fashioned in the best possible sense. It is sweet, airy, and a little bit fancy, yet it still feels like the kind of treat your grandmother might set out in a pretty dish after Sunday dinner. I love it because it tastes like pure comfort, and at the same time, it brings back that fun, handmade candy shop feeling right in your own kitchen.
What makes this classic old fashioned sea foam candy so special is the simple mix of egg whites, granulated sugar, light brown sugar, water, light corn syrup, salt, vanilla, and optional toasted pecans or walnuts. The egg whites give the candy its light, foamy body, while the two sugars create a deep, sweet flavor with a hint of caramel from the brown sugar. Then the vanilla rounds it out, and the nuts add a cozy crunch if you choose to use them.
The method is easier than it looks, too. First, you prep your pans and whip the egg whites. Then you cook the syrup to the right temperature, which is very important for this candy. After that, you slowly stream the hot syrup into the whipped whites, beat until thick and glossy, fold in the vanilla and nuts, and quickly scoop the candy onto the trays. Finally, you let it dry until firm. Once you understand the flow, this sea foam candy recipe feels quite manageable.
This is a lovely candy for holidays, family gatherings, church socials, cookie trays, and gift boxes. It is also wonderful when you want a sweet bite to serve with coffee or tea. Because it keeps well, it is a smart make-ahead treat for potlucks, winter visits, or any time you want something homemade and a little special.
Why You’ll Love This Classic Old Fashioned Sea Foam Candy
- It uses simple pantry ingredients, so you do not need anything fancy.
- It has a light, melt-in-your-mouth texture with a sweet caramel note.
- It makes a beautiful homemade gift for neighbors, friends, and family.
- It is a nostalgic candy that feels both classic and comforting.
- It can be made with or without nuts, so it works for different tastes.
Egg Whites Tips
For the best classic old fashioned sea foam candy, use fresh large egg whites that are at room temperature. Room temperature whites whip faster and reach better volume, which helps create that airy texture. Also, make sure your mixing bowl is spotless and free of grease, because even a small amount of fat can keep the whites from whipping properly. If you separate the eggs ahead of time, let the whites sit out for a little while before you begin. That small step can make the candy lighter and more stable.
Options for Substitutions
- Use dark brown sugar instead of light brown sugar if you want a deeper molasses flavor.
- Swap pecans for walnuts if you prefer a softer, milder nut taste.
- Leave out the nuts completely if you want a smooth, old-fashioned version.
- Use golden syrup in place of light corn syrup if that is what you have on hand.
- Replace vanilla extract with almond extract, but use only a small amount for a stronger flavor.
- If you do not have wax paper, use parchment paper for lining the trays.
Watch Out for These Mistakes
One of the biggest mistakes in sea foam candy is not heating the syrup to the right stage. If you stop too early, the candy may stay soft and sticky. On the other hand, if you cook it too far, the texture can turn hard and grainy. For that reason, a candy thermometer is very helpful here. It takes the guesswork out of the process and keeps the result much more reliable.
Another common problem is grease in the mixing bowl or on your utensils. Even a tiny bit can keep the egg whites from whipping well. So, before you begin, make sure your bowl, whisk, and spoons are clean and dry. Also, be careful not to add the hot syrup too fast. If you pour it in too quickly, the whites can deflate or cook unevenly. Instead, drizzle it in a thin stream while the mixer runs.
Humidity can also cause trouble. Since this sea foam candy needs to dry and set, a damp day may leave it sticky longer than expected. If possible, make it on a dry day and give it enough time to rest uncovered. In addition, do not wait too long after beating the candy to scoop it. It thickens quickly, so work with steady, confident motions.
Finally, remember not to add the vanilla and nuts too soon. If you fold them in before the candy is thick and glossy, the texture may loosen. So, first get that nice marshmallow-like body. Then finish the candy and scoop it right away.
What to Serve With Classic Old Fashioned Sea Foam Candy?
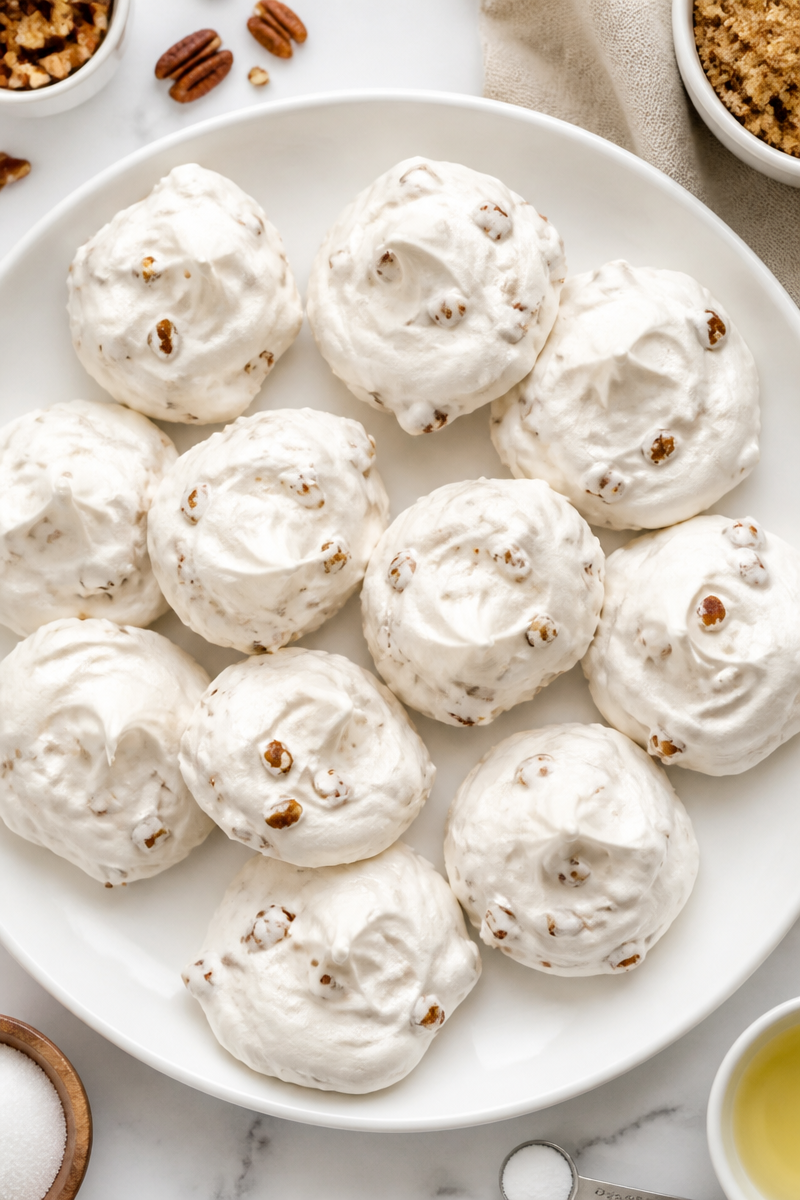
Classic old fashioned sea foam candy pairs nicely with a hot cup of coffee, black tea, or even a mug of cocoa, since the sweetness balances well with a warm drink. It also sits beautifully on a holiday cookie platter next to shortbread, chocolate fudge, or peanut butter blossoms. If you are serving it after a meal, try offering it with fresh berries or a small scoop of vanilla ice cream. That mix of sweet, creamy, and fruity flavors makes the candy feel even more special.
Storage Instructions
Store: Keep sea foam candy in an airtight container at room temperature for up to 2 weeks. If you live in a humid area, check it often and keep wax paper between layers so the pieces do not stick together. The fridge is not the best place for this candy, but if you must refrigerate it, store it for up to 5 days in a tightly sealed container.
Freeze: You can freeze sea foam candy for up to 2 months. However, it is best wrapped well and placed in an airtight freezer container. Then let it thaw at room temperature before serving. Still, for the best texture, room temperature storage is the better choice.
Reheat: Sea foam candy is not usually reheated. If it has become a little firm from cool storage, let it sit at room temperature until it softens slightly. Do not use the stovetop or microwave to warm the finished candy, since heat can melt or ruin the texture. If you are working with the syrup before the candy is finished, then of course the stovetop is used in the cooking step only.
Recipe Info
Preparation Time: 20 minutes
Cooking Time: 20 minutes
Total Time: 3 hours 40 minutes
Level of Difficulty: Easy to medium
Servings: 16
Calories: 140 kcal per serving
Estimated Nutrition
Estimated nutrition for the whole recipe (without optional ingredients):
- Calories: 1,750 to 1,900
- Protein: 7 to 10 grams
- Fat: 0 to 2 grams
- Carbohydrates: 420 to 460 grams
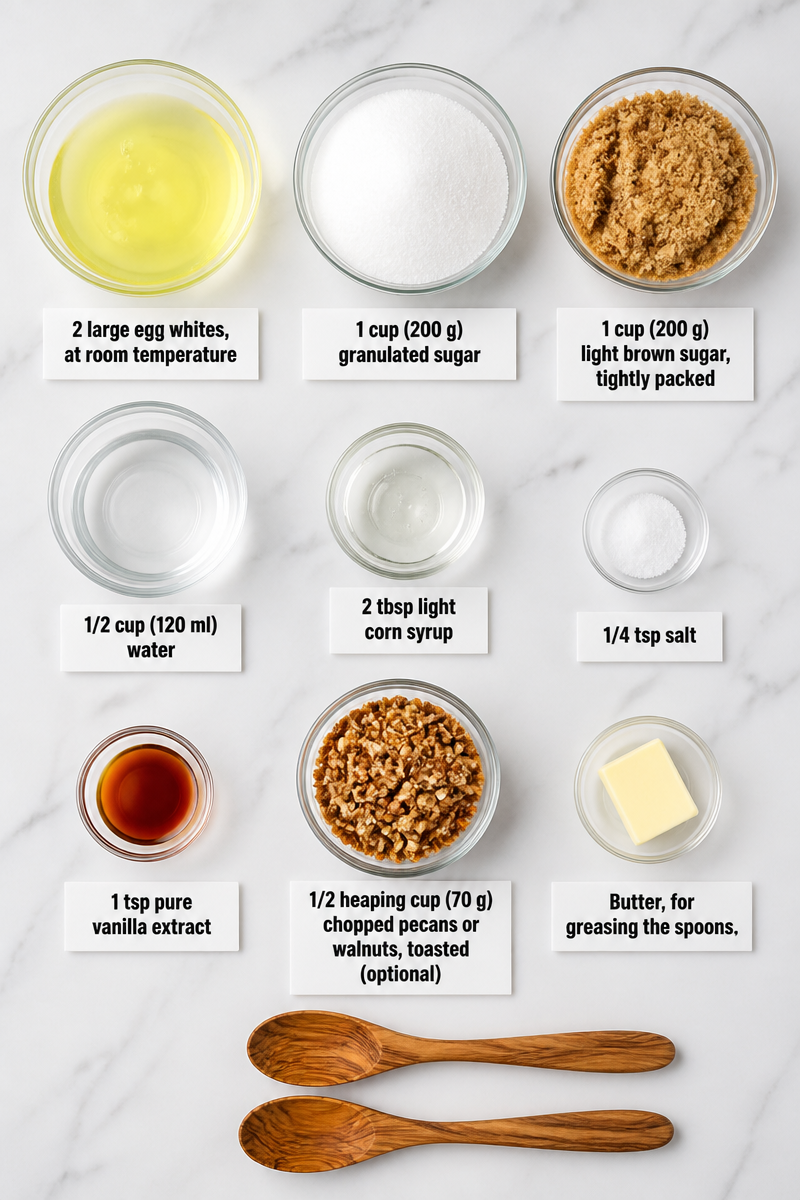
Ingredients
- 2 large egg whites, at room temperature
- 1 cup (200 g) granulated sugar
- 1 cup (200 g) light brown sugar, tightly packed
- 1/2 cup (120 ml) water
- 2 tbsp light corn syrup
- 1/4 tsp salt
- 1 tsp pure vanilla extract
- 1/2 heaping cup (70 g) chopped pecans or walnuts, toasted (optional)
- Butter, for greasing the spoons
Step-by-Step Instructions
Step 1: Prepare the Pans and Ingredients
Line two baking sheets with parchment or wax paper. Then place the egg whites in a clean, grease-free stand mixer bowl. If you plan to use nuts, toast them whole at 350°F for about 5 minutes, then cool and chop them. This first step helps you move quickly once the syrup is ready.
Step 2: Cook the Sugar Syrup
In a heavy saucepan, combine the granulated sugar, brown sugar, light corn syrup, and water. Cook over medium-low heat, stirring until the sugar dissolves. As the mixture cooks, wipe down the sides of the pan with a damp pastry brush to stop sugar crystals from forming. This makes the final candy smoother.
Step 3: Boil to Hard-Ball Stage
Once the syrup begins to boil, stop stirring. Clip on a candy thermometer and cook until the syrup reaches 255°F, which is the hard-ball stage. This temperature is what helps the candy set up with the right texture, so keep a close eye on it.
Step 4: Whip the Egg Whites
When the syrup reaches about 240°F, add the salt to the egg whites and whip on high until they form stiff peaks. The peaks should stand tall and not fold over. This step gives the candy its light, foamy base, so do not rush it.
Step 5: Add the Hot Syrup
When the syrup reaches 255°F, remove it from the heat. With the mixer still running on high, slowly drizzle the hot syrup into the whipped egg whites in a thin stream. Try to avoid the whisk itself. This gradual pour helps the mixture stay airy and smooth.
Step 6: Beat Until Thick and Glossy
Keep beating the mixture for several minutes. It should become very thick, glossy, and strong enough to hold its shape on the whisk. At this stage, the candy starts looking like classic sea foam candy should, so watch for that shiny finish.
Step 7: Finish With Vanilla and Nuts
Fold in the vanilla extract and, if using them, the chopped toasted nuts. Stir gently so you do not deflate the mixture. Then work fast, because the candy begins to set quickly once everything comes together.
Step 8: Scoop and Dry
Using buttered spoons, quickly drop about 1 1/2 tablespoon portions onto the lined trays. Swirl each one into a little peak as you go. After that, let the candies dry uncovered for 3 hours or overnight until they are firm and no longer sticky. For the best results, avoid humid days if you can.
Conclusion
Classic old fashioned sea foam candy is one of those homemade treats that feels simple, sweet, and full of charm. With just a few basic ingredients, you can make a light, fluffy candy that looks beautiful and tastes even better. Because the process depends on timing and temperature, it rewards a little patience, but the result is well worth it.
If you make this sea foam candy recipe, I would love for you to try it, share your thoughts, and tell me whether you added nuts or kept it plain. And if you enjoy old-fashioned sweets, be sure to explore more classic candy recipes and nostalgic desserts here on the blog.
